
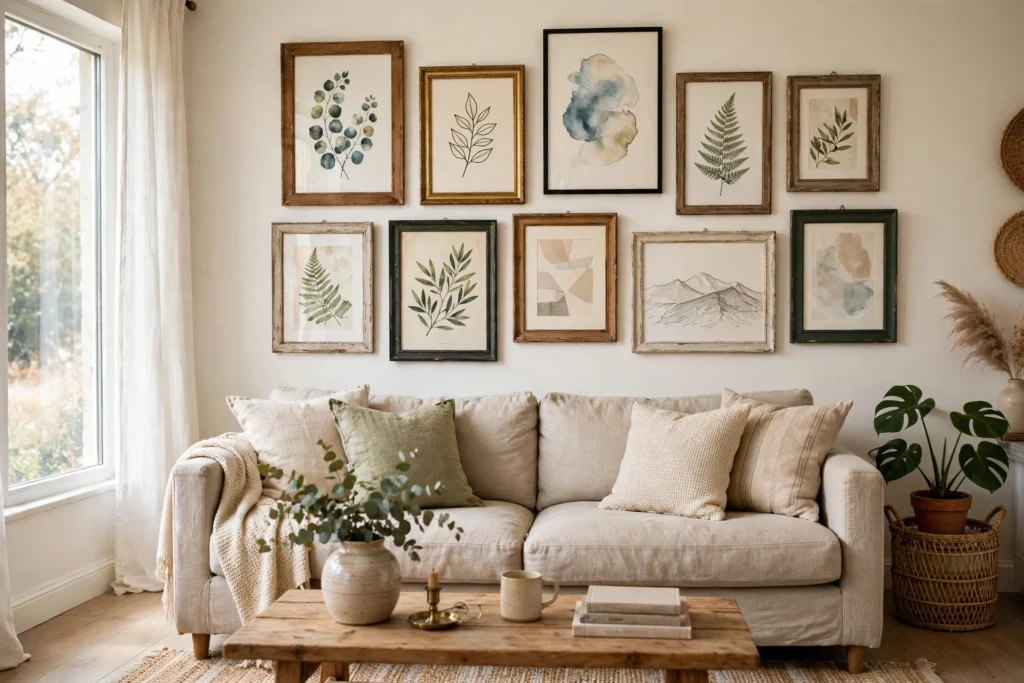
The best gallery wall ideas on a budget start with frames and art you can find for a few dollars, then rely on a clear layout to make everything look intentional. A wall of thrifted frames, free printable art, and family photos can look just as polished as a designer installation when the spacing is even and the sizes are planned before the first nail goes in. You do not need matching sets, original art, or a big shopping trip. You need a tape measure, painter’s tape, and one layout you trust.
Start by measuring the wall area you want to fill, then outline that exact rectangle on the floor or on the wall with painter’s tape. A good gallery wall usually covers about two-thirds of the width of the furniture below it, so a 72-inch sofa pairs well with a display about 48 to 54 inches wide. Keep the center of the arrangement at about 57 inches from the floor, and leave 2 to 3 inches between frames for a relaxed look, or a tight 1.5 inches for a crisp, modern grid.
Next, gather more frames than you think you need, because choice is what makes a cheap wall look curated. Thrift stores, dollar stores, yard sales, and your own closets are the best sources: look for solid frames with intact glass, even if the finish is scratched or the art inside is dated. You can paint, sand, or simply clean a frame in minutes. For the art itself, printable downloads, calendar pages, book plates, postcards, and your own photos cost almost nothing and can be reprinted in any size.
Finally, choose one simple thread that ties the wall together. It might be all black frames, all warm wood tones, art in the same three colors, or photos printed only in black and white. That single rule lets you mix sizes, subjects, and frame styles without the wall feeling messy. Lay everything out, live with the paper templates for a day, adjust the pieces that feel off, and only then hang the real frames. The eleven layouts below give you a starting point for every kind of wall.
1. A Thrifted Frame Mix with One Paint Color
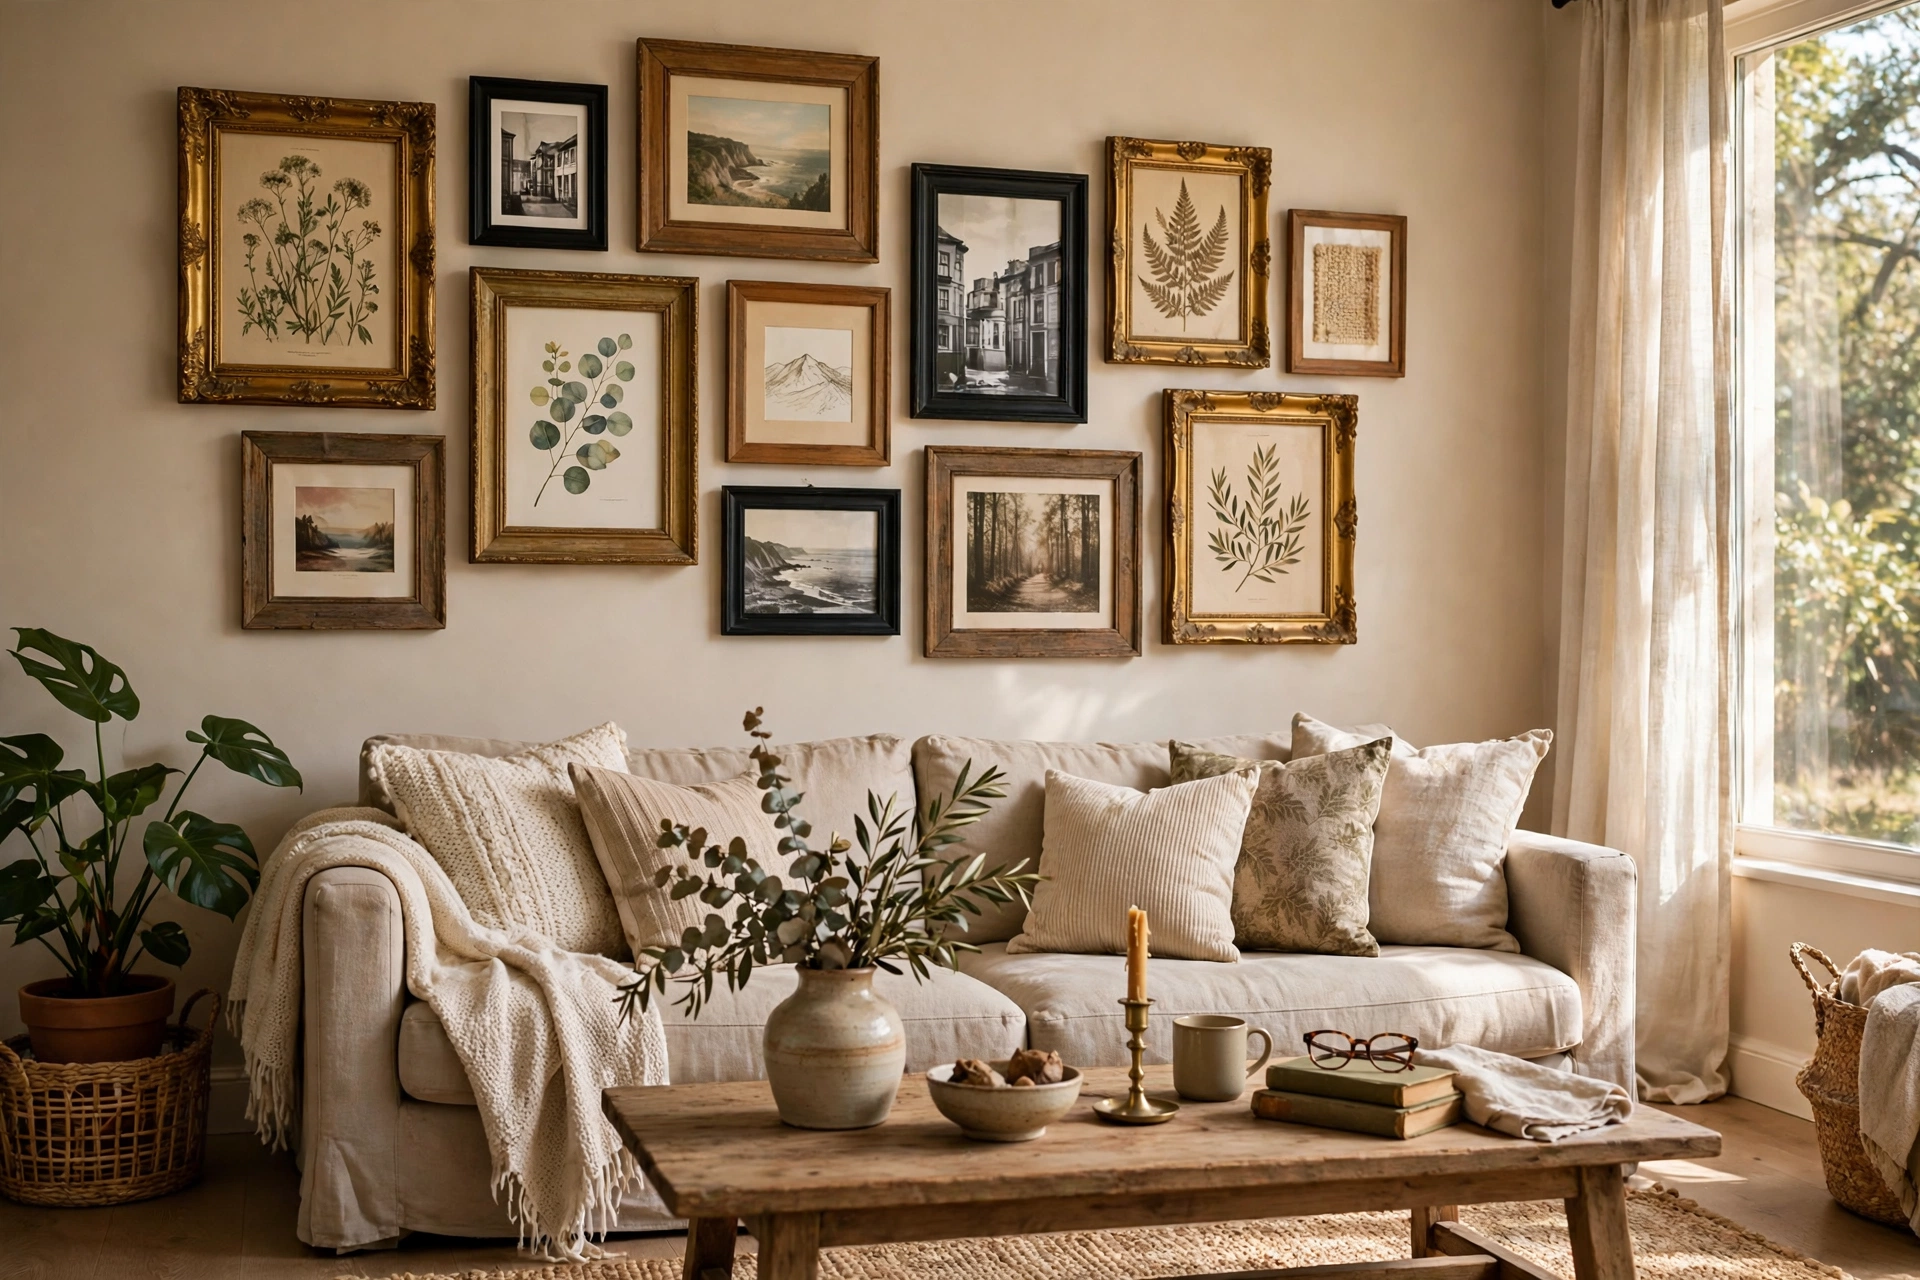
Hunt thrift stores and yard sales for frames in different sizes and shapes, then unify them with one can of spray paint or leave the mixed finishes if your room already leans eclectic. Aim for seven to nine frames for a medium wall: two large pieces around 11×14 inches, three medium 8x10s, and the rest small 5x7s. Start the layout by hanging the largest frame slightly off-center at eye level, then build outward with the medium frames, keeping 2 inches between each piece. Fill the gaps with the smallest frames last. Because the frames cost so little, you can buy extras and return or store the ones that do not make the final cut.
Budget: about $12–$25 total — thrifted frames, one can of spray paint, and prints or photos you already own.
2. Printable Art in Slim Store-Bought Frames

Printable art is the fastest way to fill a wall when you own a printer or have access to a copy shop. Choose five to seven prints in one theme, such as landscapes, abstract arches, or vintage illustrations, and print them all on matte paper so they do not glare behind glass. Use slim frames in one finish for a clean, gallery feel: an 8×10 print costs very little to frame, and an 11×14 makes a strong anchor. Hang the largest print at the center left, balance it with the second largest at the lower right, then place the smaller prints around them with 2 to 2.5 inches of space. Swap the prints seasonally for a fresh wall at almost no cost.
Budget: about $15–$30 total — printable files, printing on matte paper, and five to seven slim frames.
3. A Perfect Grid Layout with Matching Frames
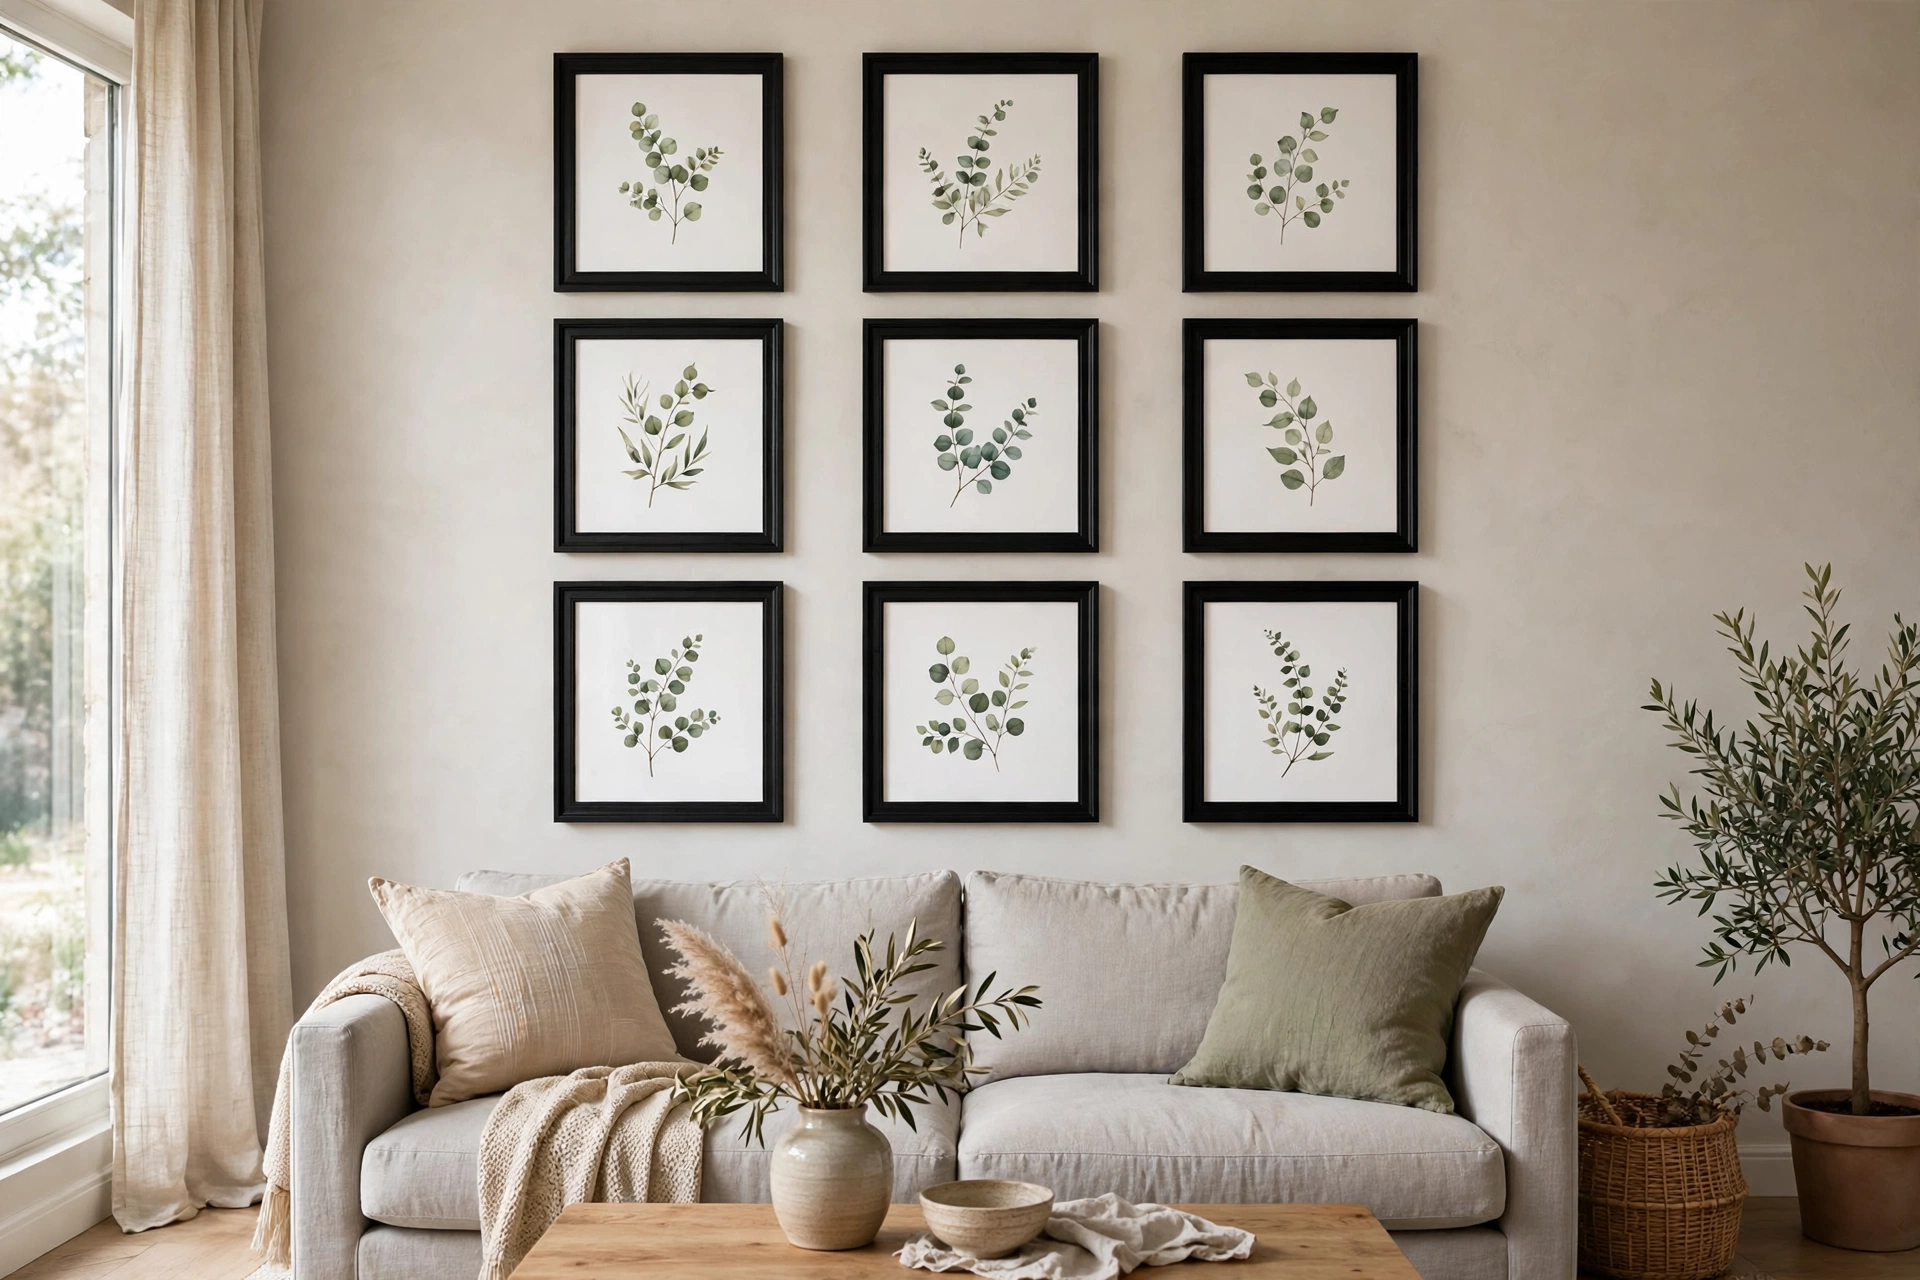
A grid is the most forgiving layout for beginners because every measurement is the same. Pick six or nine identical frames, all 8×10 or all 11×14, and arrange them in two rows of three or three rows of three. Measure carefully: mark the top left corner, hang the first frame, then space each next frame exactly 2 inches apart horizontally and vertically, checking with a level as you go. Use the same image style in every frame, such as a series of landscapes or a set of family photos from one day, so the repetition feels calm rather than busy. Painter’s tape guides or a paper template for each frame make the grid almost foolproof.
Budget: about $18–$35 total — a multi-pack of matching frames and prints made at home or at a copy shop.
4. A Relaxed Salon-Style Layout, Floor to Ceiling Feeling
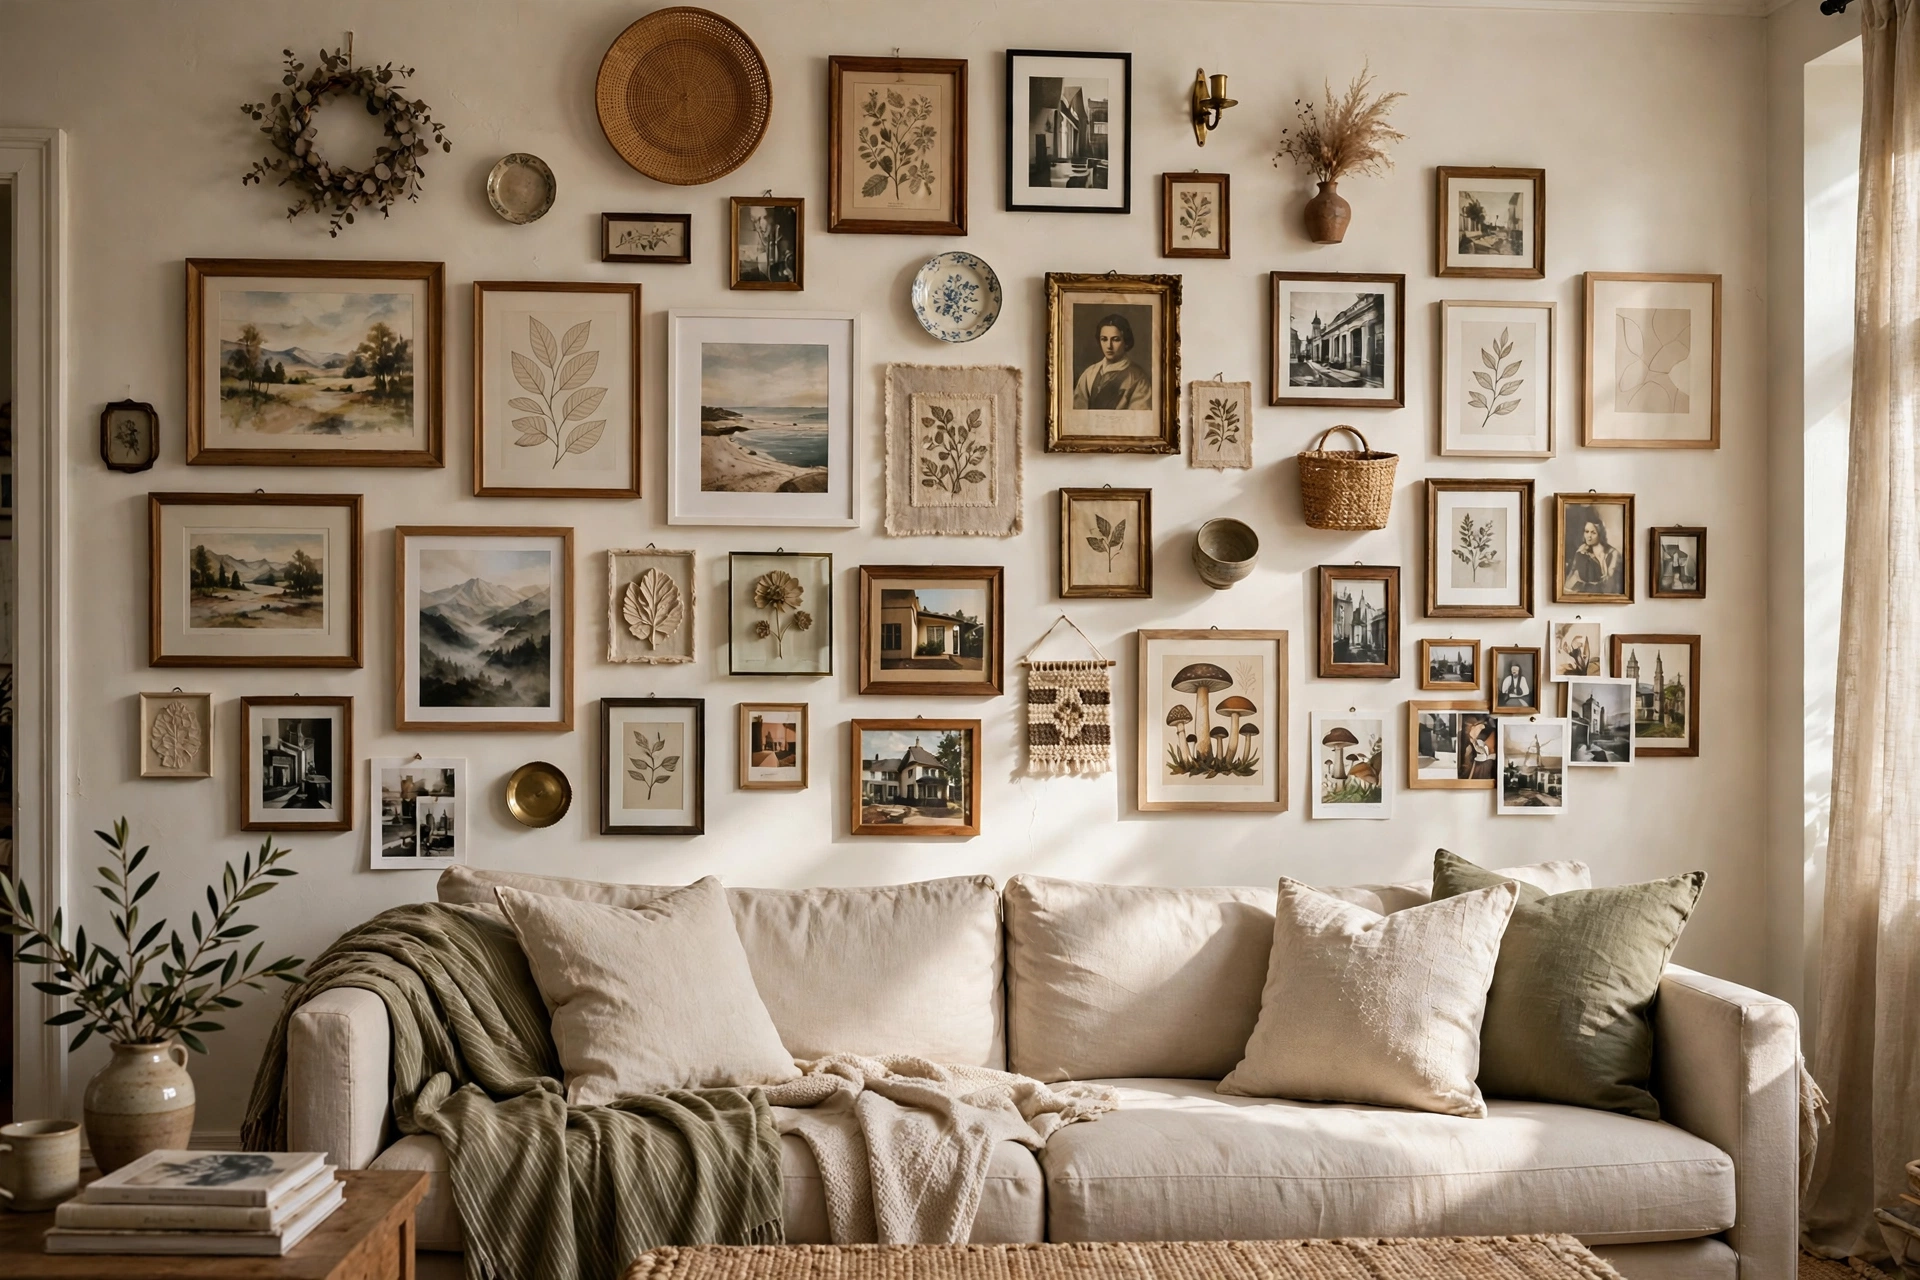
Salon style means filling the wall generously, from about 12 inches above the furniture almost up to the ceiling, with art in many sizes. This works beautifully when you have collected pieces over time and none of them match. Start with the biggest piece near the center, at eye level, then add the next largest pieces toward the corners. Keep the outer edges roughly aligned so the whole arrangement reads as one large rectangle, and keep spacing tight and even, around 1.5 to 2 inches everywhere. Mix in one small mirror, a tiny shelf, or a woven piece among the frames so the wall has texture as well as pictures. Step back often and photograph the layout before hanging.
Budget: about $20–$40 total — art and frames gathered from thrift stores, markets, and your own collection over time.
5. A Staircase Gallery That Follows the Slope
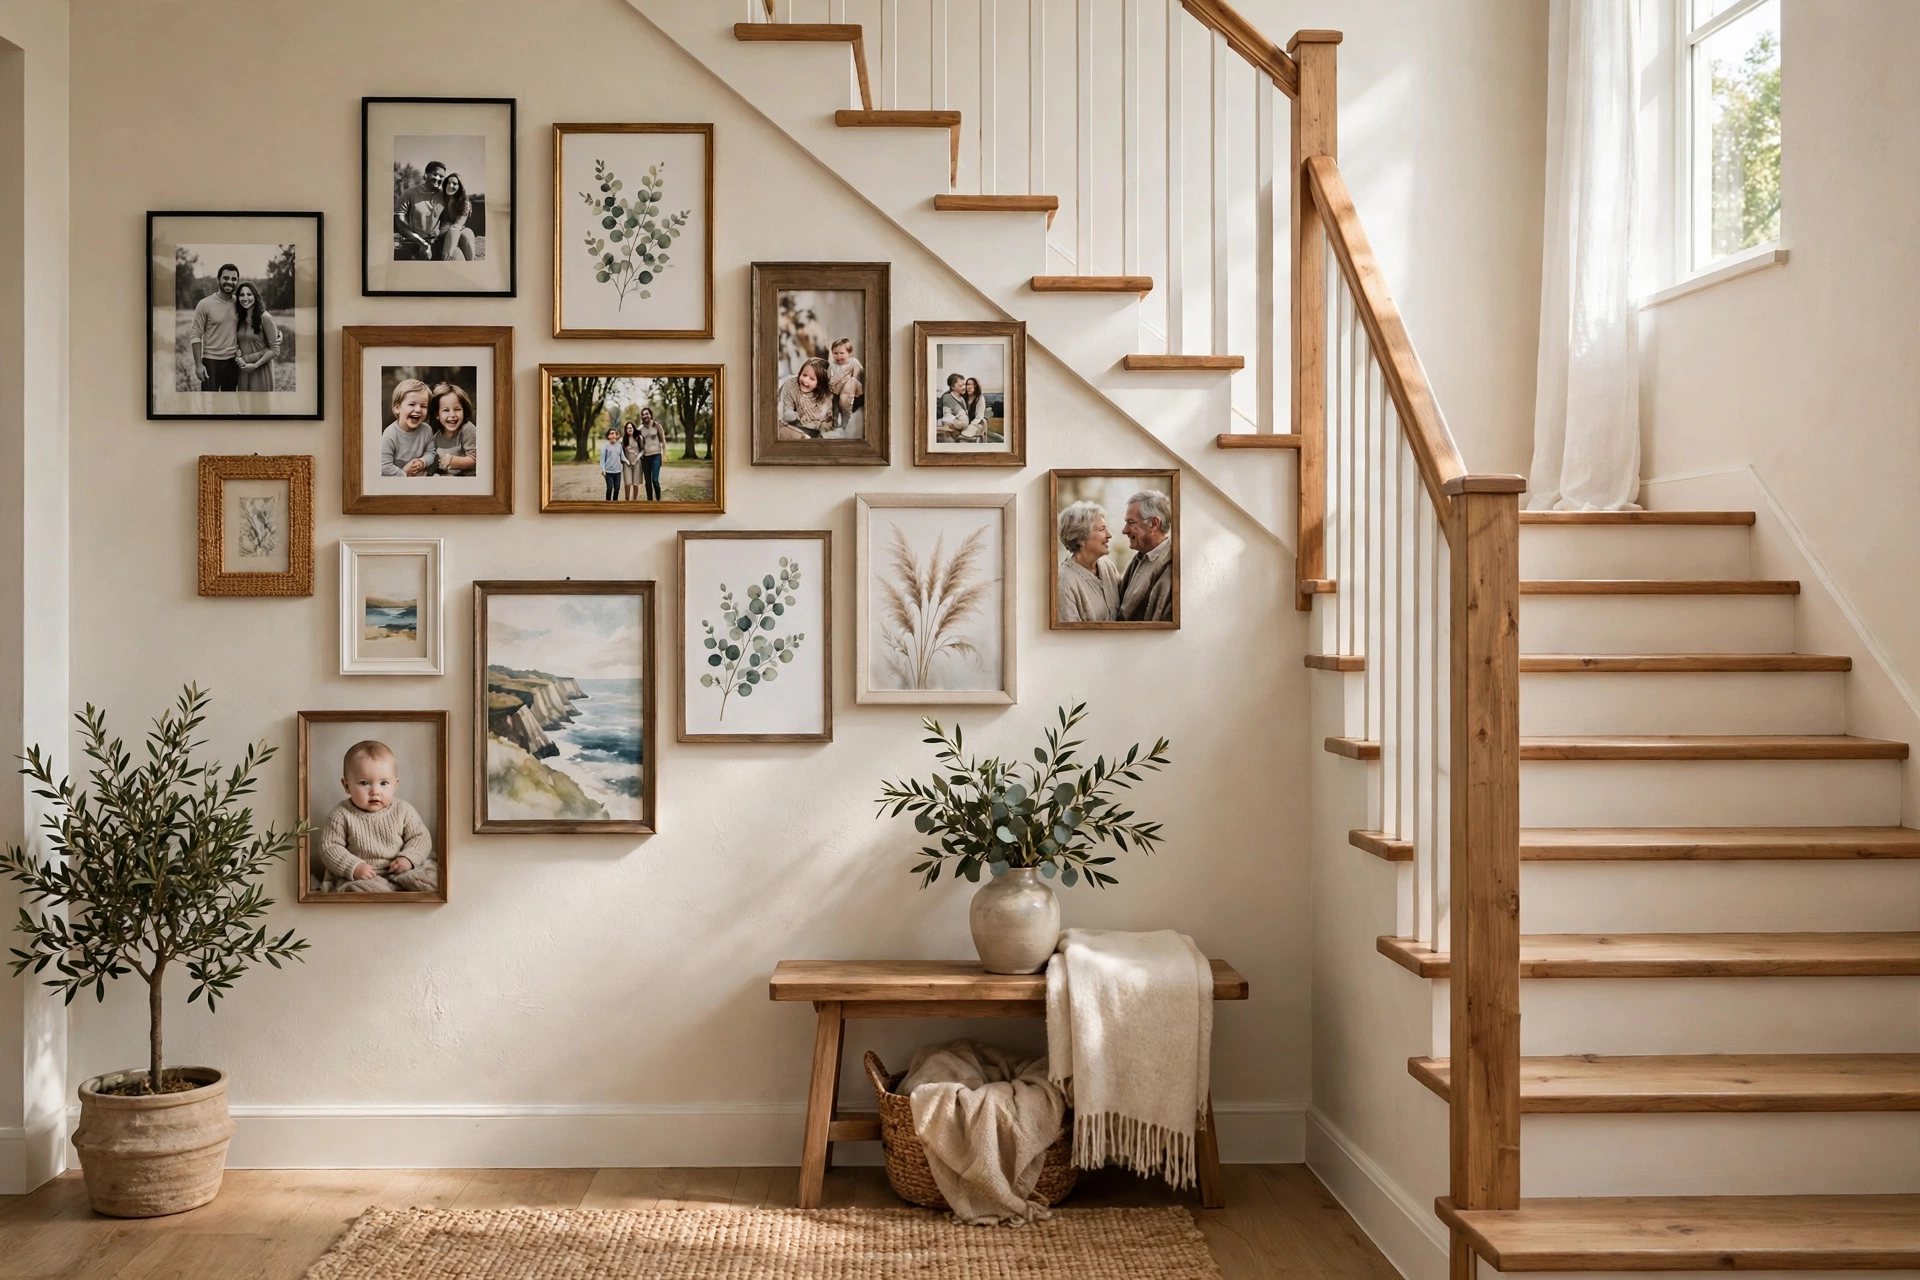
A staircase wall feels dramatic when the bottom edges of the frames follow the angle of the steps. The simplest method is to hang a row of five to seven frames so each frame sits about 6 to 8 inches above its step, measured from the stair tread straight up to the bottom of the frame. Use frames in two or three sizes, repeating them in a pattern up the stairs, and keep the gap between frames at 2 to 3 inches along the slope. Family photos, travel pictures, and children’s art all suit a staircase because you see them up close every day. Add one larger statement piece at the landing to finish the climb.
Budget: about $14–$28 total — mixed frames you already own or find secondhand, plus photo printing.
6. A Symmetrical Layout Centered Above the Sofa
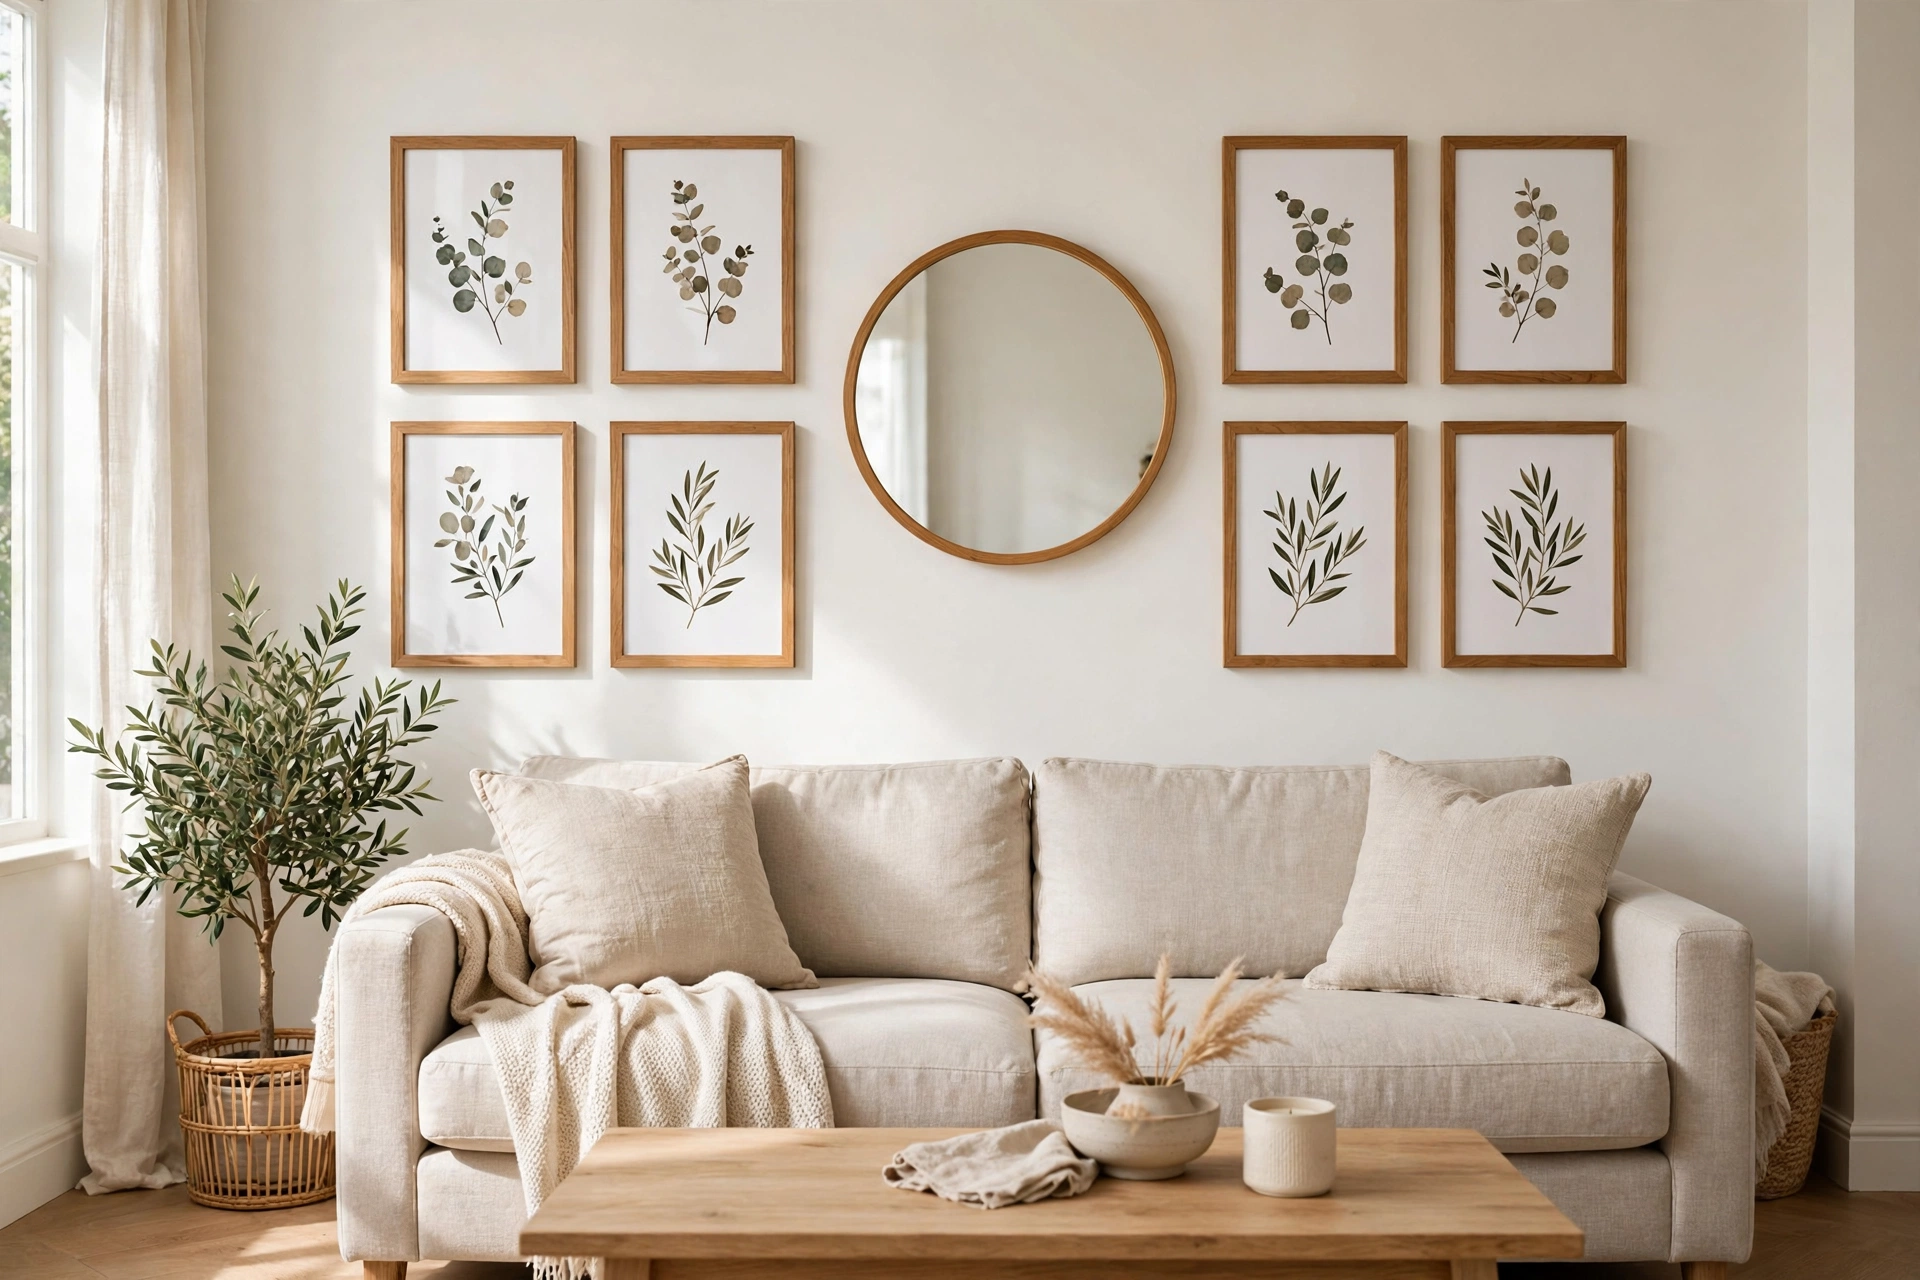
Symmetry is the layout to choose when you want a calm, formal look above a sofa. Use four, six, or eight matching frames in two neat rows, centered on the middle of the sofa, with the bottom row hanging 6 to 8 inches above the back cushions. Equal frames and equal 2-inch gaps do most of the work, but the subject matters too: use pairs of similar images, such as two botanical prints, two landscapes, and two abstracts in the same colors. Find the center of the sofa first, mark it with tape, and hang outward from the middle so any tiny measuring error lands at the edges instead of throwing the whole arrangement off-center.
Budget: about $20–$38 total — matching frame multi-packs and a coordinated set of prints.
7. Dollar Store Frames Painted to Look Expensive
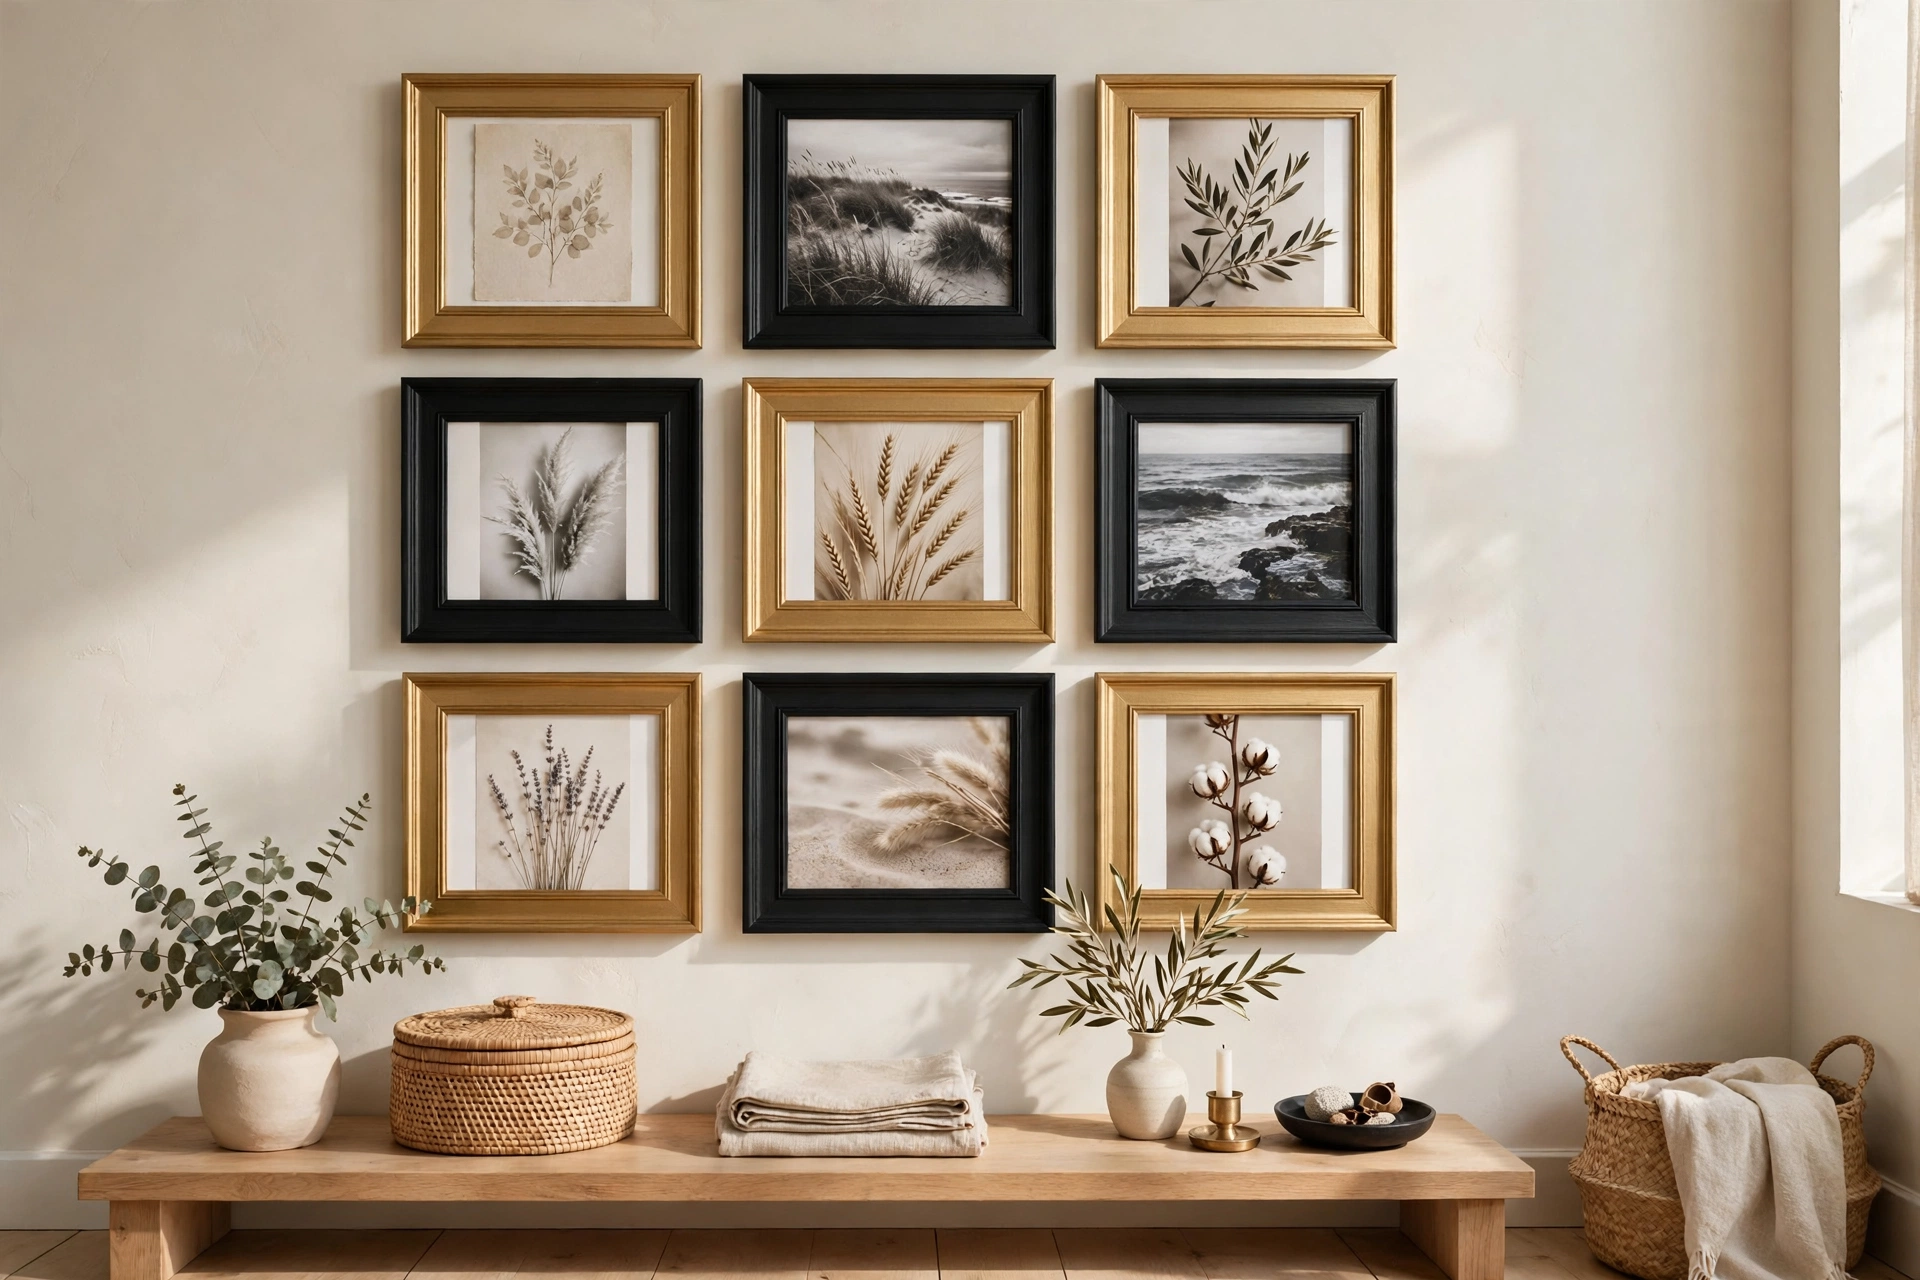
Small dollar store frames look surprisingly elegant once they share one good finish. Buy eight to ten frames in assorted sizes, remove the glass and backing, and spray them all in matte black, soft gold, or warm white, using light coats so the paint does not drip. Once they are dry, fill them with art postcards, wrapping-paper patterns, fabric scraps, or printed photos. Arrange them in a loose rectangle above a console or desk: largest frame at the center, medium frames at the corners, smallest frames filling the spaces between. Keep spacing at about 2 inches. Up close they are simple frames; from across the room, the single finish makes the whole wall read as one designed set.
Budget: about $10–$20 total — dollar store frames, one can of spray paint, and low-cost art fillers.
8. Easy gallery wall ideas on a budget with Black-and-White Family Photos
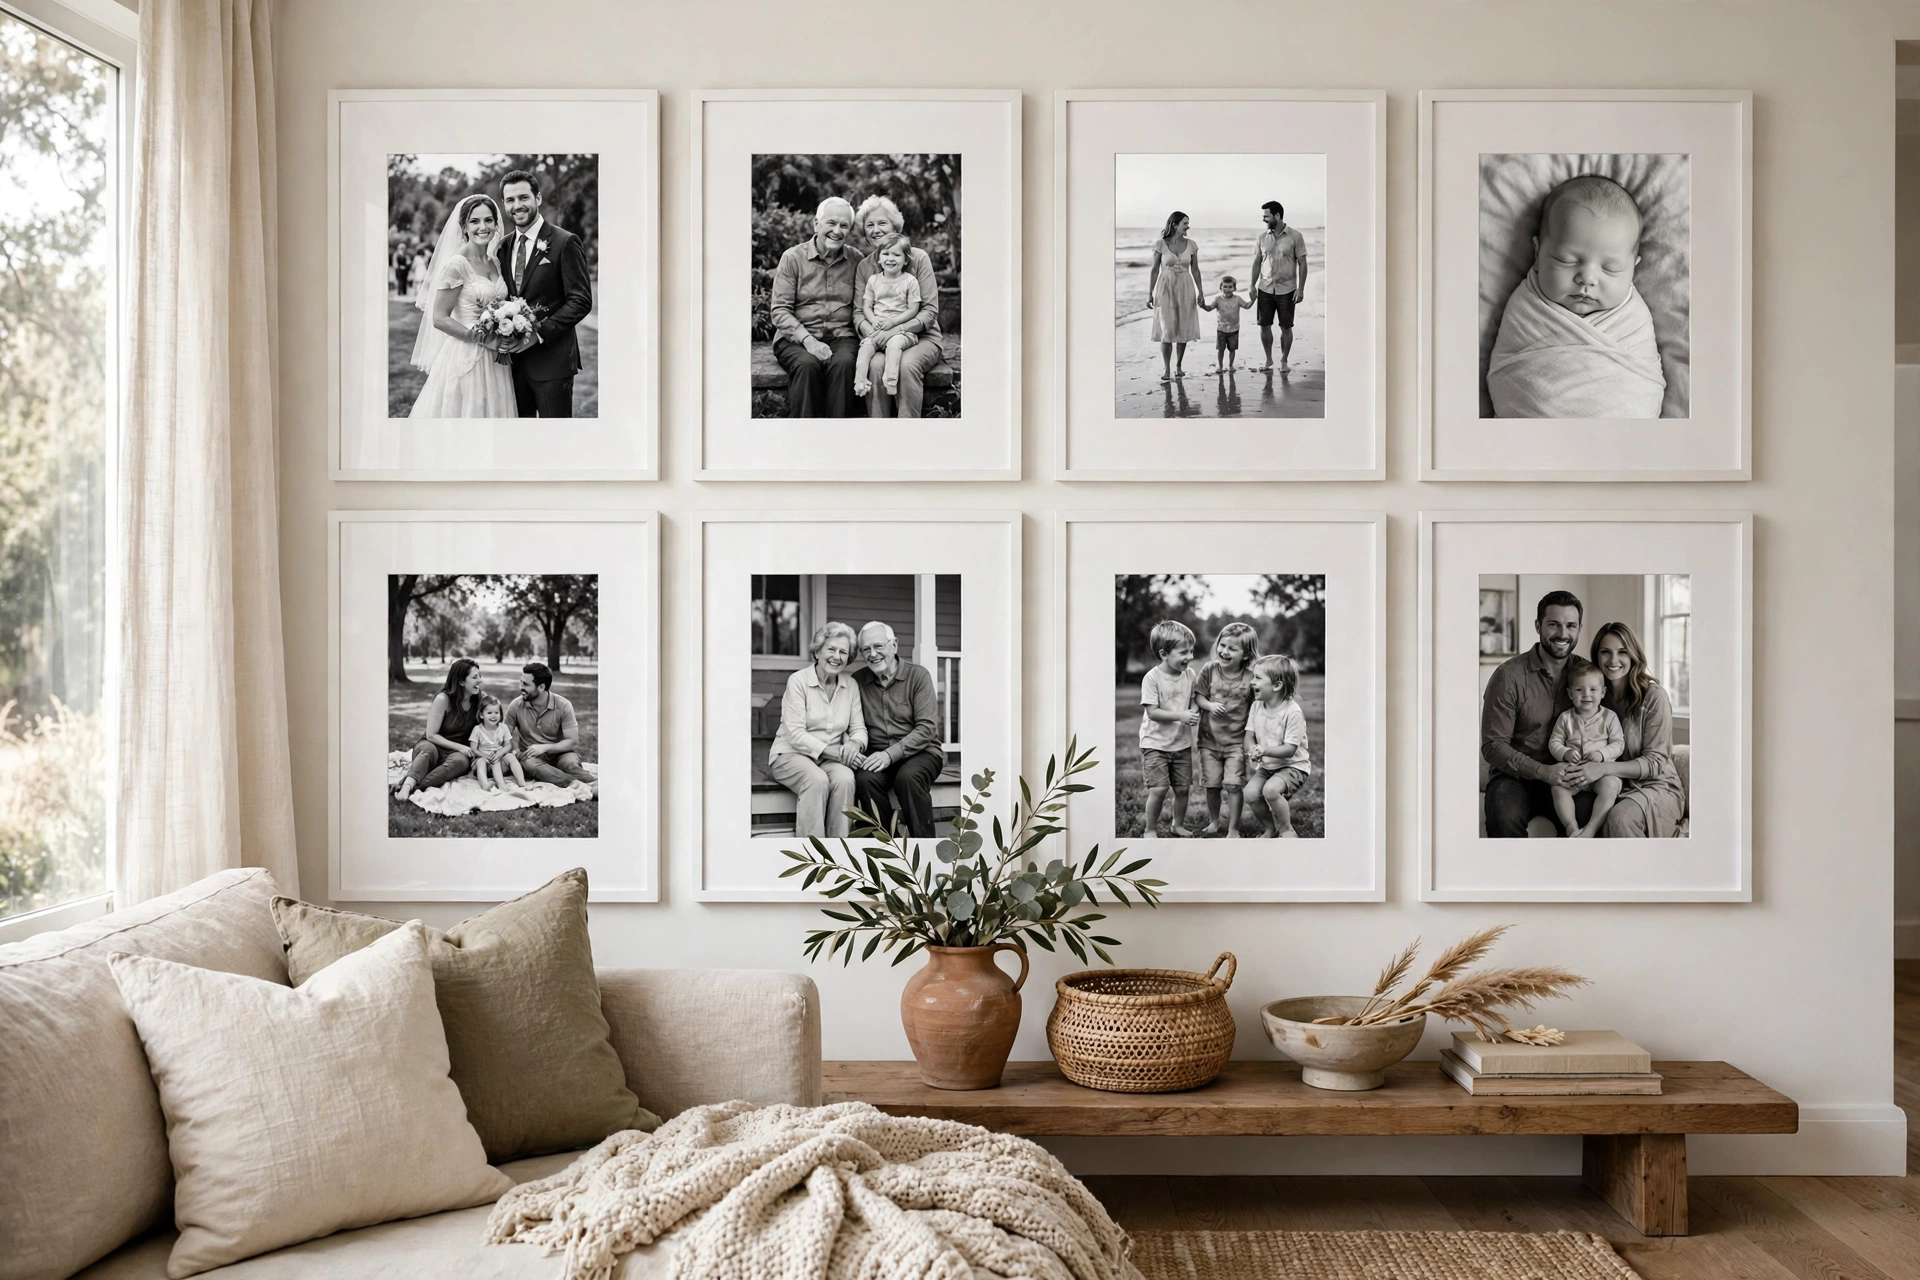
Printing family photos in black and white instantly makes snapshots from different years, phones, and cameras look like one collection. Choose eight to twelve favorite photos, convert them to black and white, and print them with a wide white border or place them in frames with generous white mats: the extra white space is what makes cheap prints look like gallery work. Use white or pale wood frames in three sizes at most, and arrange them in a loose grid above a sofa or along a hallway, spaced 2 inches apart. Leave one or two frames for a child’s drawing or a wedding photo so the wall mixes posed portraits with everyday moments.
Budget: about $12–$24 total — photo printing and simple white frames in a few standard sizes.
9. Plates, a Mirror, and Small Frames Mixed Together

Not every piece on a gallery wall needs to be a picture. A round mirror at the center, surrounded by decorative plates, small framed prints, and one or two tiny objects, gives you a wall with real depth. Choose plates from thrift stores in one color family, such as white and blue or cream and gold, and hang them with plate hangers or adhesive discs rated for their weight. Place the mirror first at eye level, then set the largest plate above it and to one side, and fill around them with the smaller plates and frames, keeping gaps of 1.5 to 2 inches. This layout suits a dining room or entryway especially well.
Budget: about $16–$32 total — thrifted plates, a simple round mirror, plate hangers, and small frames.
10. Picture Ledges You Can Rearrange in Minutes
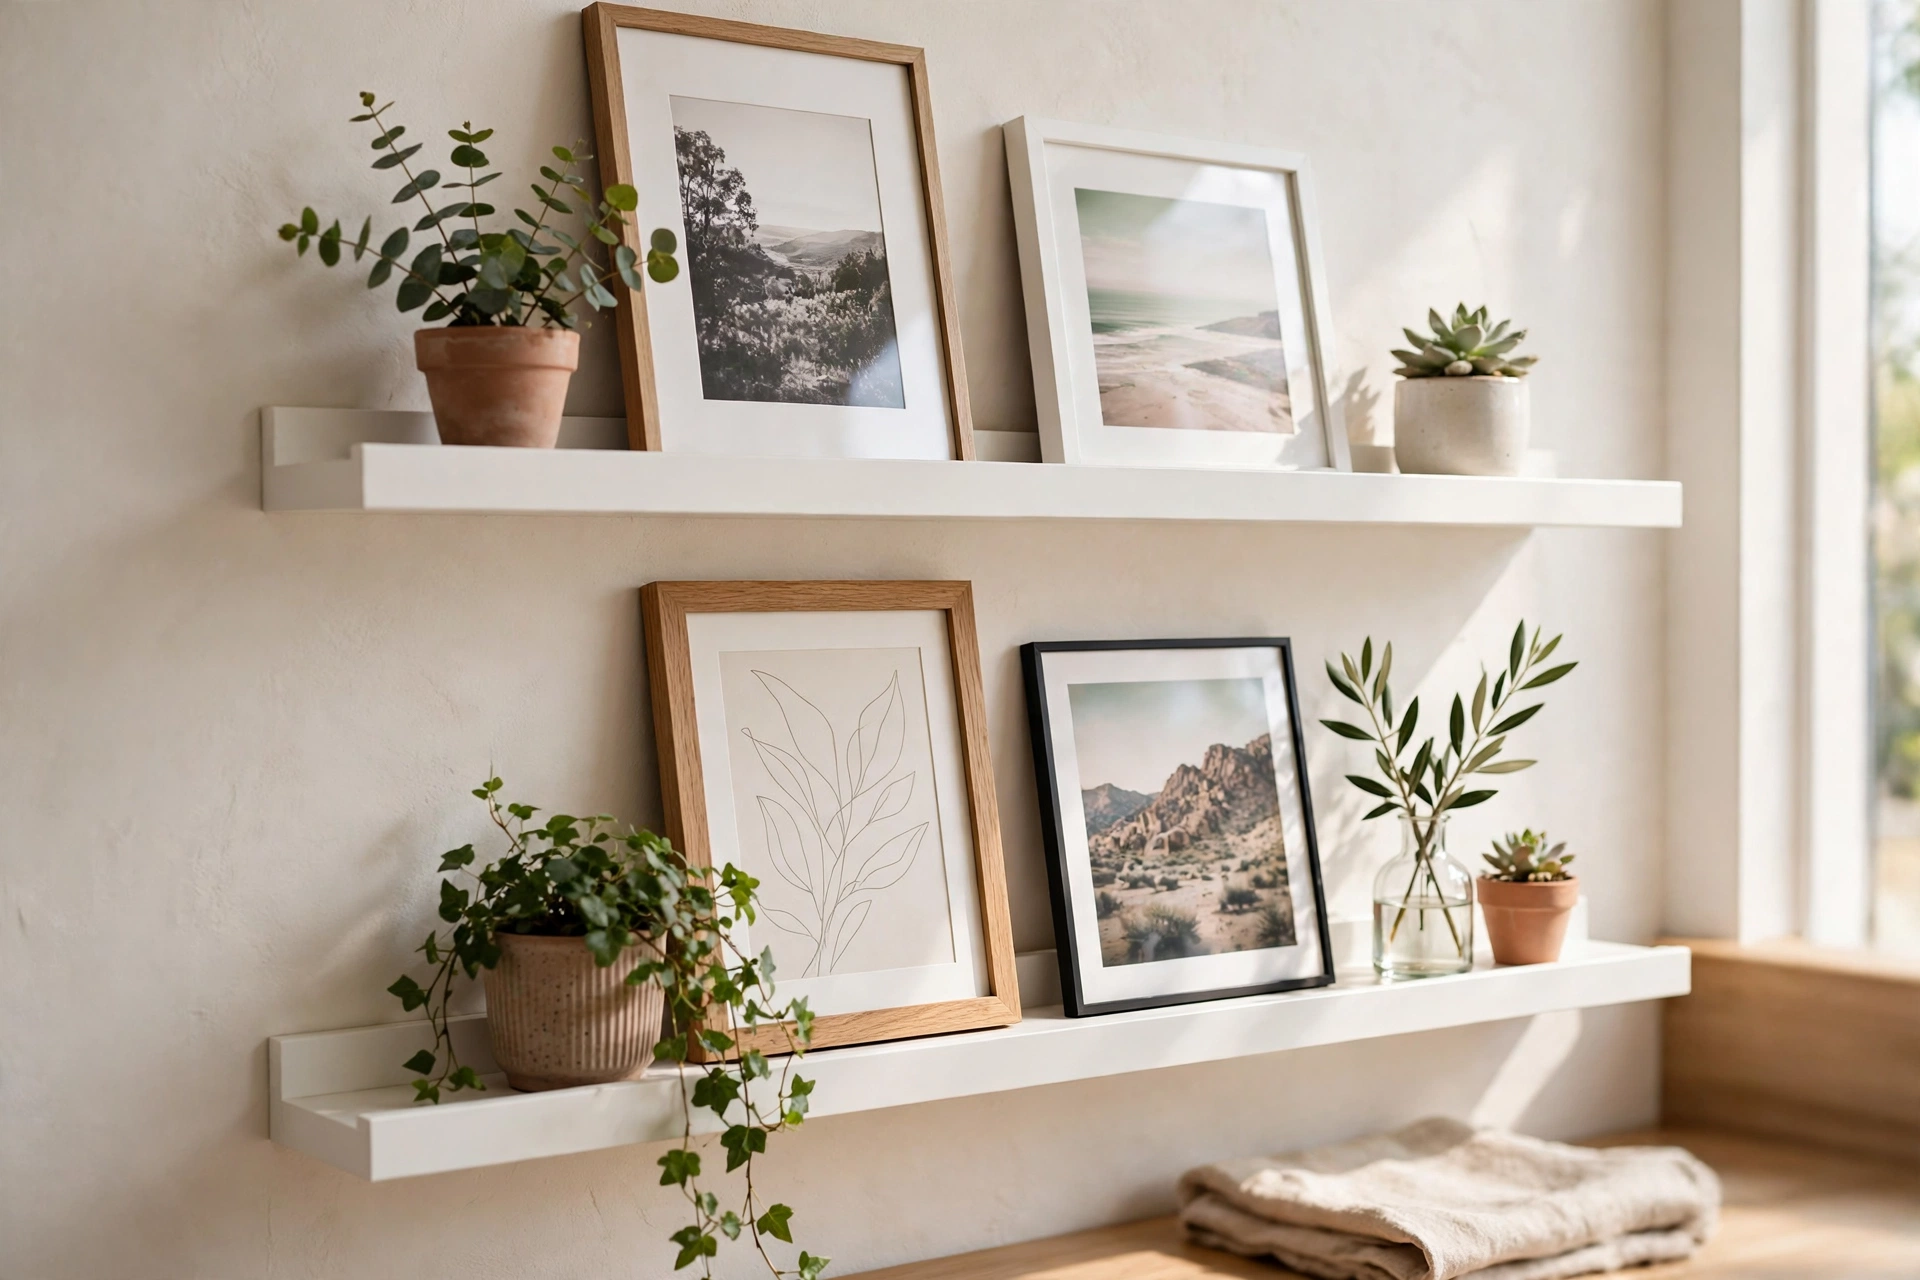
If you change your mind often, skip the nails and install two picture ledges instead. Mount one ledge at about 50 inches from the floor and a second one 14 to 16 inches above it, checking carefully for level. Then lean a mix of framed prints, photos, postcards, and small canvases along each ledge, overlapping the frames slightly so the display feels layered rather than lined up. Add one small plant, a tiny clock, or a stack of two art books for height. The ledges hold the weight, the wall gets only a few screw holes in total, and you can restyle the whole arrangement in five minutes whenever new art arrives.
Budget: about $22–$40 total — two picture ledges and frames and art you mostly already own.
11. A Calm Botanical Theme in Greens and Naturals

A botanical wall brings a quiet, fresh feeling to a living room or bedroom, and the art is some of the cheapest to find. Vintage plant illustrations, leaf prints, pressed leaves in glass frames, and simple line drawings of stems all work together when you limit the palette to greens, cream, and natural wood. Use six to eight frames in light wood or thin gold, arranged in a relaxed rectangle above a sideboard or reading chair: two larger prints as anchors, smaller leaf studies around them, spacing of 2 to 2.5 inches. Add one real plant on the furniture below so the living green connects the wall to the room.
Budget: about $13–$26 total — botanical prints, simple wood frames, and glass frames for pressed leaves.
On your first evening with the wall finished, stand across the room and look at it the way a guest will: one clear shape, even gaps, and art that repeats a color or a frame finish from piece to piece. That is the real secret behind gallery wall ideas on a budget — the money goes on a few good frames and prints, while the layout does the expensive-looking work for free. Start with the layout that fits your wall today, hang the anchor piece first, and stop adding when the rectangle feels full. A wall you planned on paper first will look calm, personal, and far more costly than it was.
Total Cost Recap
| Idea | What You Need | Estimated Cost |
|---|---|---|
| A Thrifted Frame Mix with One Paint Color | Thrifted frames, one can of spray paint, and prints or photos you already own | $12–$25 |
| Printable Art in Slim Store-Bought Frames | Printable files, printing on matte paper, and five to seven slim frames | $15–$30 |
| A Perfect Grid Layout with Matching Frames | A multi-pack of matching frames and prints made at home or at a copy shop | $18–$35 |
| A Relaxed Salon-Style Layout, Floor to Ceiling Feeling | Art and frames gathered from thrift stores, markets, and your own collection over time | $20–$40 |
| A Staircase Gallery That Follows the Slope | Mixed frames you already own or find secondhand, plus photo printing | $14–$28 |
| A Symmetrical Layout Centered Above the Sofa | Matching frame multi-packs and a coordinated set of prints | $20–$38 |
| Dollar Store Frames Painted to Look Expensive | Dollar store frames, one can of spray paint, and low-cost art fillers | $10–$20 |
| Black-and-White Photo Gallery | Photo printing and simple white frames in a few standard sizes | $12–$24 |
| Plates, a Mirror, and Small Frames Mixed Together | Thrifted plates, a simple round mirror, plate hangers, and small frames | $16–$32 |
| Picture Ledges You Can Rearrange in Minutes | Two picture ledges and frames and art you mostly already own | $22–$40 |
| A Calm Botanical Theme in Greens and Naturals | Botanical prints, simple wood frames, and glass frames for pressed leaves | $13–$26 |
| Total | $172–$338 |
Frequently Asked Questions
Q: How much does a gallery wall cost?
A: Each layout here is an alternative, not an add-on: one finished wall runs about $10–$40 depending on the layout you choose, with painted dollar-store frames the cheapest route at $10–$20.
Q: How do I plan a layout without ruining my wall?
A: That is why the article includes ready-made layouts — a strict grid, a symmetrical arrangement centered above the sofa, a staircase run that follows the slope — so you can copy proven spacing instead of guessing.
Q: Where do I find frames cheaply?
A: Thrift stores: a mixed frame haul unified with one can of spray paint runs $12–$25 total. Dollar-store frames, painted, are the other budget route.