
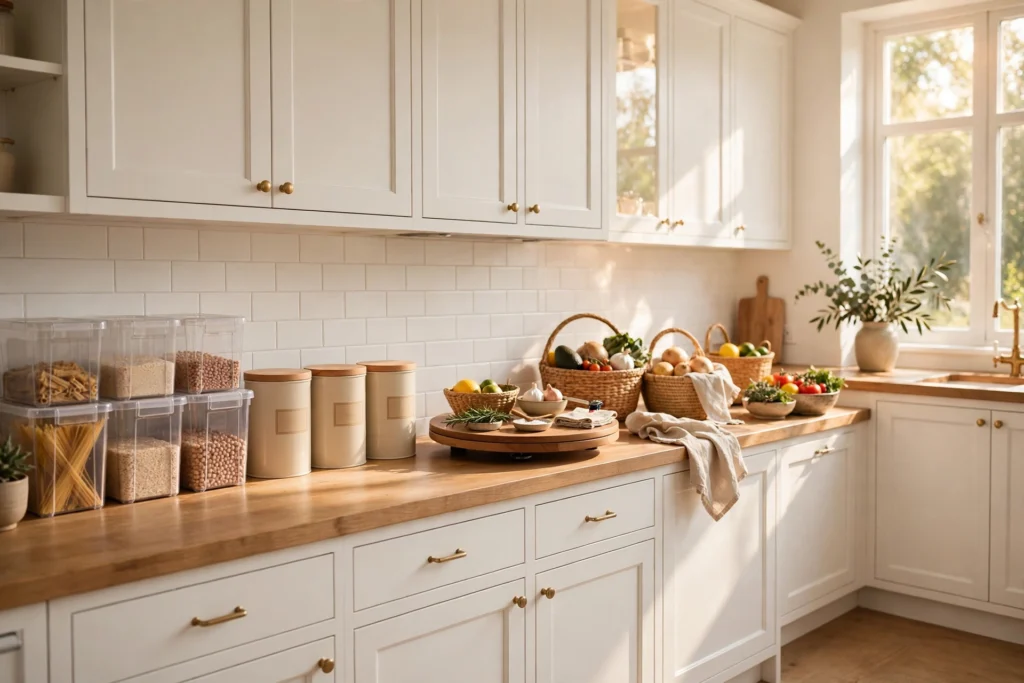
A kitchen can look tidy at 9 a.m. and feel impossible by dinner, not because you own too much, but because nothing has a fixed home. The fixes that last are rarely the expensive ones. These dollar tree kitchen organization ideas work because every single one answers a specific daily annoyance — a lid that never matches, a spice you buy twice, a drawer that jams — with a container that costs about a dollar and takes minutes to put in place.
Start with one rule before you buy anything: empty the zone first, throw out what is expired or broken, and measure the shelf, drawer or cabinet before you shop. Dollar store containers come in a handful of standard sizes, and the right size is the whole trick. Work one zone at a time, in the order below — fridge, cabinets, drawers, pantry, then under the sink. Nothing here needs tools, nothing needs a renovation, and if an idea does not fit your kitchen, you have spent a dollar learning that, not forty.
1. Give the Fridge Clear Bins With One Job Each
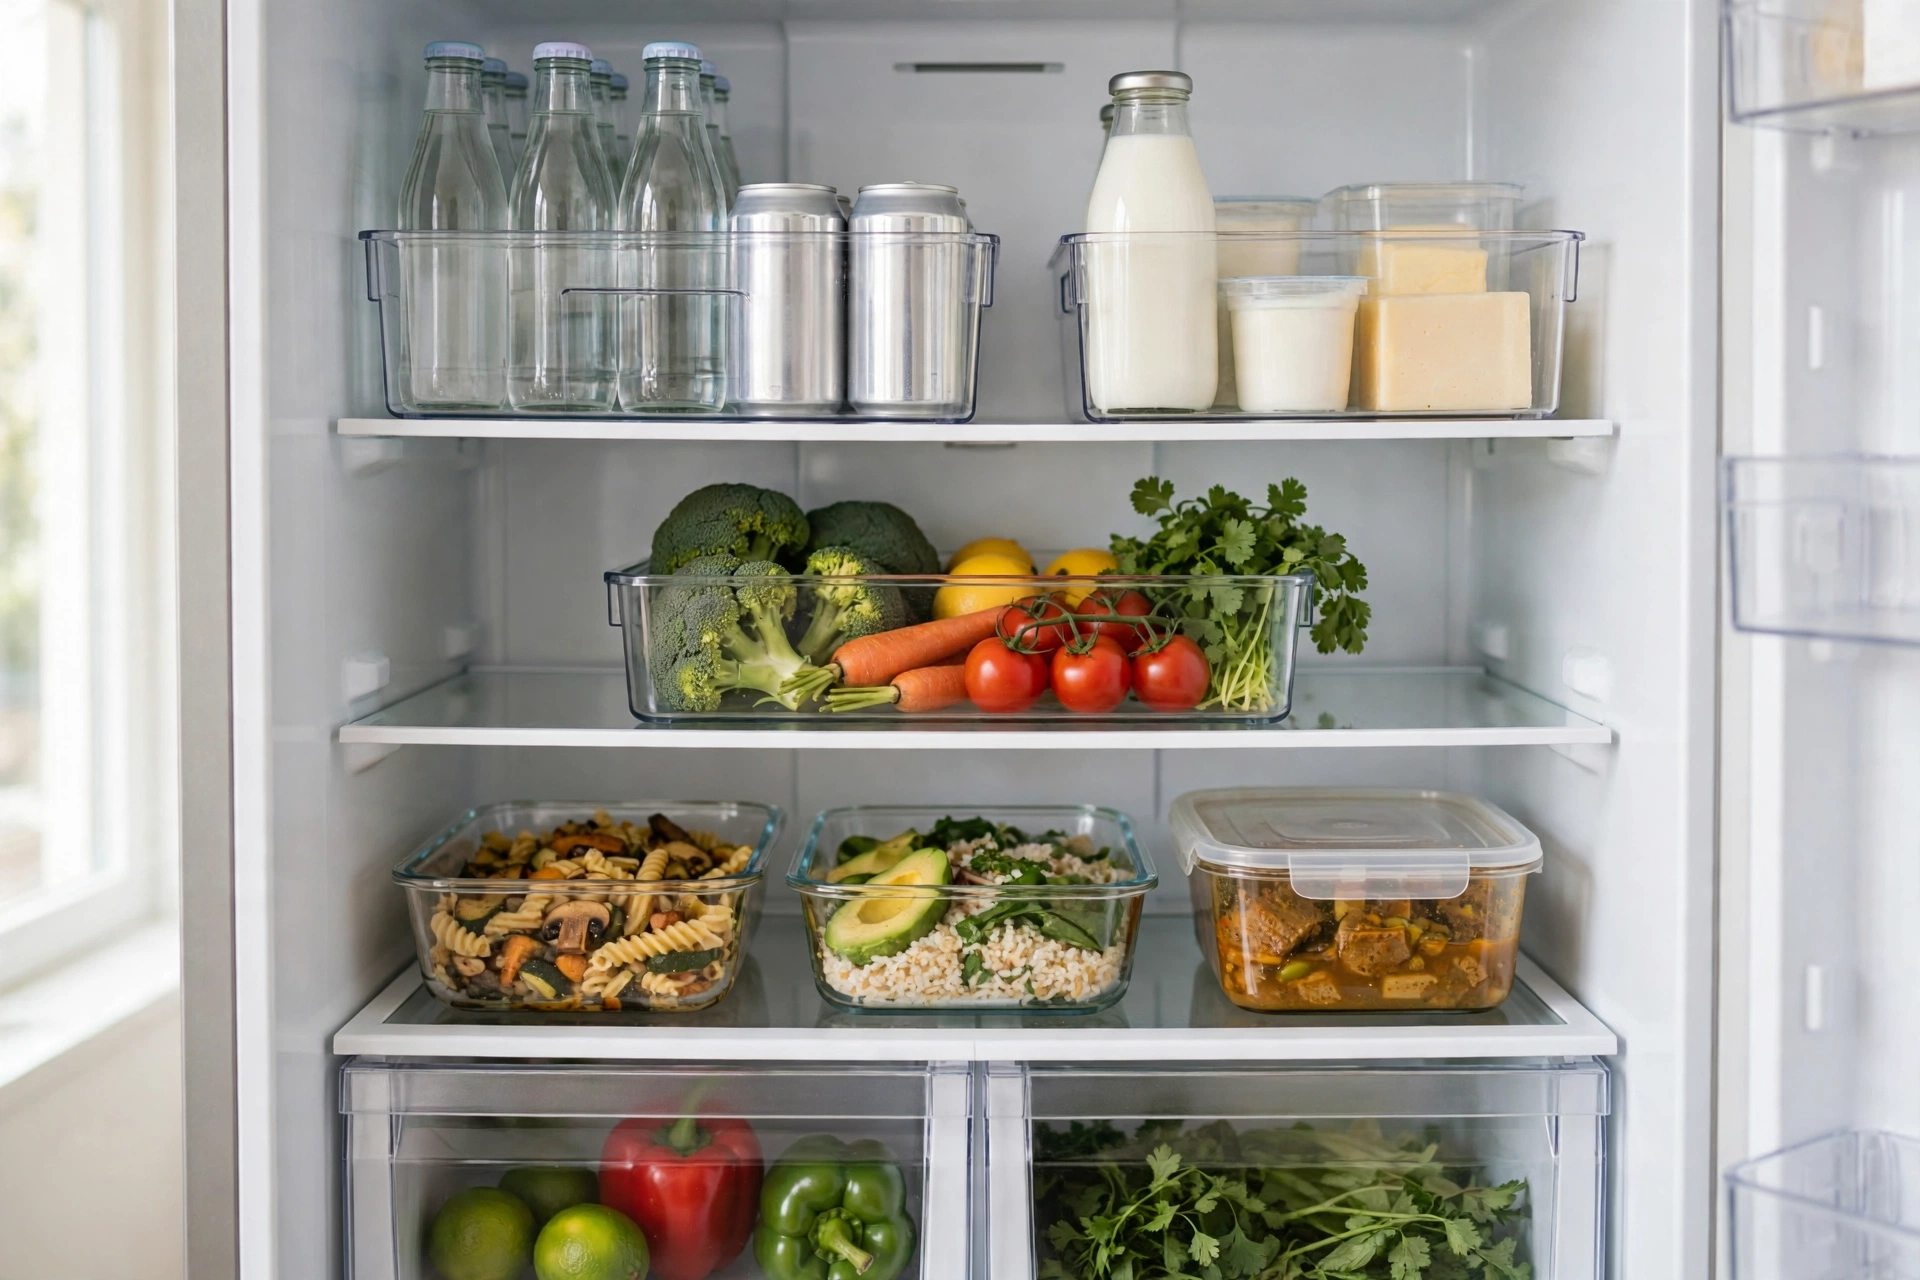
The fridge fails when everything is simply “in the fridge.” Give it four or five clear bins, one job each: drinks, produce, dairy and cheese, leftovers, and condiments that migrate to the back. Clear matters more than pretty — you can see at a glance what is running low and what needs eating first, so food stops dying quietly behind the milk. Keep bins one item deep as much as you can, put the oldest leftovers at the front of their bin, and wipe a bin while it is empty on grocery day instead of deep-cleaning the whole fridge. This is the cheapest fix on the list and the one you will feel at breakfast tomorrow.
Budget: about $5 — four or five clear bins, one per fridge zone.
2. Put a Turntable Where Deep Cabinets Swallow Things

Every kitchen has one deep cabinet or pantry shelf where bottles go to be forgotten. A small turntable ends that completely: oils and vinegars on one, spices on another, and a single spin brings the back row to the front. Measure the shelf first — the turntable must spin without clipping the door frame — and keep only what you reach for weekly on it; the once-a-year bottles can live higher up. If you cook with spices daily, put the turntable beside the stove rather than inside a closed cabinet, and group the jars by cuisine so taco night and baking day each get their own spin. No more buying a third bottle of cumin because the first two were hiding.
Budget: about $3 — one or two small turntables for a cabinet, a pantry shelf or the counter beside the stove.
3. Double a Cabinet Shelf With a Simple Riser

Cabinets waste the space above your plates. A wire or plastic shelf riser splits one tall shelf into two usable levels: bowls below, plates above, or mugs on top and glasses underneath. It works especially well in rental kitchens because nothing is screwed in and the riser leaves with you. Check the height both ways before you commit — the tallest item must fit under the riser and the stack on top must clear the shelf above. Use one riser per cabinet rather than lining them all up; you want one obvious home for each category, not a second layer of clutter. Stacks get shorter, everything becomes visible, and unloading the dishwasher suddenly takes half the hunting.
Budget: about $3 — one or two shelf risers for the dish or mug cabinet.
4. Turn Small Trays Into Drawer Dividers That Fit
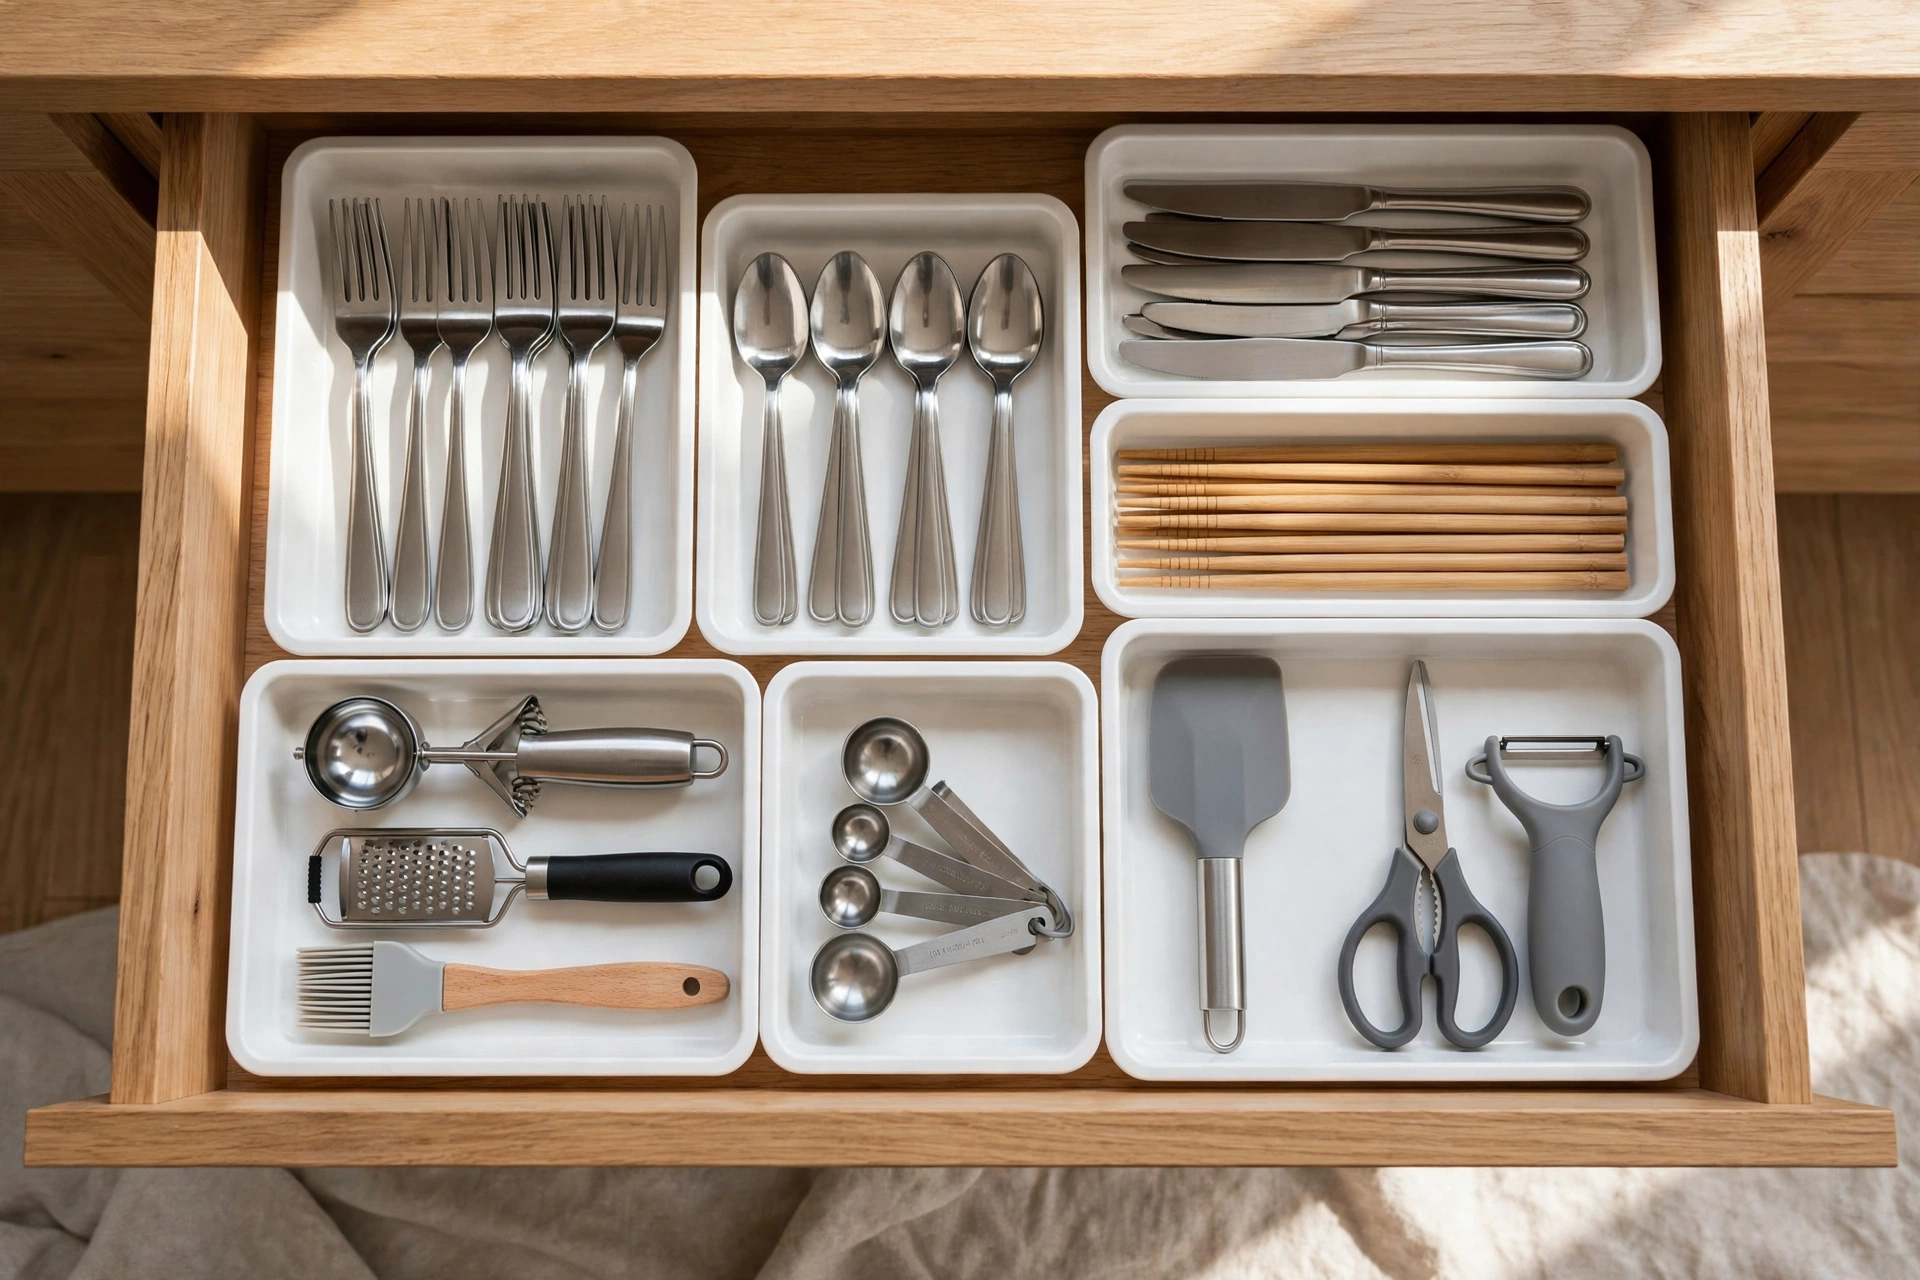
Expensive drawer inserts fail because they are built for someone else’s drawer. Small trays and shallow containers, mixed to fit your actual drawer, do the job better: one tray for everyday cutlery, one for cooking utensils, one narrow tray for the thermometer, tongs and peelers that always jam the drawer shut. Leave one tray deliberately half empty — a drawer with no breathing room becomes a junk drawer within a month. Line the drawer first if the trays slide, and put the tools you use daily closest to where you stand to cook, not where they happened to land on moving day. Open the drawer a week later and it should still look like the photo.
Budget: about $4 — a mixed set of small trays and shallow containers sized to your drawer.
5. Decant Spices Into Matching Jars and Label Them
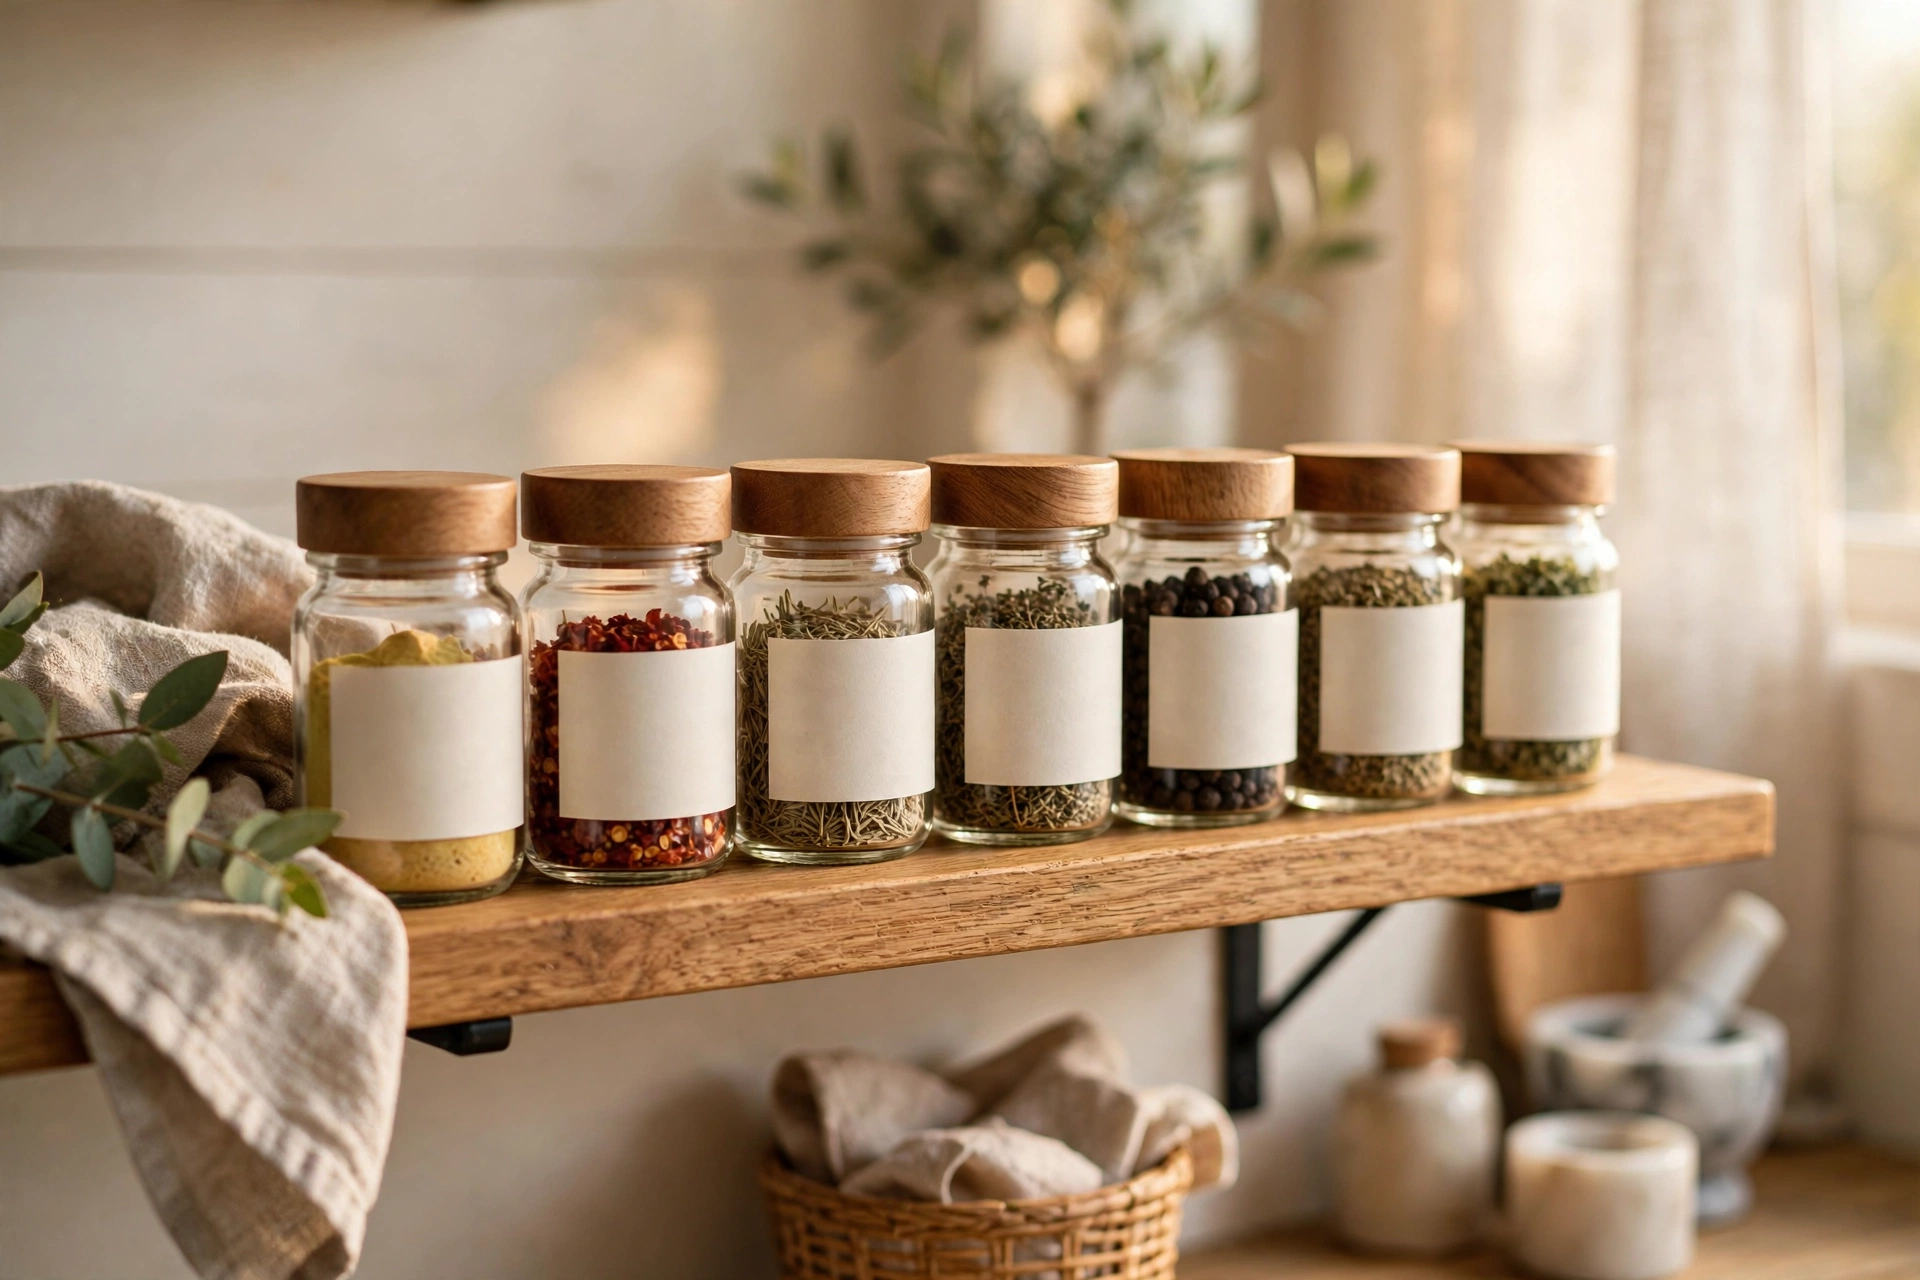
Half the spice chaos in a kitchen is packaging: bags that spill, tins in four sizes, labels facing four directions. Small matching jars fix the visual mess and the practical one at once. Decant the spices you use most, label the front — not the lid, which migrates — and add the purchase month in tiny script on the back if you want to keep them fresh. Keep the jars in one row or on the turntable from idea 2, alphabetically if you are that person, by cuisine if you are not. Refill bags and backup bottles go in one bin, in one place, so you always know whether a spice is truly finished or just hiding.
Budget: about $6 — a set of small jars plus simple labels for your most-used spices.
6. Move Pantry Staples Into Clear Canisters You Can Read

Pasta in a torn box, rice in a clipped bag and flour in a paper sack will leak, stale and attract trouble. Clear canisters with lids that actually close are the pantry upgrade that pays for itself in food you stop throwing away. Choose one shape and repeat it — square canisters waste less shelf space, round ones pour more easily — and label each with the contents and, for flour and sugar, which is which before a baking mistake teaches you. Keep the everyday staples at eye level, baking supplies one shelf up, and put a small scoop inside the two canisters you open daily. When you can see the level dropping, your shopping list writes itself.
Budget: about $8 — four to six clear canisters with lids, plus labels.
7. Corral the Under-Sink Chaos in Two Baskets
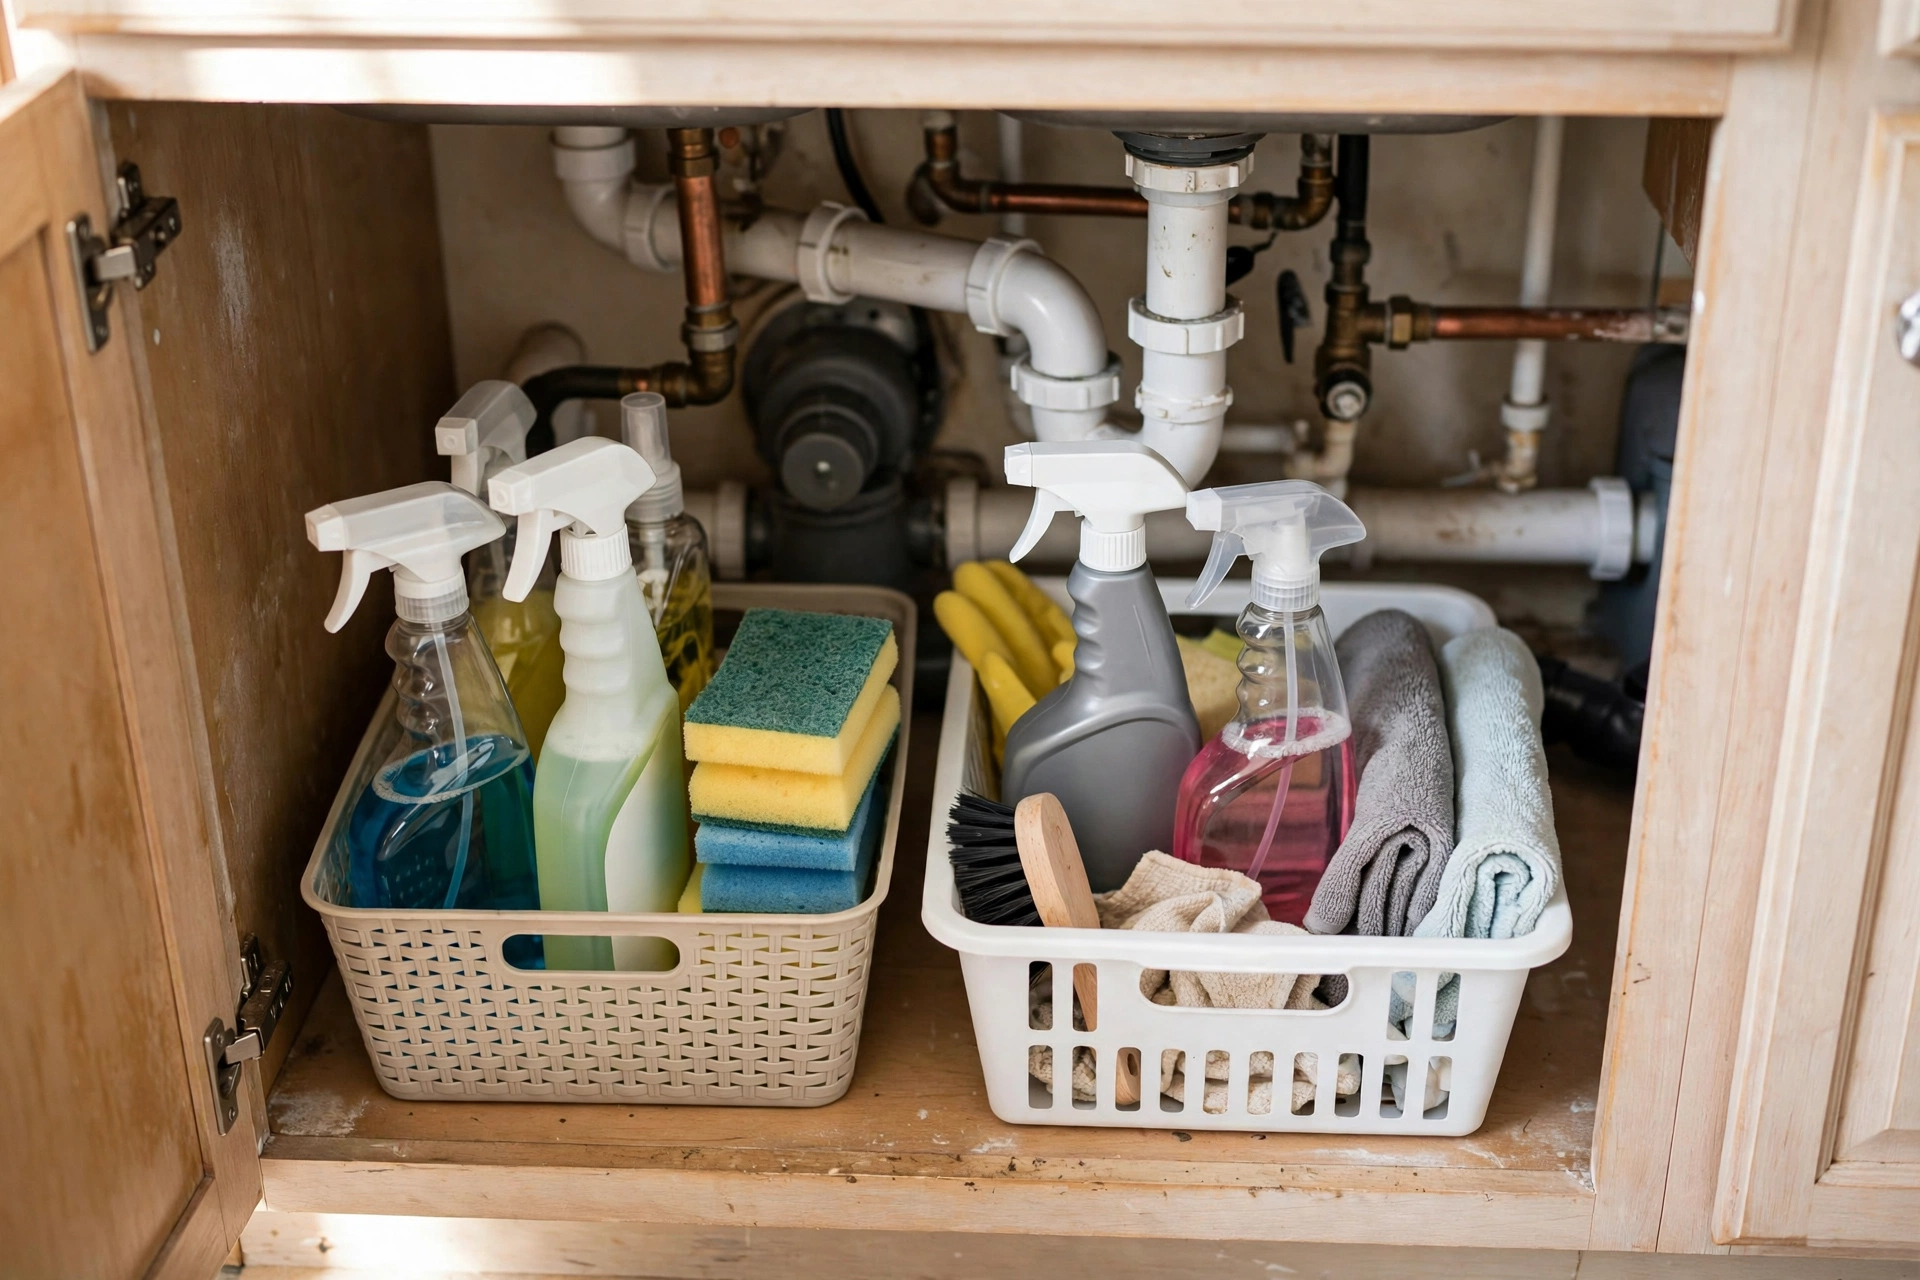
Under the sink is where cleaning supplies go to tip over. Two sturdy baskets fix it: one for daily sprays and dish supplies, one for refills, sponges and trash bags. Everything else hiding down there — the specialty cleaner from 2022, the third bottle of floor polish — gets honestly reviewed, because this cabinet should hold what the kitchen itself uses, nothing more. A basket also lifts out in one motion when a pipe needs attention, instead of a dozen loose bottles rolling across the floor. Add a small hook inside the door for gloves or a dish brush if yours allows, keep chemicals away from any food storage, and check for drips while you are down there; organization day is also leak-detection day.
Budget: about $3 — two baskets sized to fit around your pipes.
8. Store Lids and Boards Upright in a File Organizer
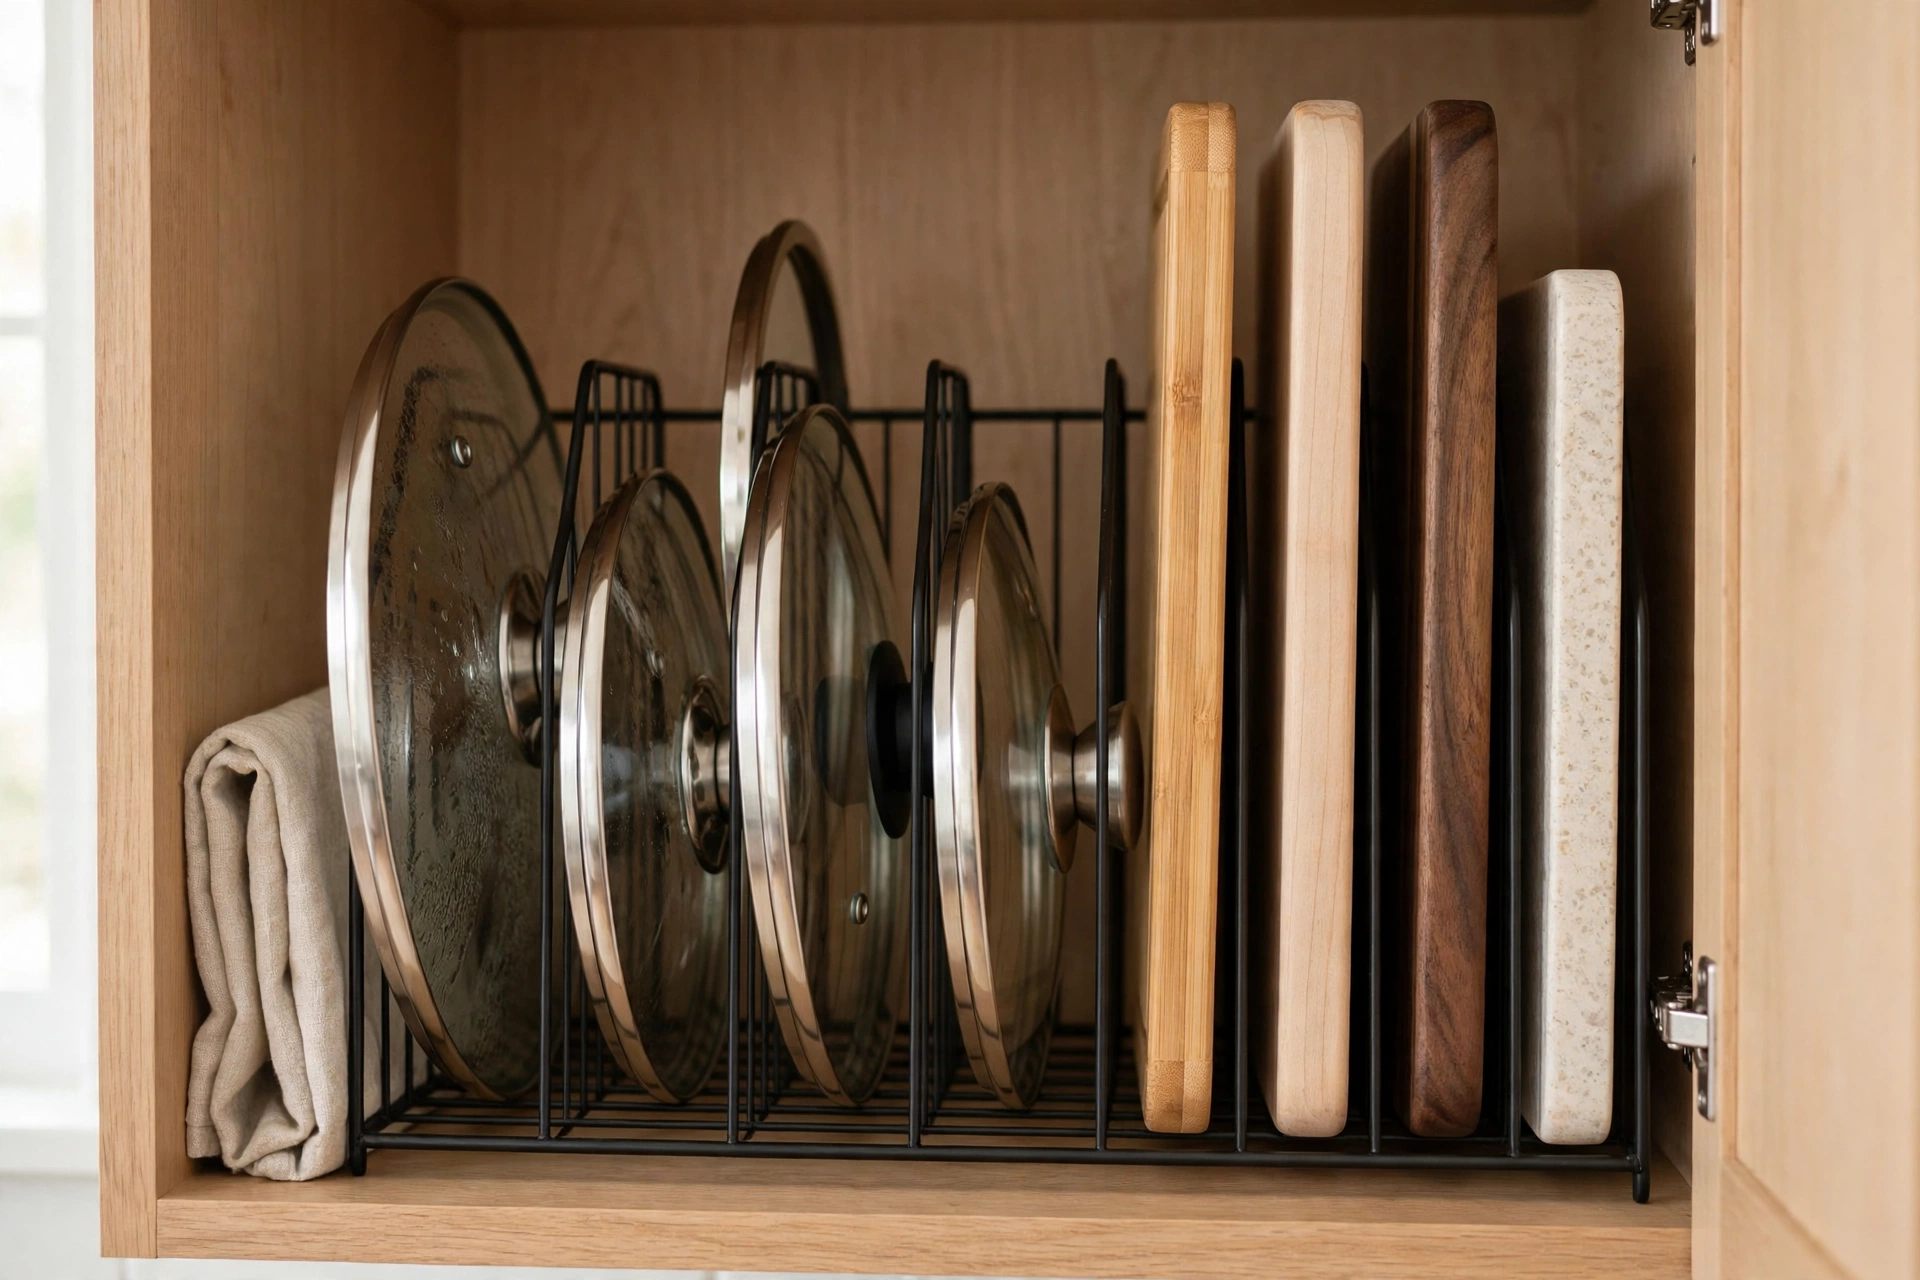
Flat stacks are why lids and cutting boards are always a wrestling match. A simple file organizer — the kind sold for paperwork — stands them upright in a cabinet or on a deep shelf: boards on one side, lids sorted large to small on the other, each one sliding out without moving the rest. A wire rack made for plates does the same job if you find one first. Keep this organizer in the cabinet nearest the stove, where lids are actually needed mid-cooking, and resist adding “just one more” board when the slots are full; the limit is the feature. Dinner prep gets quieter, faster and noticeably less dramatic.
Budget: about $2 — one file organizer or wire rack, repurposed for lids and boards.
9. Hang Under-Shelf Baskets in the Space You Waste
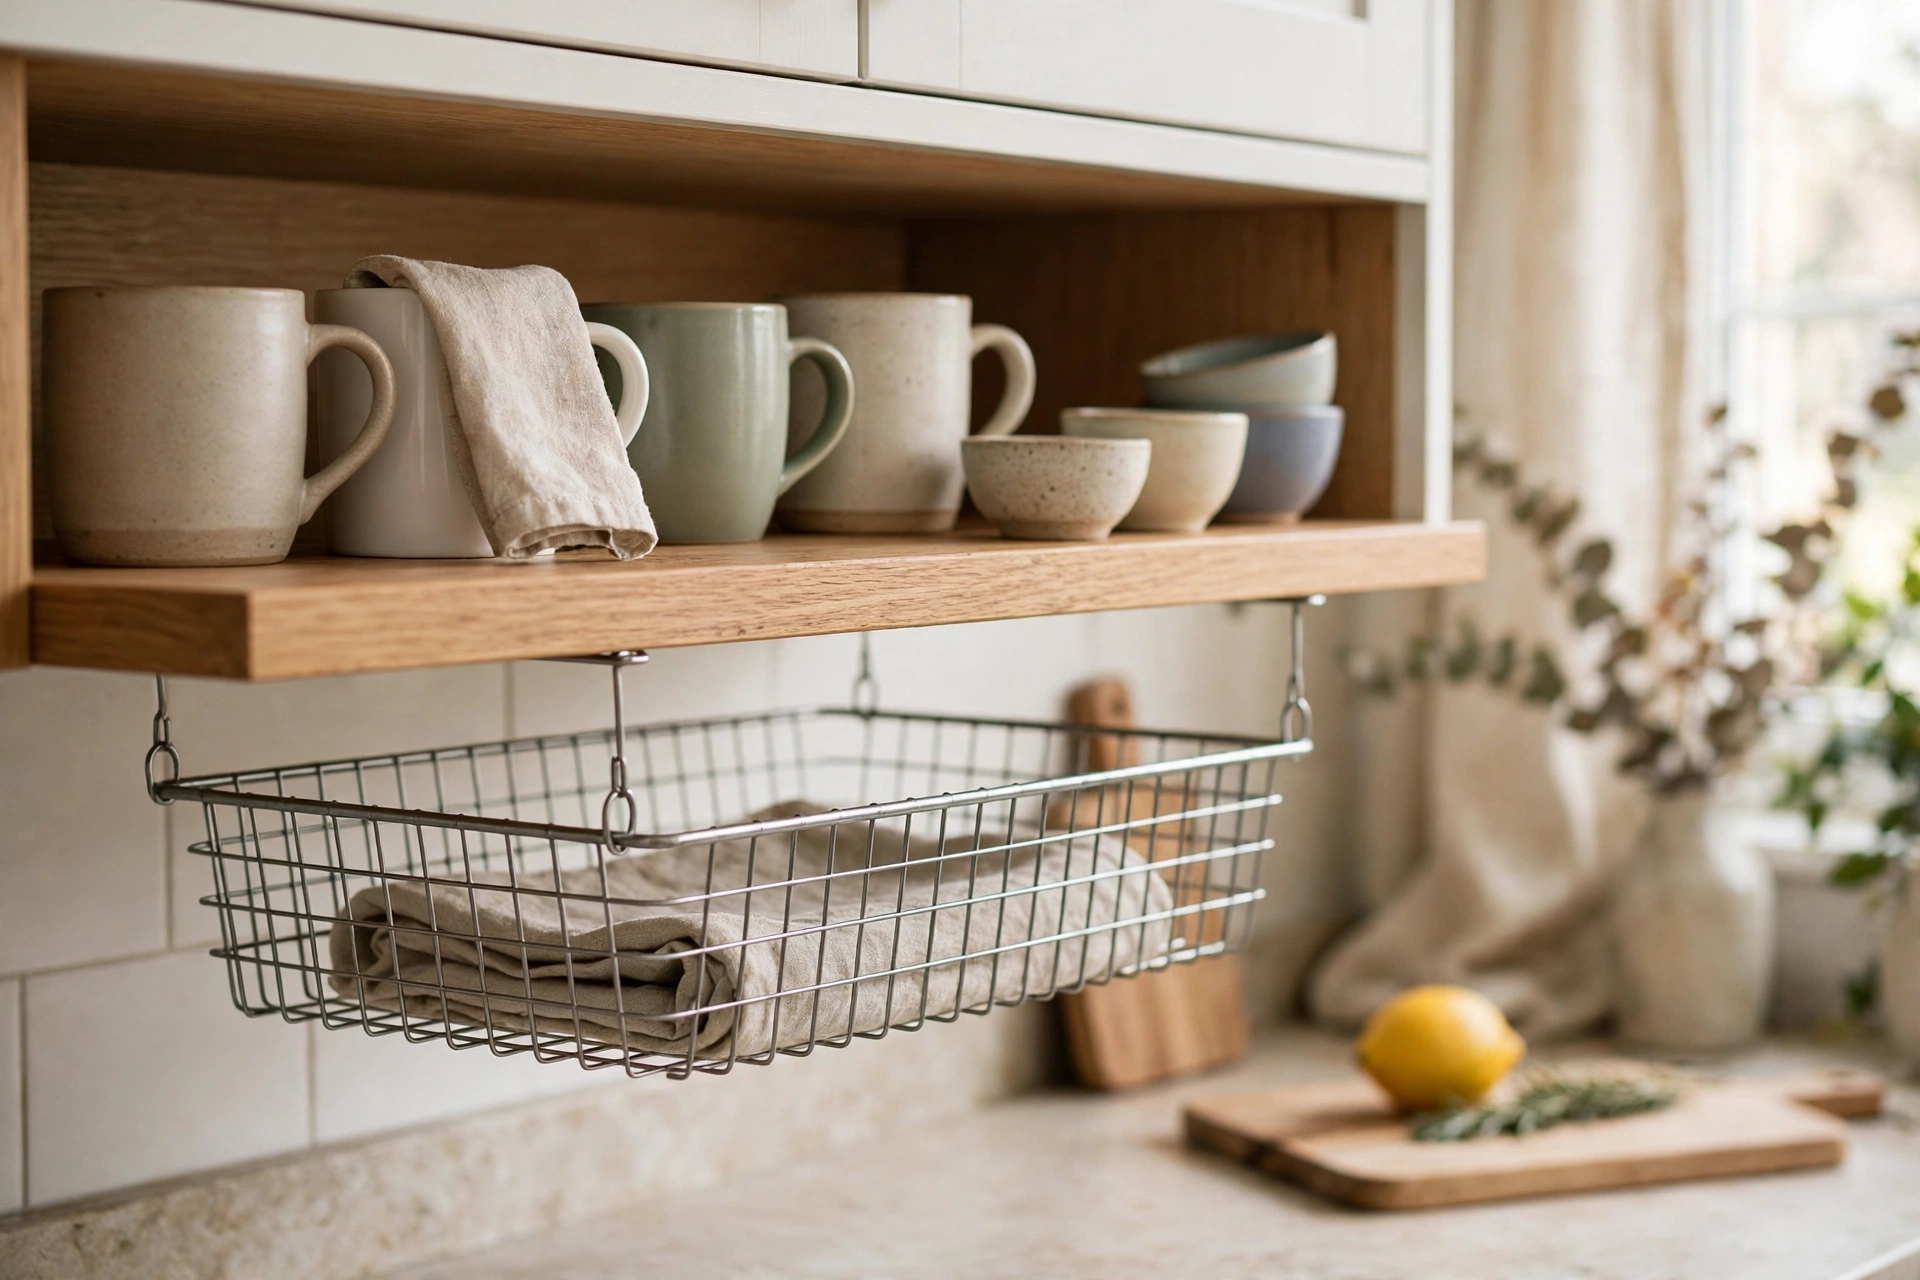
Between a shelf and the items on it there is usually a hand’s height of pure air. Under-shelf wire baskets slide onto the shelf above and claim that air for mugs, small bowls, wraps and foil, or the lids that did not fit the file organizer. They need no screws and remove in seconds, which makes them perfect for renters and for anyone testing whether a zone works before committing to it. Do not load them with your heaviest dishes — these baskets are for light, grabby things you reach for daily. One basket over the coffee corner for filters and pods, one in the pantry for wraps and bags, and two dead zones become the most convenient storage in the room.
Budget: about $3 — one or two under-shelf wire baskets for light daily items.
10. Build a Drink Station in a Single Caddy

Coffee and tea supplies spread by nature: pods in a drawer, tea in a tin, sugar somewhere else, spoons everywhere. One caddy or small tray gathers the whole ritual into a single liftable unit beside the machine — pods, tea bags, sweetener, spoons and one mug tree or hook if you have room. Guests can help themselves without opening six drawers, and on cleaning day the entire station moves in one hand so the counter actually gets wiped. Keep a week’s supply in the caddy and store the overflow in one pantry bin; a station stuffed with a month of pods stops being a station and becomes storage with a coffee maker attached.
Budget: about $3 — one caddy or tray, plus small containers you may already own.
11. Hang Spray Bottles From a Tension Rod Under the Sink
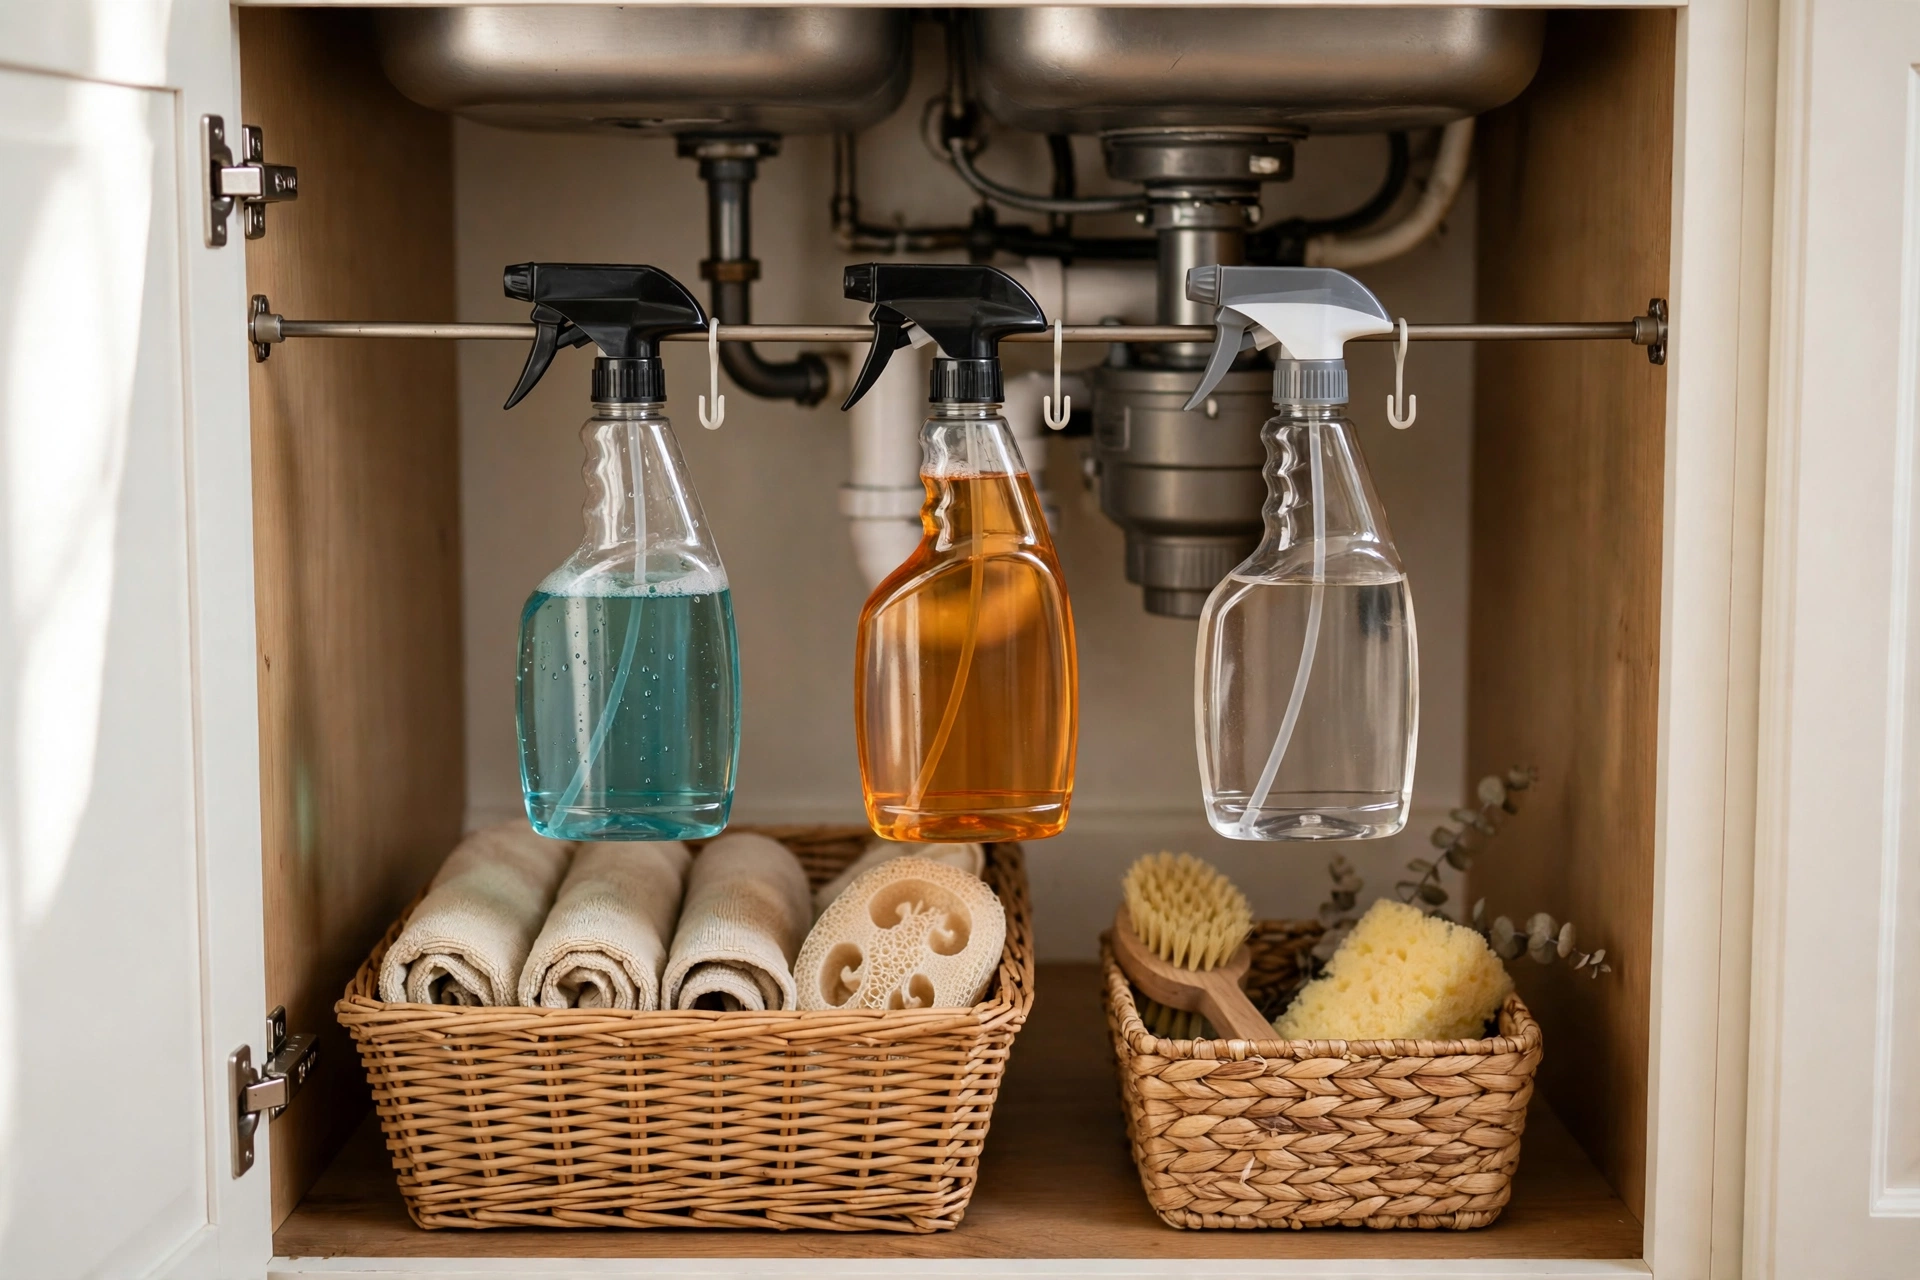
This is the trick that makes visitors say “wait, that’s clever.” A short tension rod fitted across the top of the under-sink cabinet lets spray bottles hang by their trigger handles, in a neat row, while the cabinet floor below stays free for your two baskets from idea 7. Bottles stop tipping, labels face forward, and the bottle you want is the bottle you can reach. Measure the cabinet width before you shop, fit the rod high and snug, and hang only bottles with sturdy triggers. If your cabinet is too narrow for a rod, the same idea works with hooks on the inside of the door — the principle is identical: use the vertical space, keep the floor clear.
Budget: about $3 — one short tension rod, or a pack of adhesive hooks as the alternative.
12. Put It All Together — the Dollar Tree Kitchen Organization Ideas System That Stays Tidy
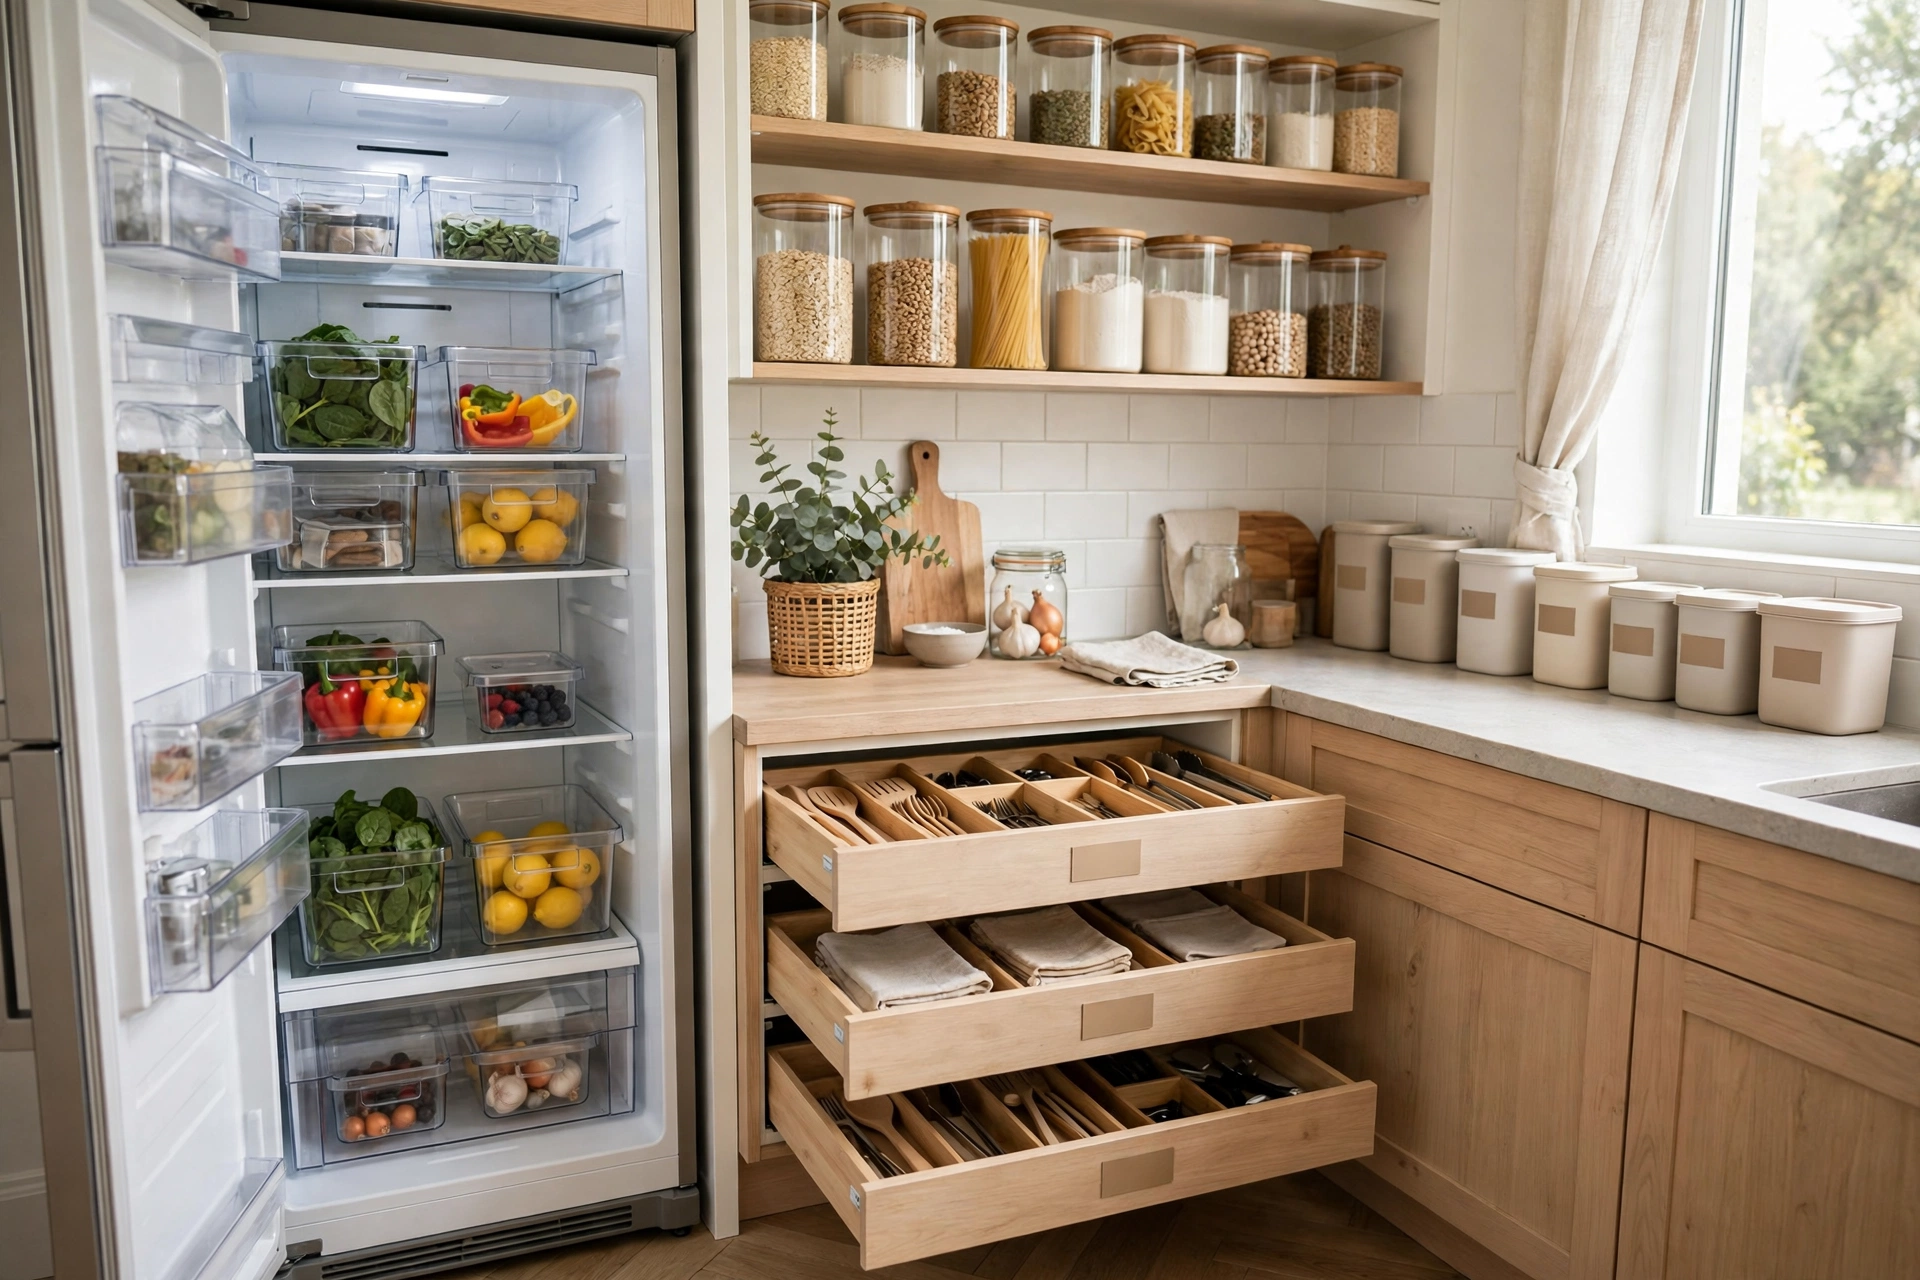
Here is the whole kitchen in one pass, in working order. Fridge bins first, while the groceries are still out. Turntable and risers next, while the cabinets are open. Then drawers and spices, the fiddly hour that makes daily cooking calmer. Pantry canisters after that, under-sink baskets and the tension rod together, and the drink station last because it is the reward. Stand back and check the system the honest way: every category has exactly one home, every container is labeled or clear, and you can find the peeler, the cumin and a matching lid in under ten seconds each. That ten-second test — not a matching color scheme — is what “organized” actually means in a kitchen that cooks twice a day.
Budget: about $35–$40 total if you build every zone at once — or one zone per week at a few dollars a time, which is how most real kitchens get there.
Strip it back and the principle is simple: containers are cheap, decisions are what you are really buying. These dollar tree kitchen organization ideas last because each one removes a daily decision — where does this go, where did that hide, do we even own one of those — and a kitchen with fewer decisions is a kitchen that stays tidy on its own. Start with the fridge bins and the lid file if you only have twenty minutes, add one zone a week after that, and take a photo when you finish each one. In a month, the photo and your kitchen will still match — and that, not the dollar total, is the real result.