
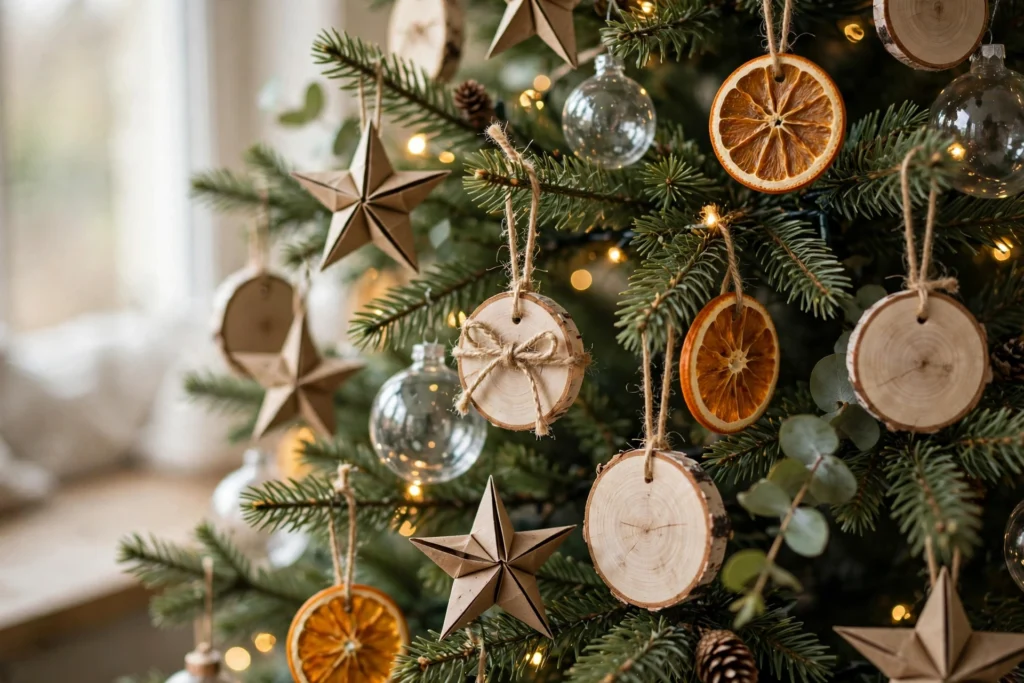
Store-bought ornaments are beautiful right up until you do the math at the register: a coordinated tree can swallow a hundred dollars in glass and glitter without blinking. These diy christmas ornaments exist to break that math. Every idea below costs under two dollars in materials for most makers, most take under thirty minutes, and several use things already sitting in your kitchen, your yard, or the craft drawer you forgot you owned.
The trick to handmade that looks store-bought is never the idea — it is the finish. Work in sets of six or more so the tree reads as a collection, not a craft fair. Pick one palette before you start — natural and white, red and gold, or Scandinavian pale wood — and let every ornament obey it. And always add the hanger neatly: a clean loop of twine, ribbon or wire is the difference between homemade and handmade, every single time.
1. Fill Clear Baubles With Snow and Greenery
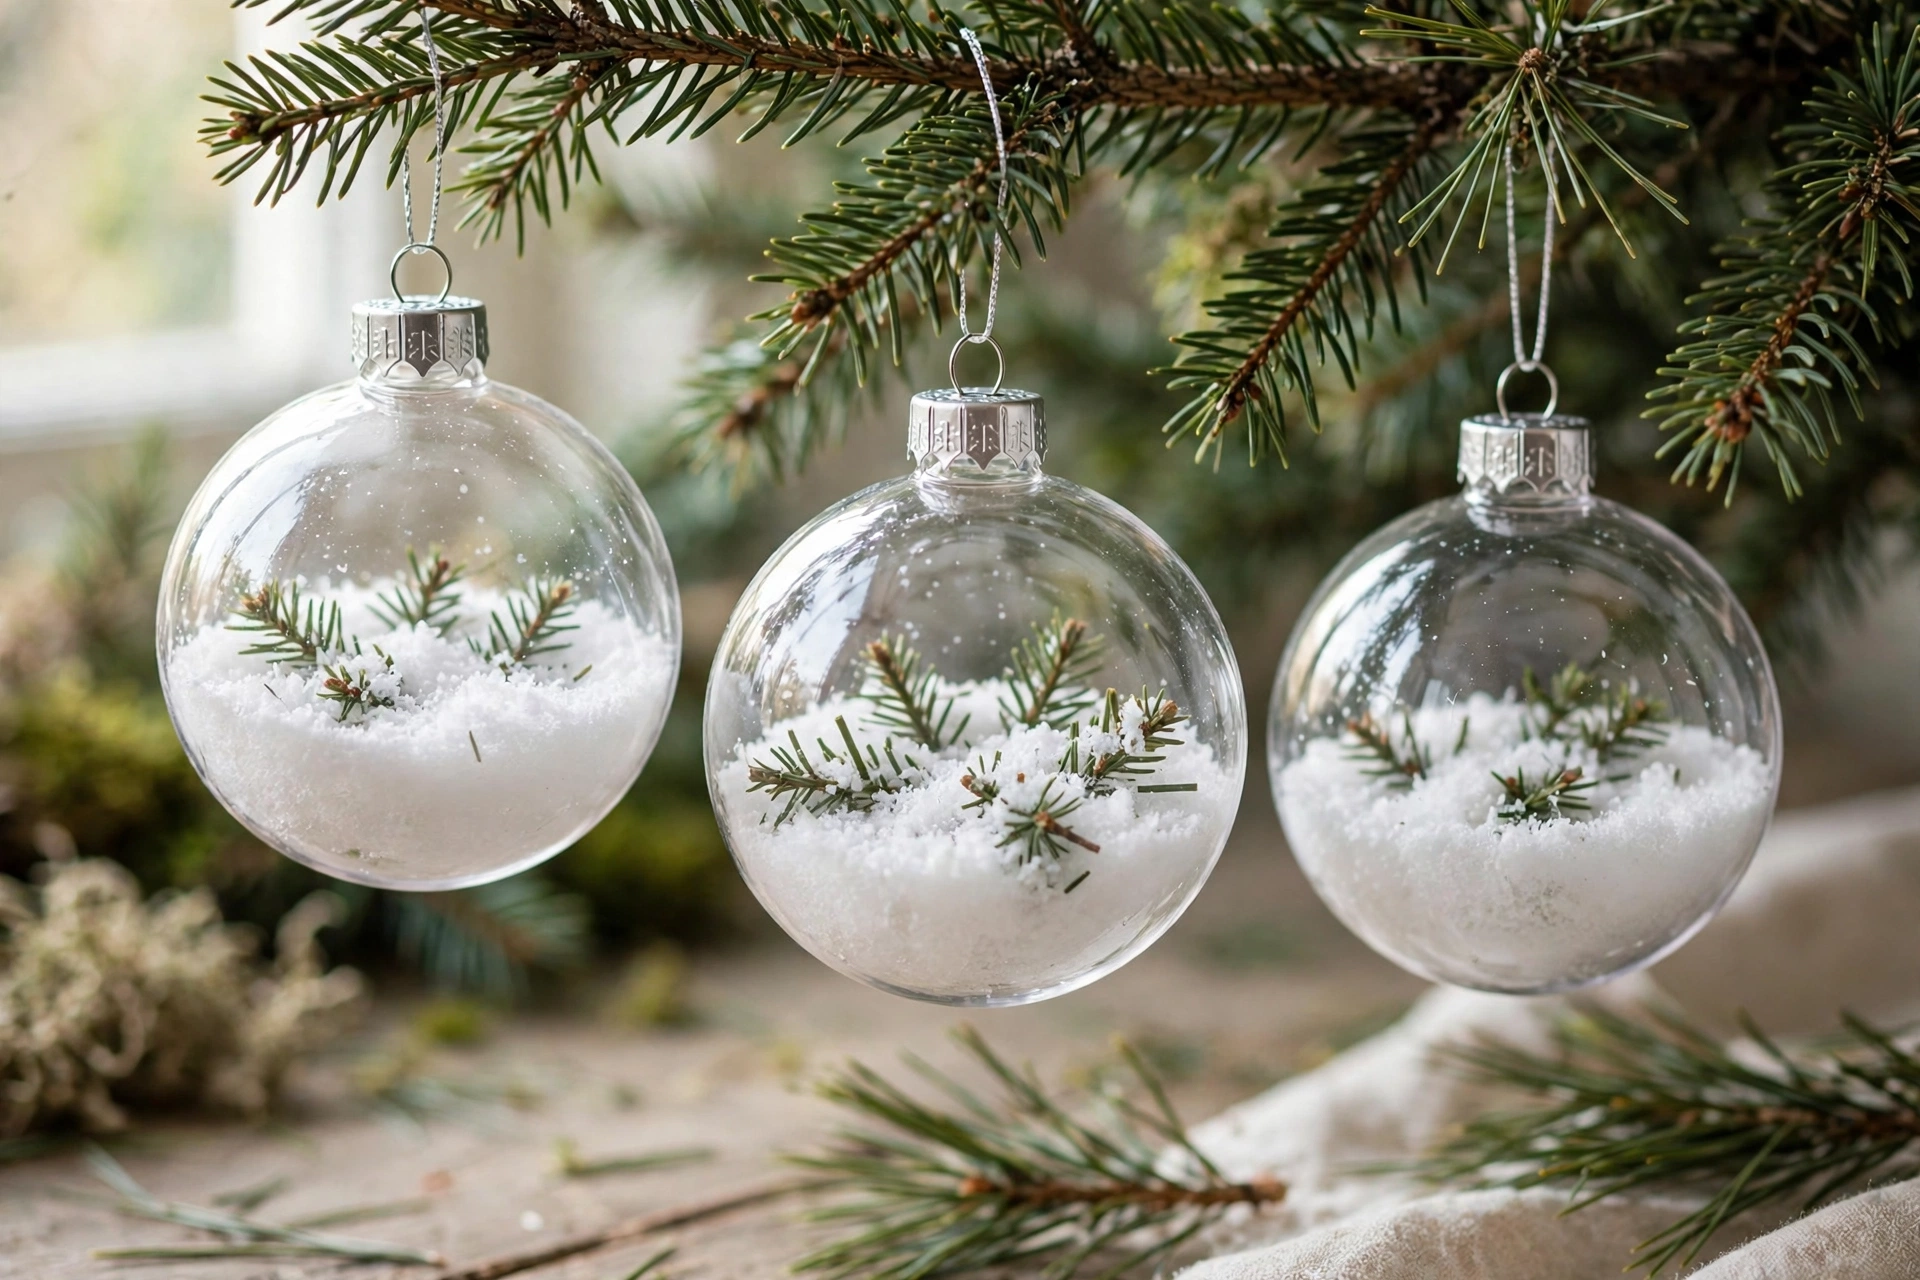
Clear fillable baubles are the fastest route to a boutique-looking tree. Open the top, add a spoonful of faux snow or fine salt, tuck in one tiny evergreen sprig or a few red berries, and close. The sprig must be small — a crowded bauble looks like a salad, a sparse one looks like a snow globe. Make them in sets of six and cluster two or three together on the tree rather than spacing them evenly; clusters read as a designed collection. These are also the safest ornaments in the house: plastic, light, and completely shatter-proof around kids and pets.
Budget: about $1 each — a multipack of clear baubles, faux snow and sprigs from the yard.
2. Dry Orange Slices Into Glowing Ornaments
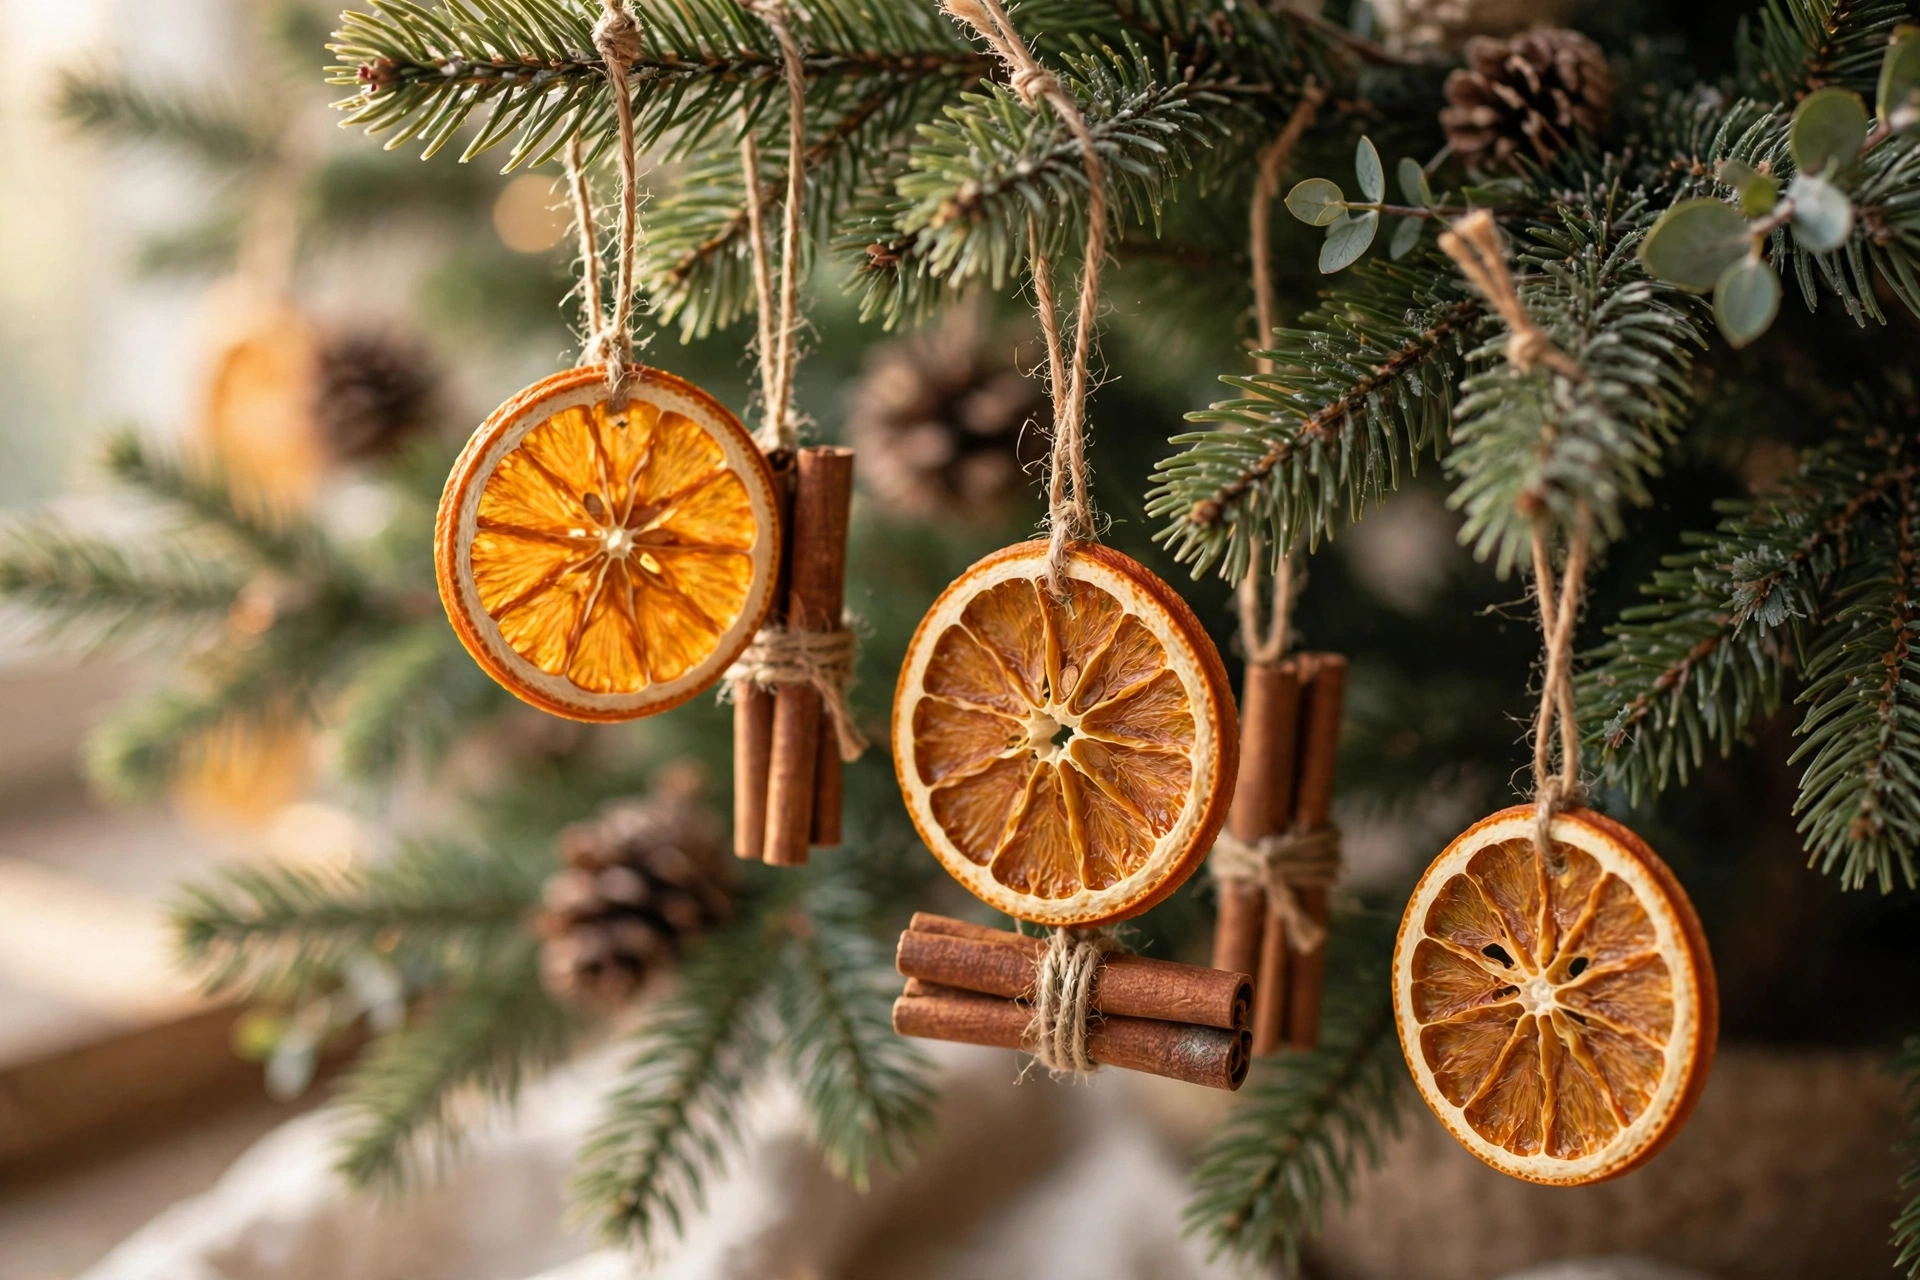
Dried orange slices are the ornament every expensive catalog copies, and they cost almost nothing to make at home. Slice oranges a quarter inch thick, pat them dry, and bake them low and slow until translucent, turning once. Thread twine through the top, add a cinnamon stick or star anise if you have one, and hang them where tree lights shine through — the slices glow like amber stained glass. They smell wonderful for the first season and keep for a second if stored dry and flat. Slightly imperfect slices look best; this is a handmade ornament, not a photograph.
Budget: about $0.50 each — oranges and twine; the oven does the rest.
3. Tie Cinnamon Stick Bundles
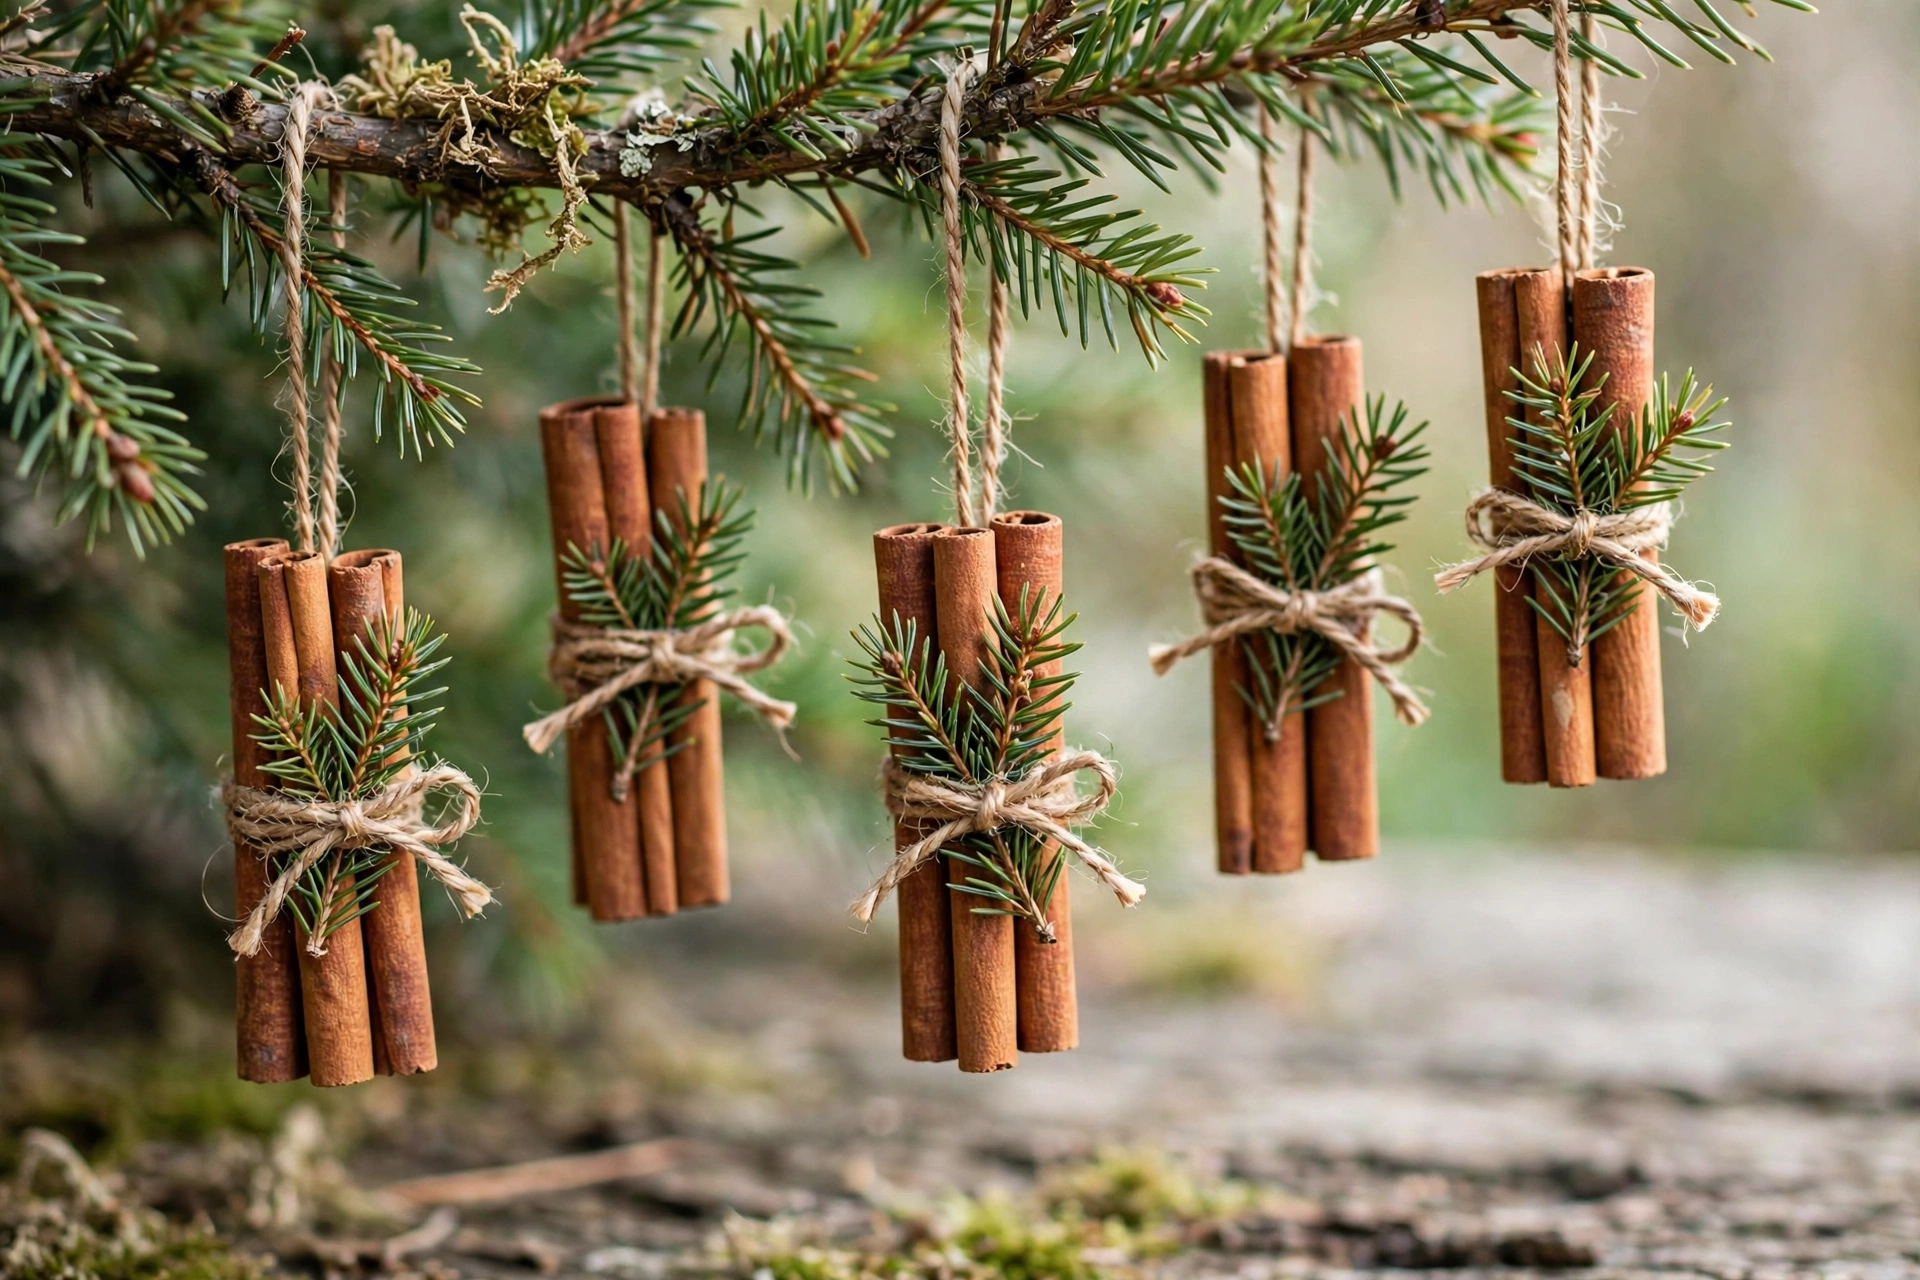
Three cinnamon sticks, one knot of twine, one tiny sprig of greenery: that is the entire tutorial, and the result looks like something sold in a wooden crate at a Christmas market. Tie the bundle tightly in the middle, fan the sticks very slightly, and add a small bow if your palette allows it. Cinnamon ornaments scent the whole tree for weeks, weigh almost nothing, and survive being dropped, stored badly, and rediscovered in March. Make a dozen in front of a movie — your hands learn the knot by the third one and stop needing your eyes by the sixth.
Budget: about $0.75 each — bulk cinnamon sticks, twine and greenery clippings.
4. Paint Wood Slice Ornaments
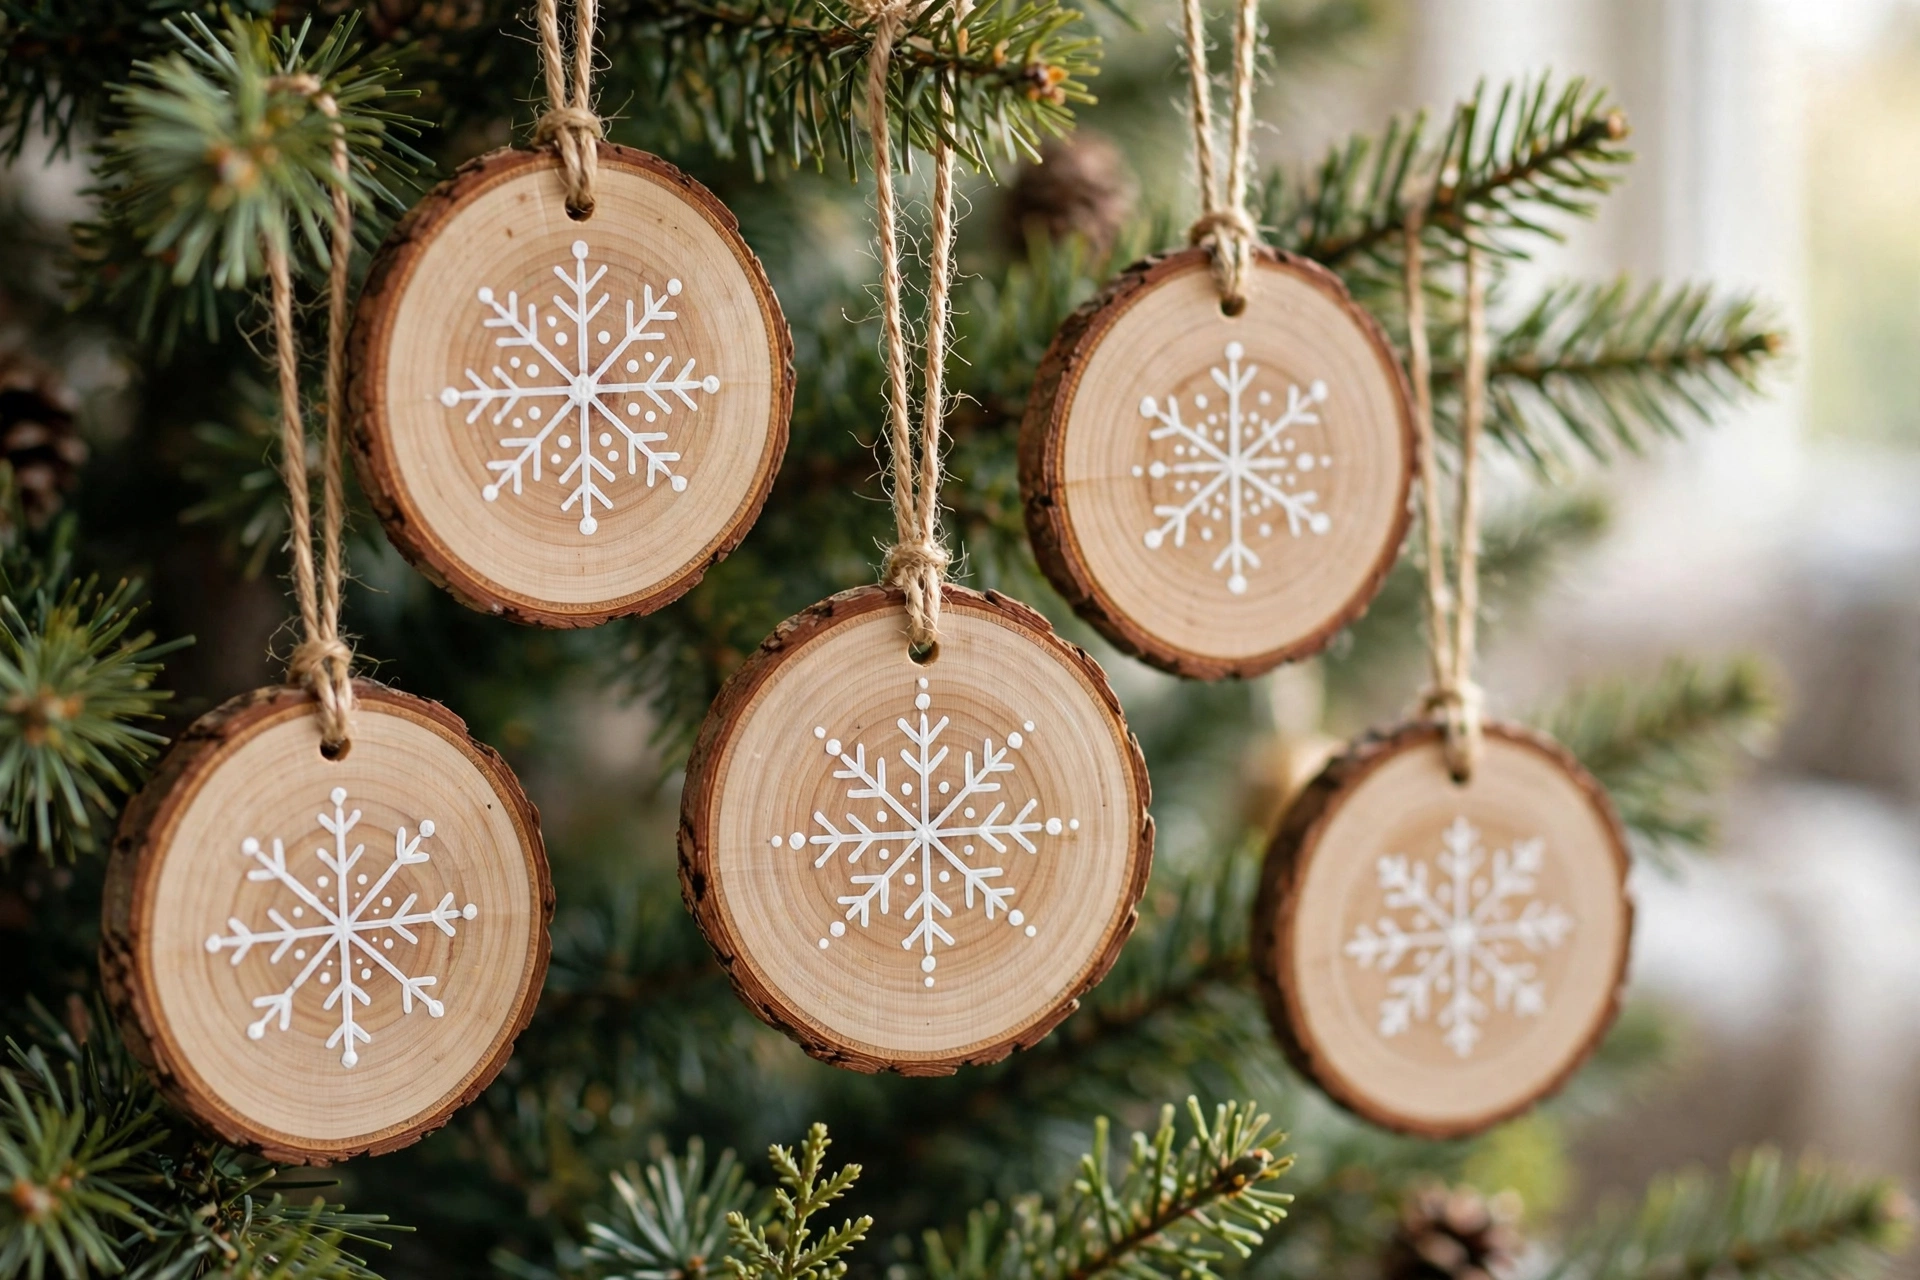
Wood slices are the blank canvas of the ornament world: round, rustic, and forgiving of beginner brushwork. Sand lightly, leave the bark edge bare, and paint simple white designs on the natural wood — a snowflake, a star, a tiny tree, a single initial. Simple beats detailed at ornament scale; a bold white snowflake reads from across the room while fine lines disappear. Drill or use the pre-drilled hole, thread with twine, and sign the back with the year. Sets of wood slices also make the easiest personalized gifts in this whole list.
Budget: about $1 each — a bag of pre-cut wood slices and white craft paint you already own.
5. Roll and Cut Salt Dough Ornaments
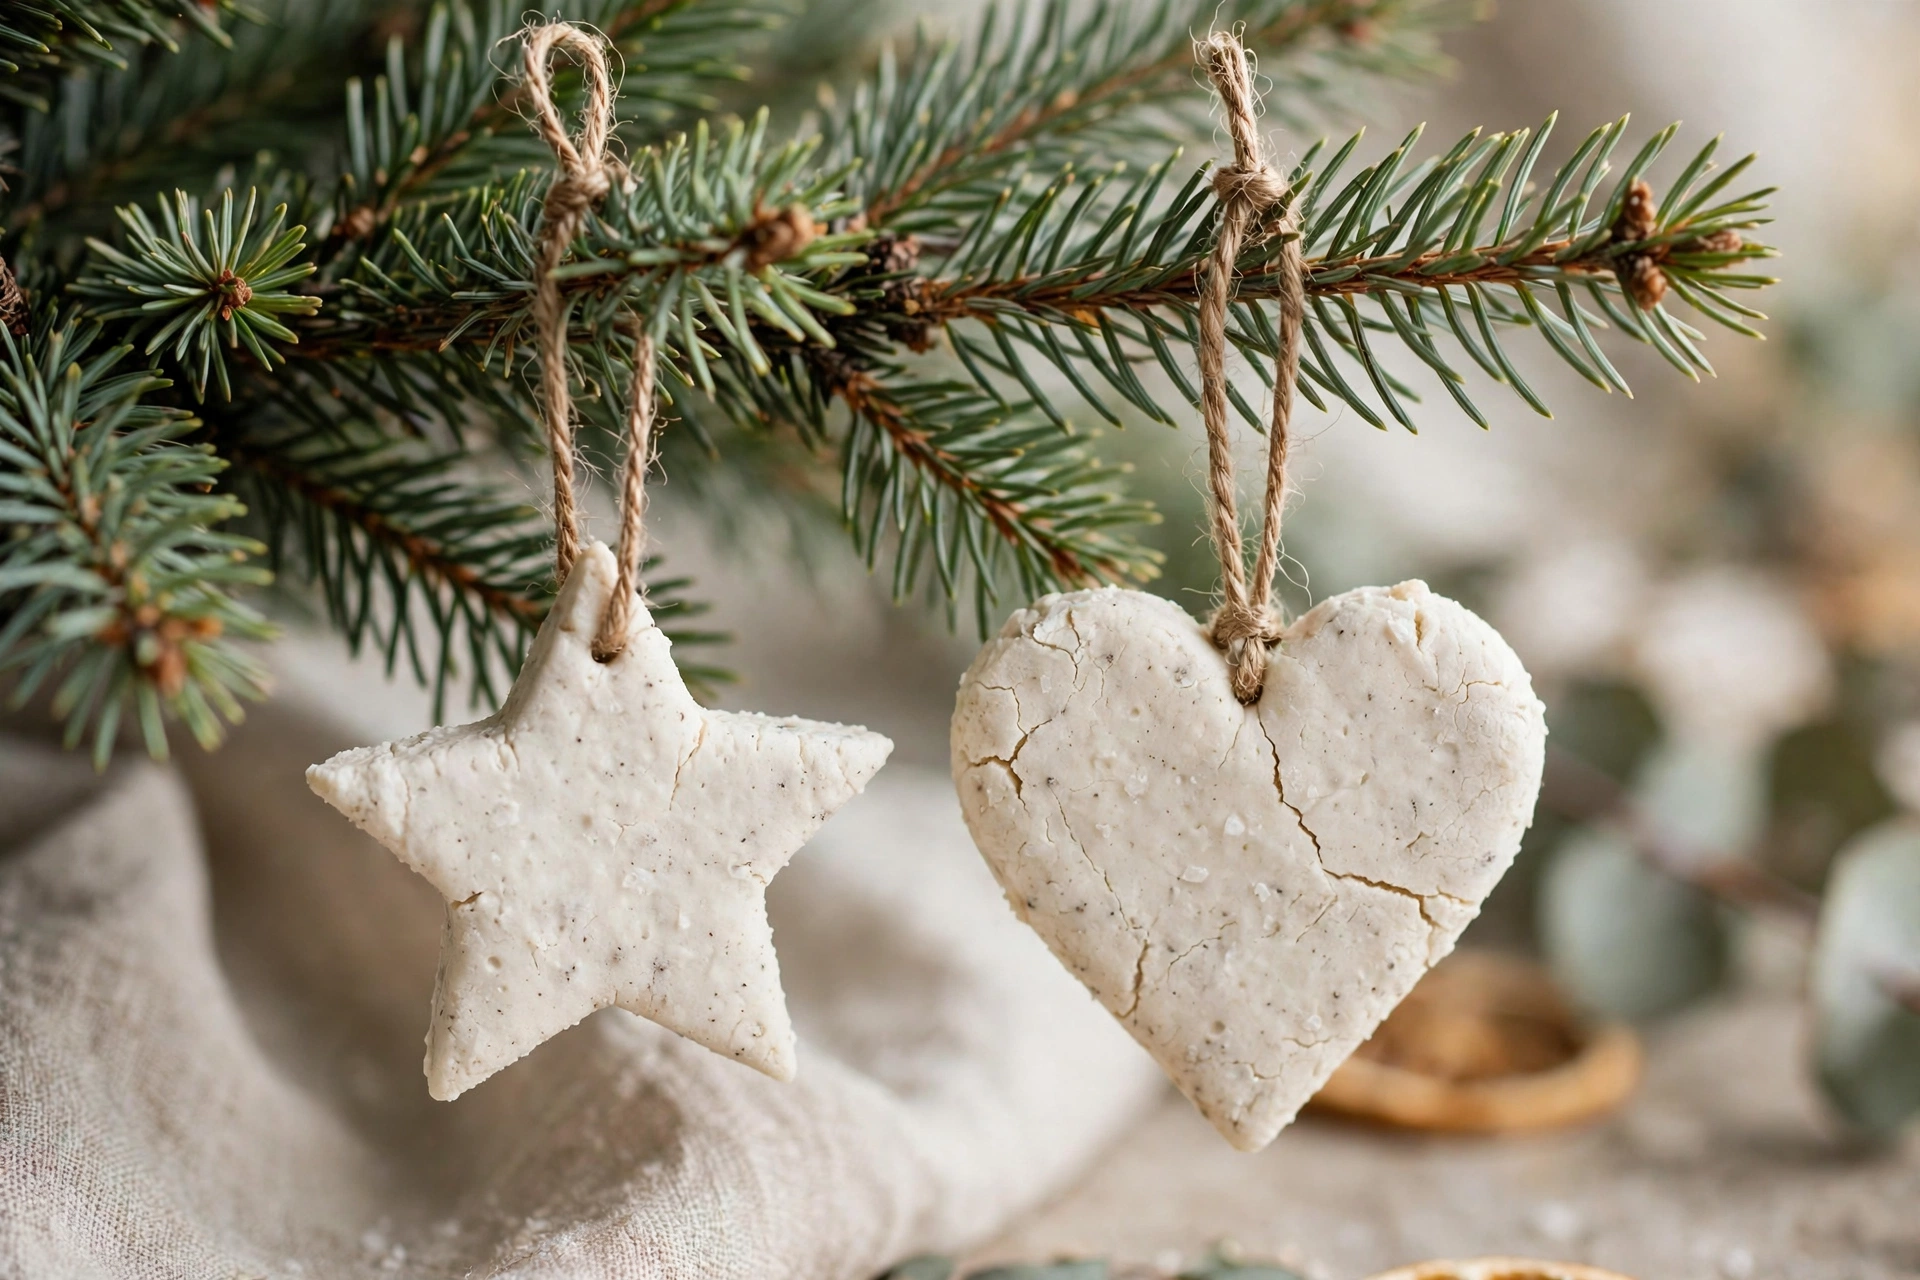
Flour, salt, water: the oldest ornament recipe there is, and still one of the prettiest in plain white. Roll the dough a quarter inch thick, cut stars, hearts and trees with cookie cutters, poke the hanging hole with a straw before baking, and bake until hard and dry. Leave them matte white for a Scandinavian tree or paint them once fully cool — never before, or the color seals in moisture. Salt dough is heavy for its size, so keep shapes small and hang them on sturdy inner branches. Stored dry, they last for years.
Budget: about $0.25 each — pantry flour and salt, twine for hangers.
6. Fold Paper Star Ornaments
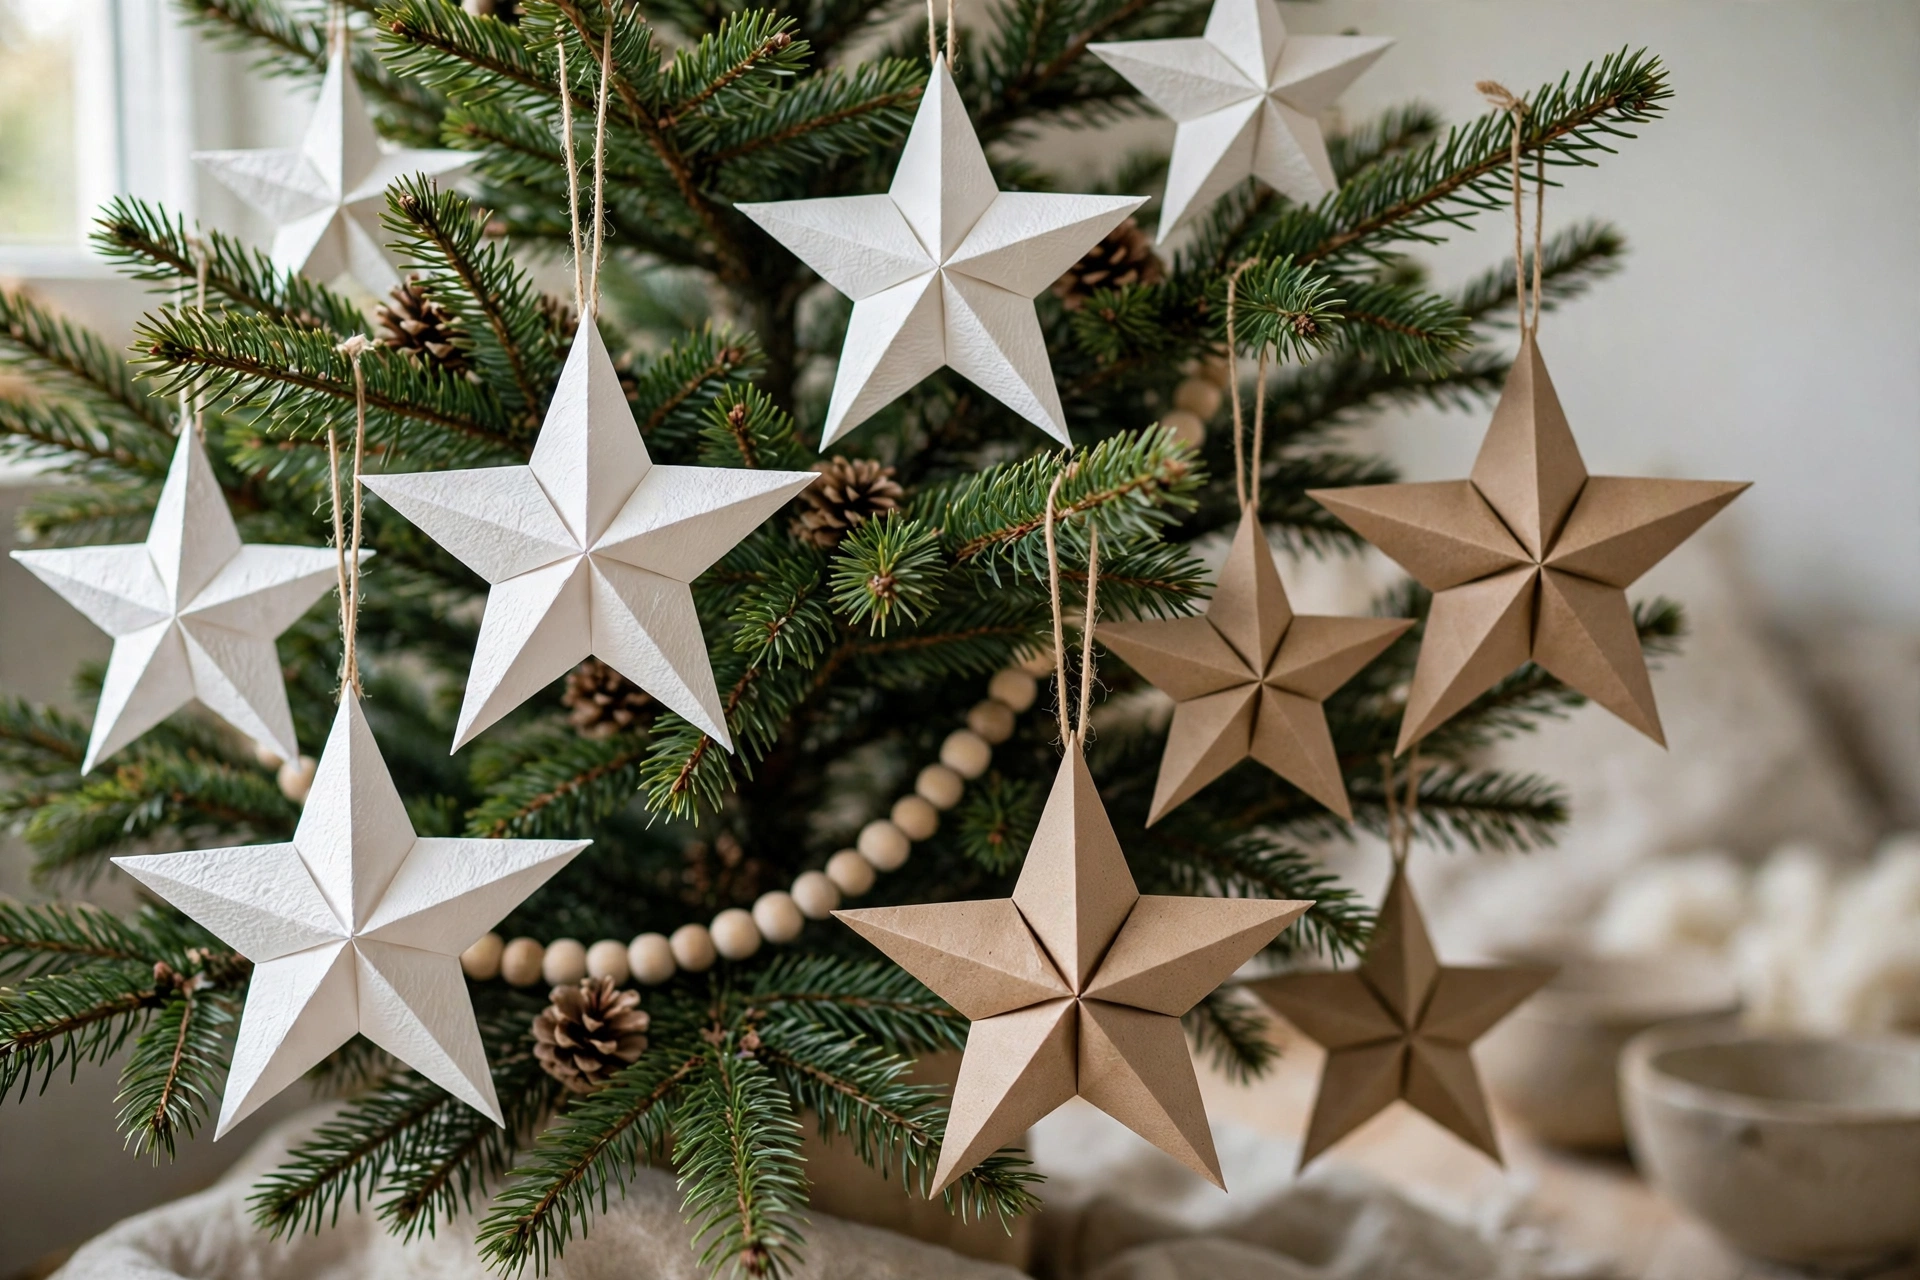
Paper stars deliver the most visual impact per cent on this entire list. Fold them from white, kraft or old book pages, in two or three sizes, and hang the largest lower on the tree and the smallest near the top. A paper star costs almost nothing, weighs nothing, and its crisp geometry contrasts beautifully with soft greenery — that contrast is exactly why Scandinavian trees look so calm. Make them assembly-line style: fold all the points first, glue all the halves second, string them last. Twenty stars take one evening and fill a whole tree.
Budget: about $0.10 each — paper, glue and thread.
7. Wrap No-Sew Fabric Baubles
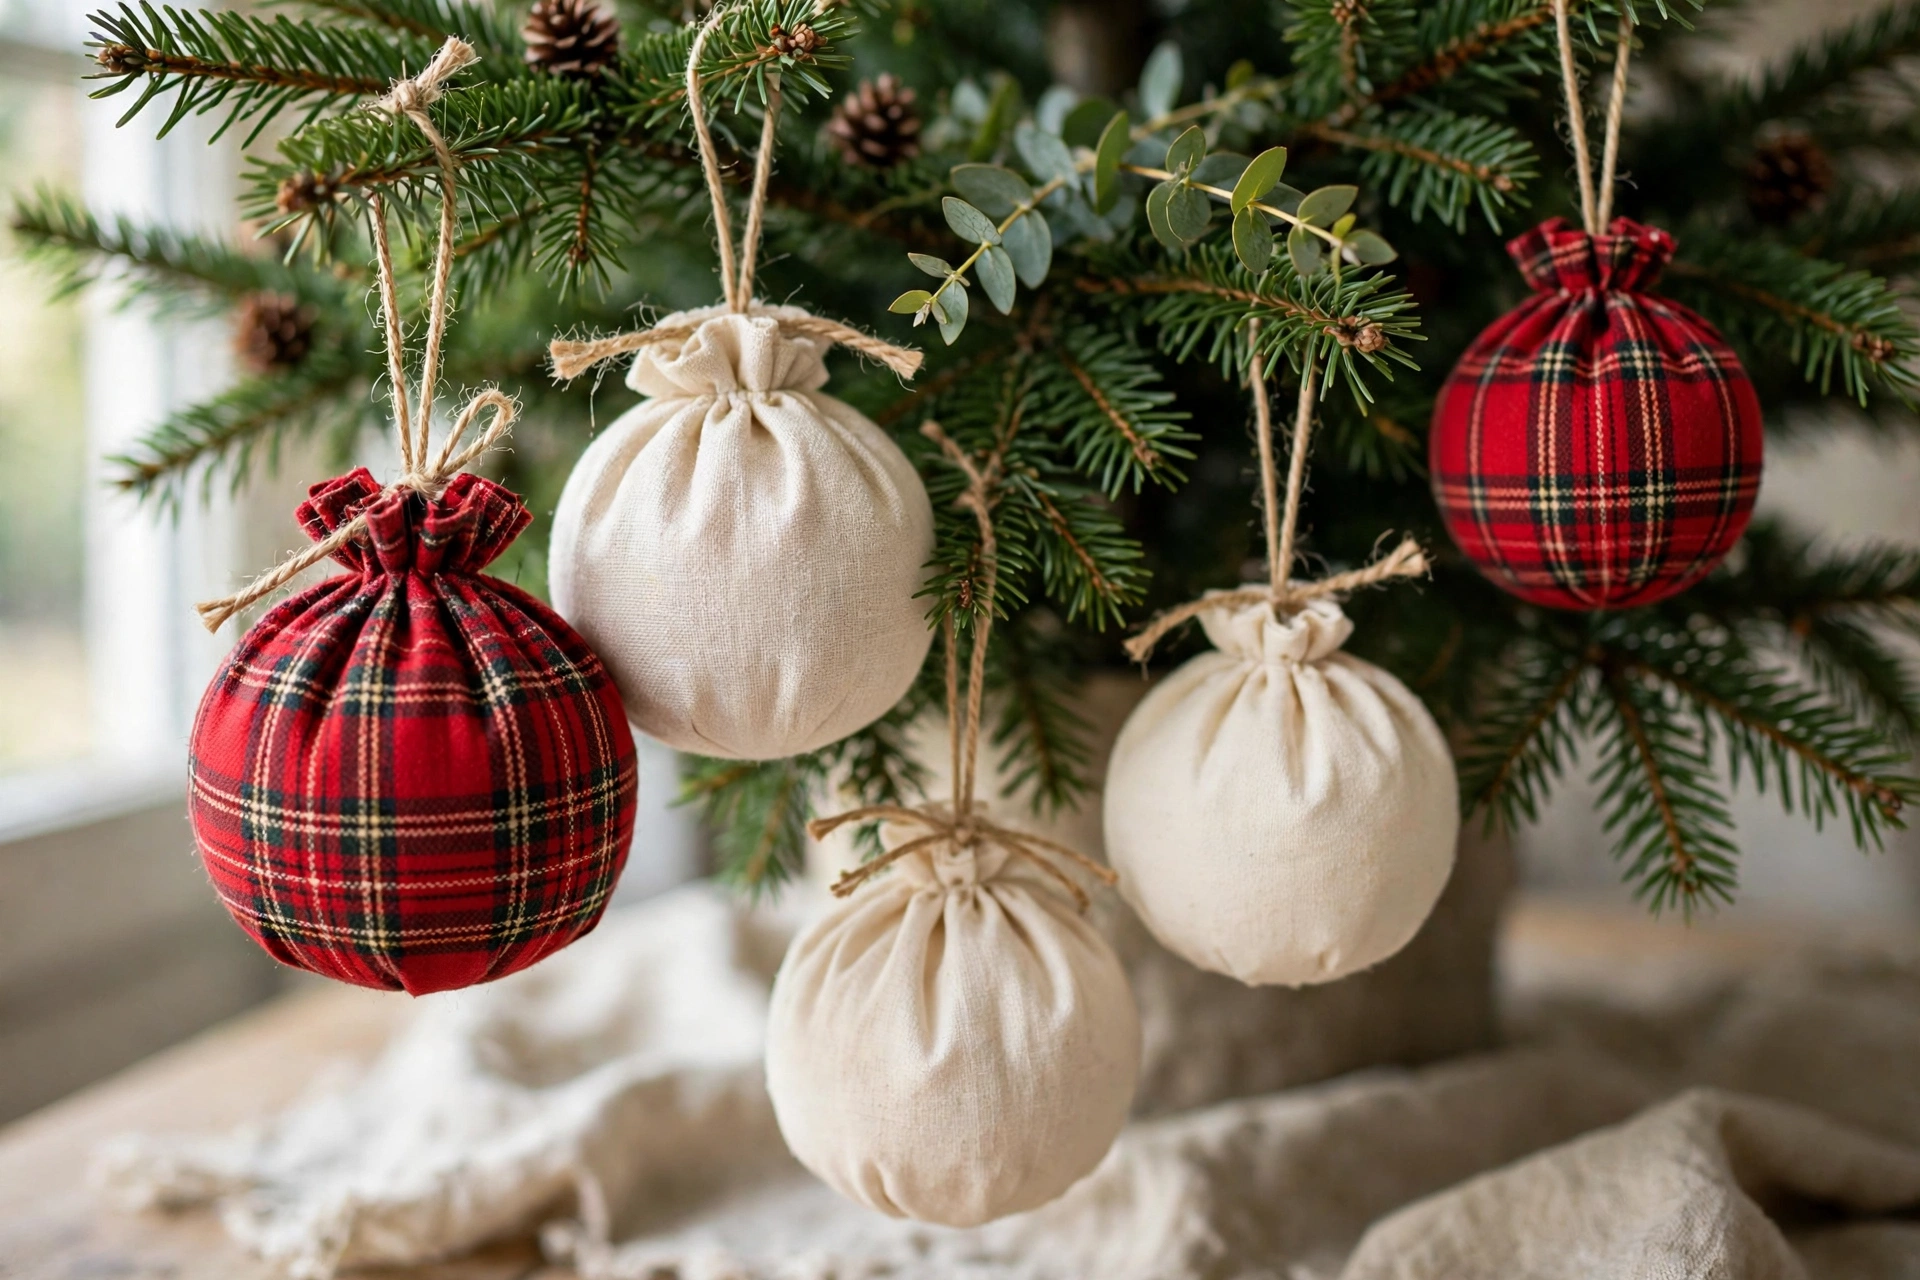
A foam ball, a square of fabric, and a ribbon: no needle, no thread, no sewing machine. Push the fabric edges into a slit cut around the ball or pin and glue them neatly at the top, then cover the join with ribbon tied as the hanger. Plaid flannel reads cozy and farmhouse, cream linen reads calm and modern, and old shirts or outgrown holiday pajamas read as free. The secret is tension — smooth the fabric firmly as you work so there are no wrinkles except the deliberate gathers at the top, hidden under the ribbon.
Budget: about $1 each — foam balls and fabric scraps or thrifted shirts.
8. Turn Pinecones Into Snow-Dusted Ornaments
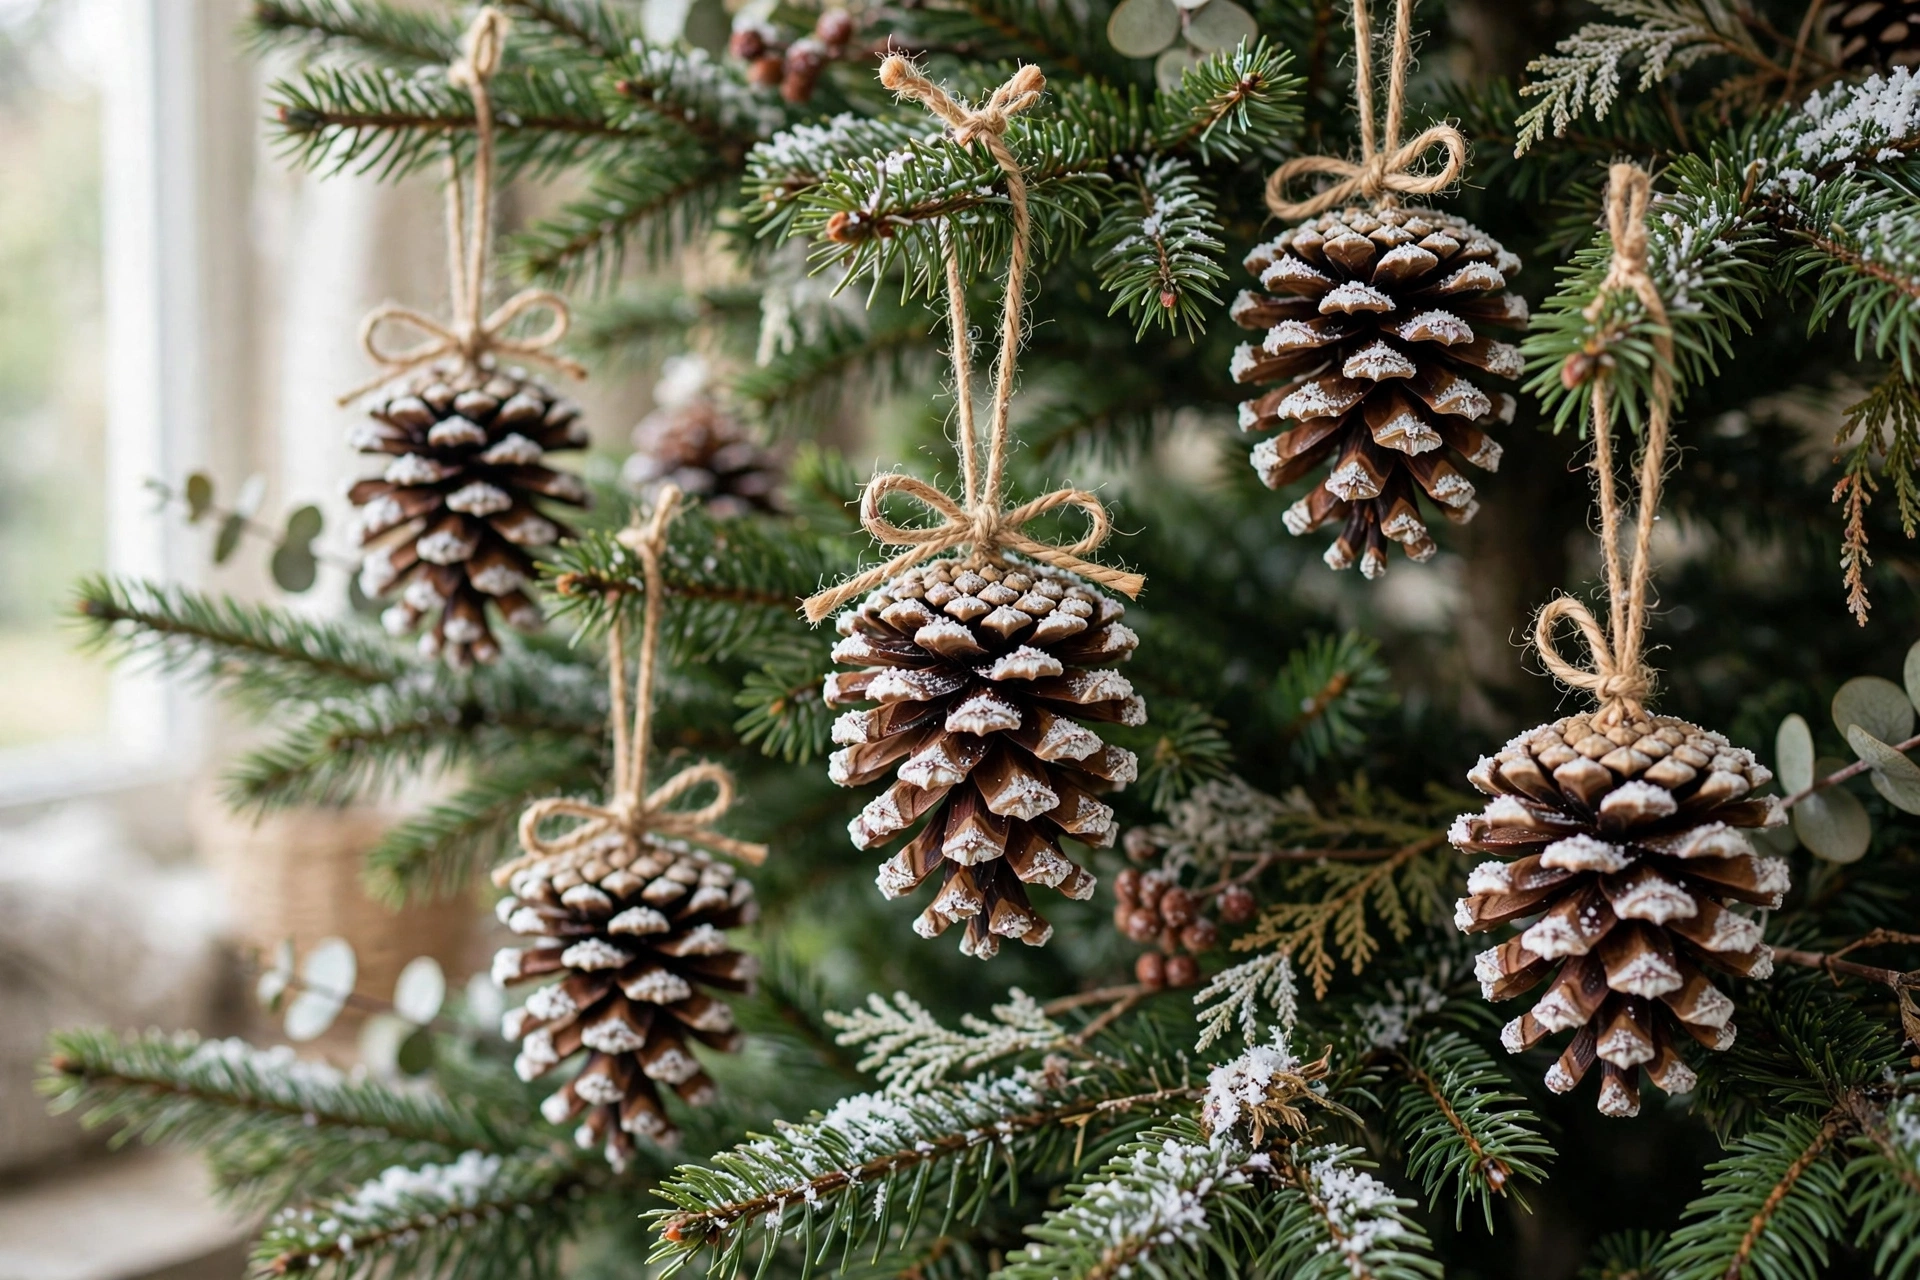
The yard provides these for free in most neighborhoods: gather open pinecones, bake them briefly to dry them and evict any residents, then brush the edges with white paint or faux snow. Screw a small eye hook into the top or hot-glue a twine loop, and the ornament is done. Pinecones bring real texture that plastic cannot copy, and their natural brown anchors bright color palettes beautifully. Cluster them with the orange slices from idea 2 for a fully natural tree that cost less than a pizza.
Budget: about $0.20 each — gathered pinecones, white paint and twine.
9. Make Mini Wreath Ornaments
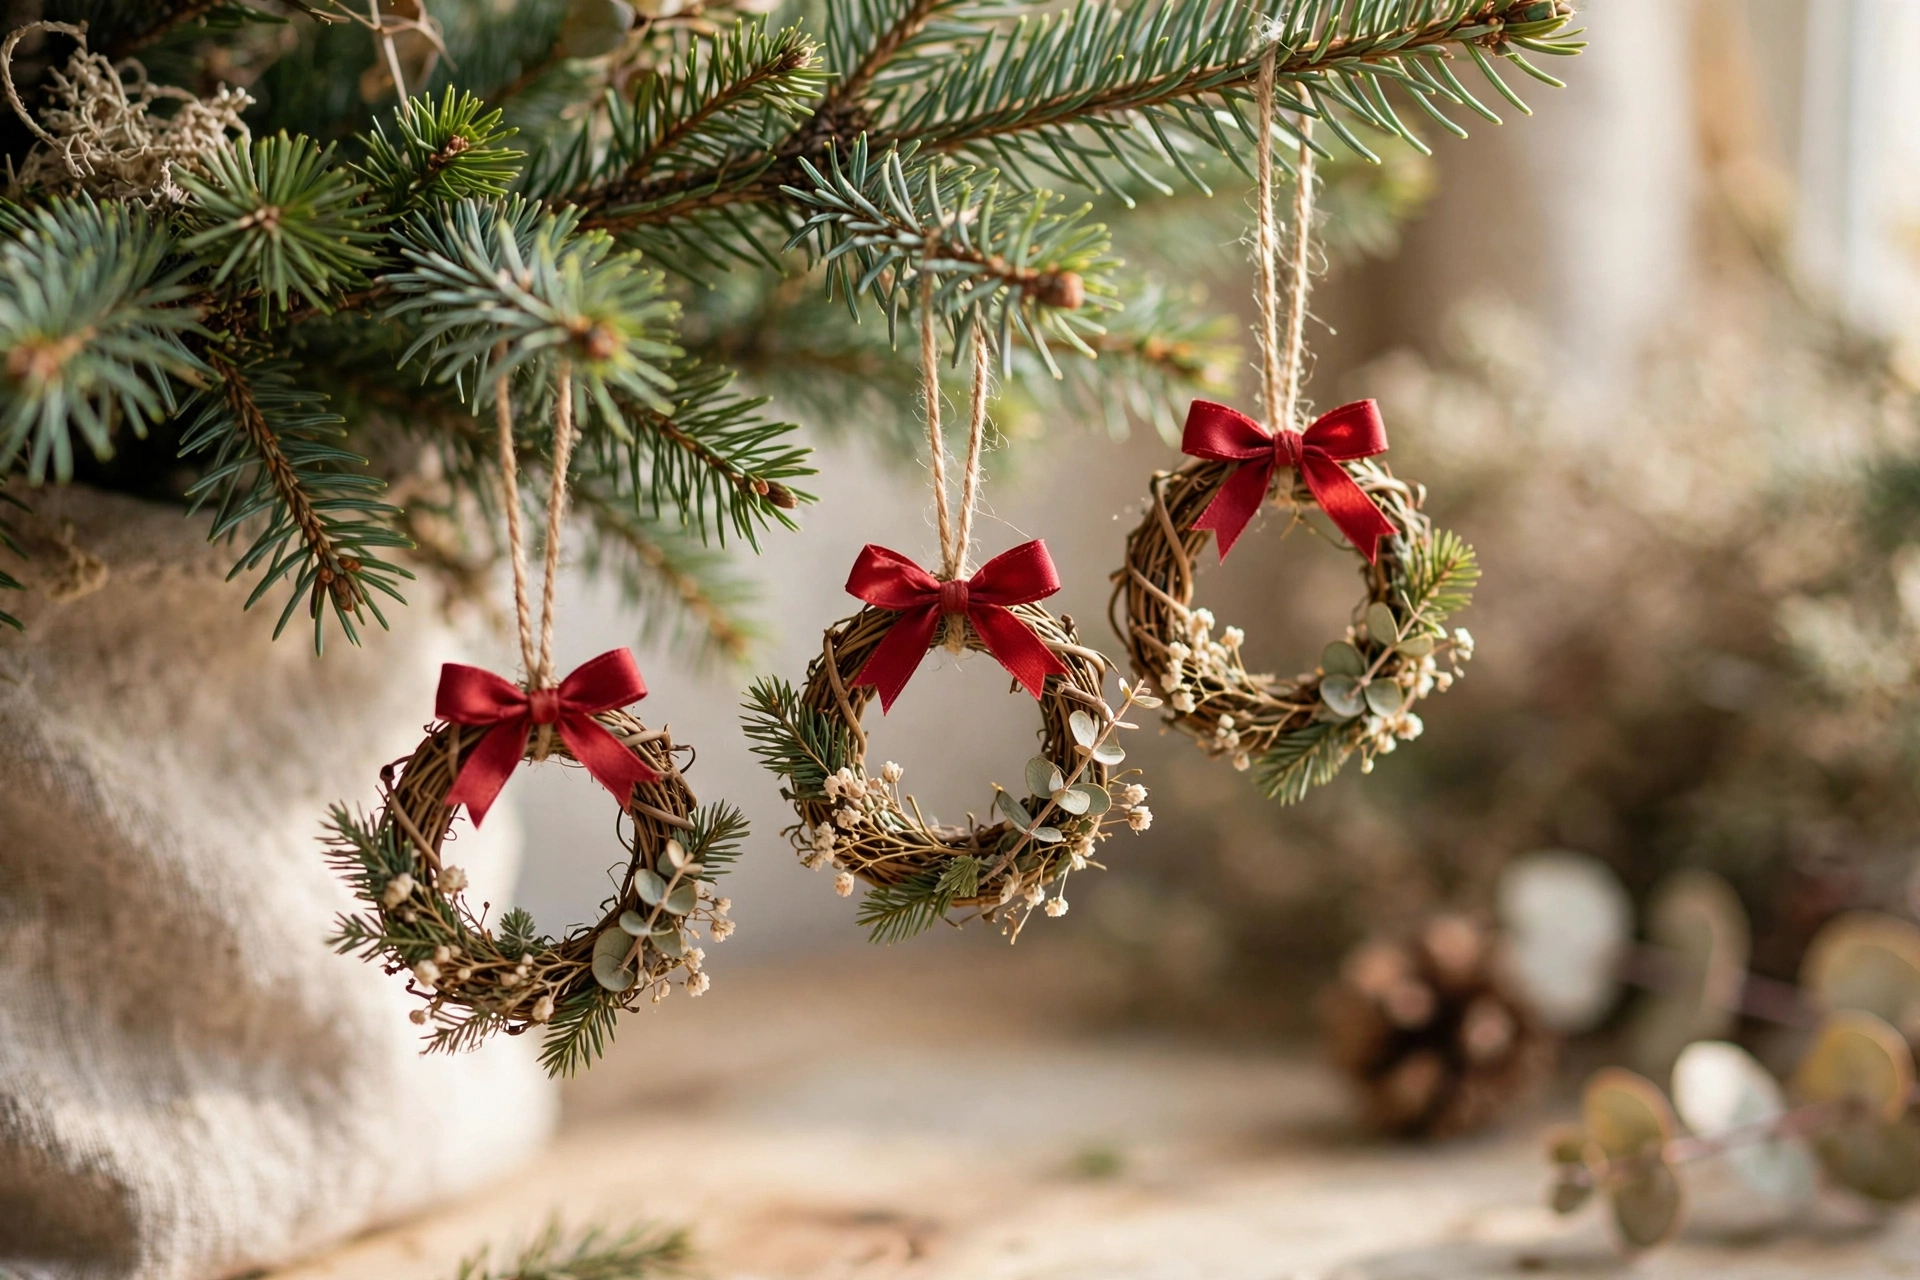
Tiny grapevine wreaths, sold in craft packs for exactly this purpose, need almost nothing: one small red bow, or three tiny berries, or a single bell. Restraint is the whole design — a mini wreath is already a complete shape, so one accent is styling and three accents is clutter. They hang flat and light, store in a shoebox without crushing, and look charming grouped in threes down one side of the tree. Fresh rosemary rings are the fragrant one-day version for a dinner party tree or table, but the grapevine version is the keeper.
Budget: about $0.75 each — mini grapevine wreaths from a multipack, ribbon scraps.
10. Frame Tiny Photos in Clear Ornaments
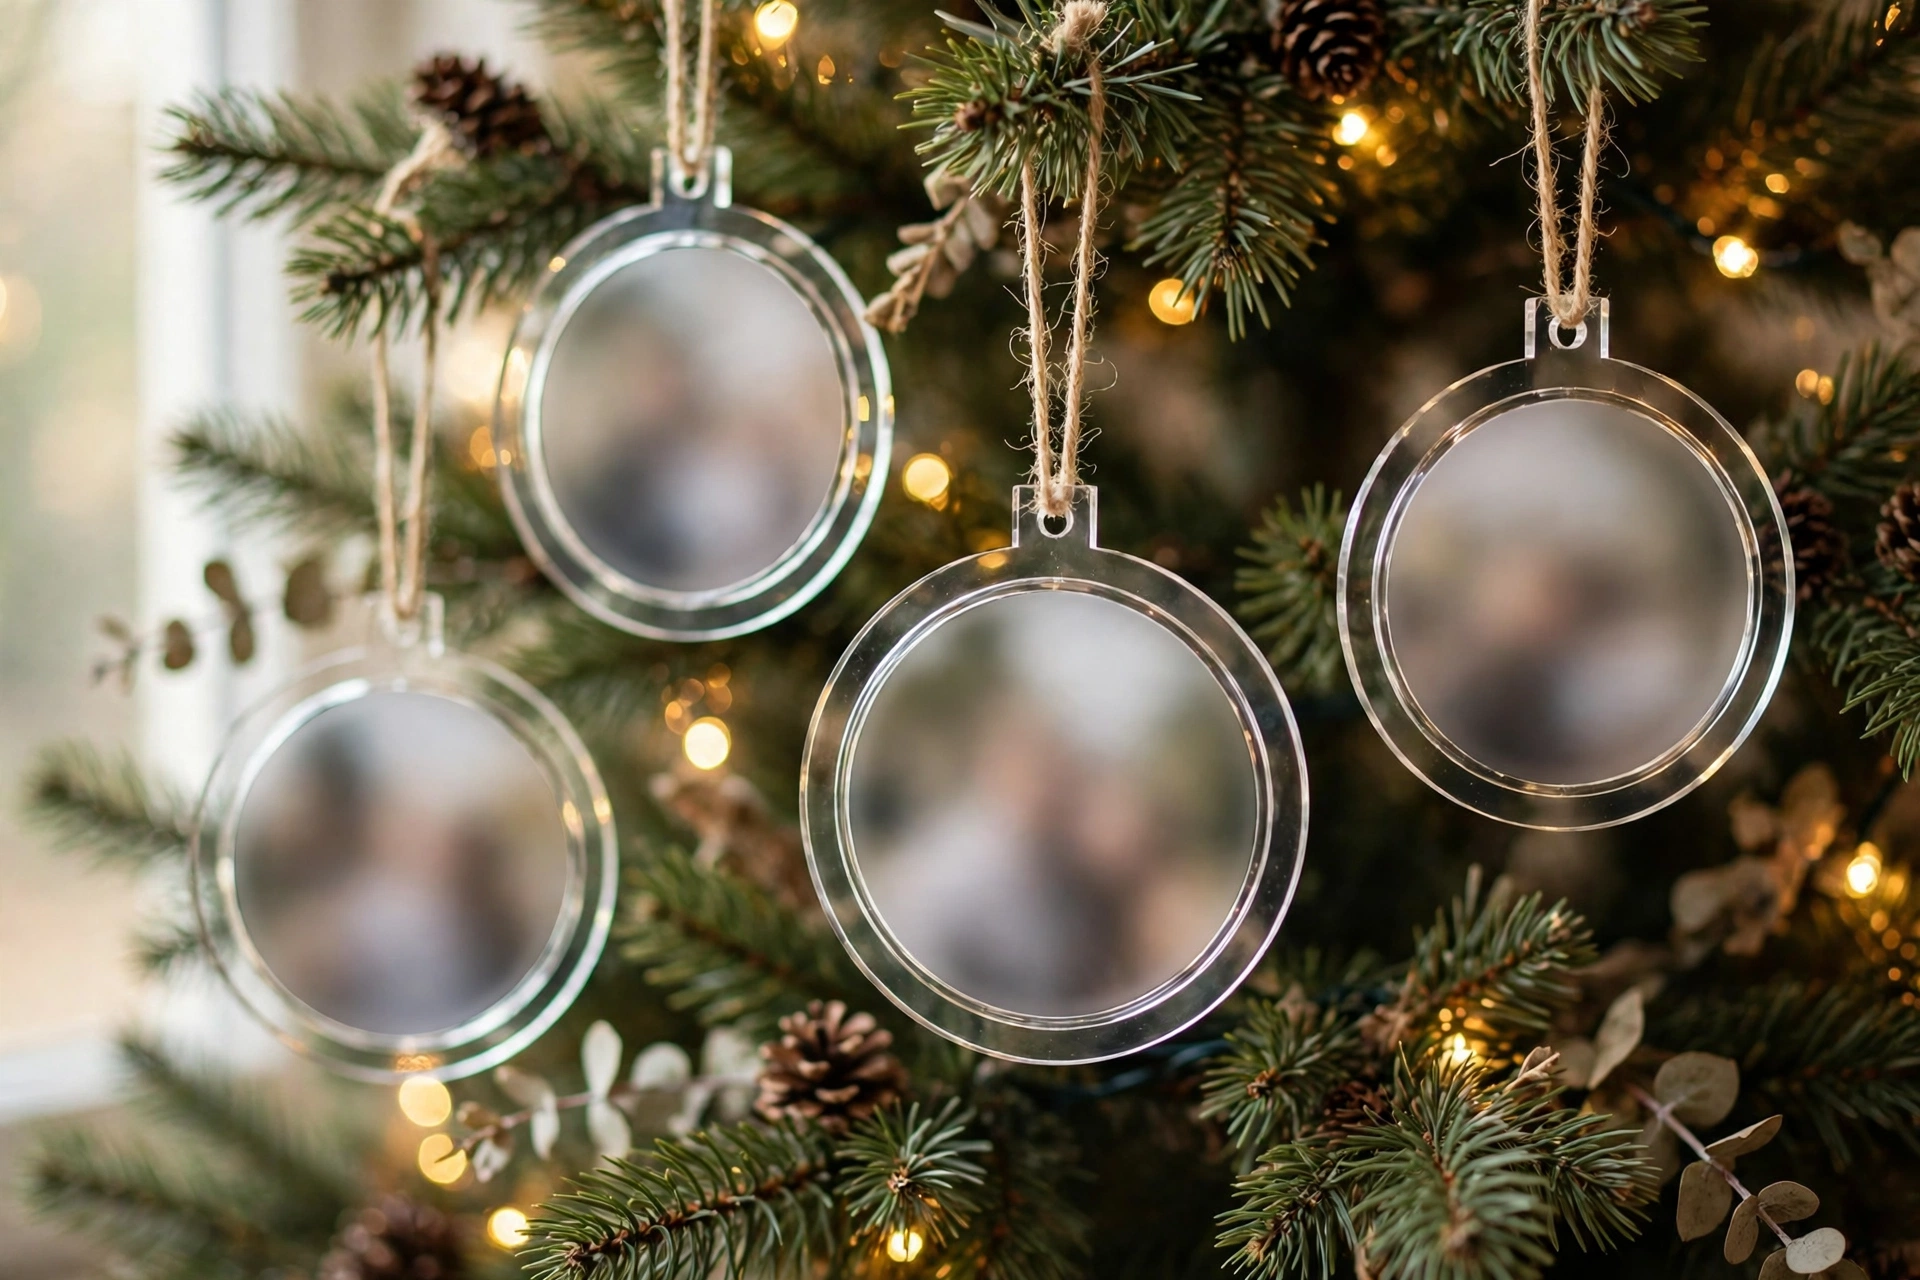
Print small photos at home, trim them into circles, and slip them into clear baubles or tiny frames made for the tree. One photo per ornament, backed with a piece of glitter paper or a written name and year so the back is finished too. These become the ornaments people stop and look at — grandparents first, every time. Keep the set small, six or so, and spread them at eye level where they will actually be seen. Update one each year and the tree quietly becomes a family archive.
Budget: about $1 each — clear baubles and home photo printing.
11. Fill Baubles With Glitter, the Tidy Way

Glitter ornaments fail when the glitter sits loose and patchy. The store-bought look comes from coating the inside evenly: pour a little clear craft glue or floor finish into a clear bauble, swirl it to coat every wall, drain the excess, then add fine glitter and roll until the inside is fully covered. Pour out the surplus glitter for the next bauble, let it dry upside down, and cap it. Red and gold are classic, but one color per bauble always looks more expensive than mixed glitter. The glitter stays inside the ornament — and off your floor — forever.
Budget: about $1.25 each — clear baubles, fine glitter and clear glue.
12. Press Handprint Keepsake Ornaments
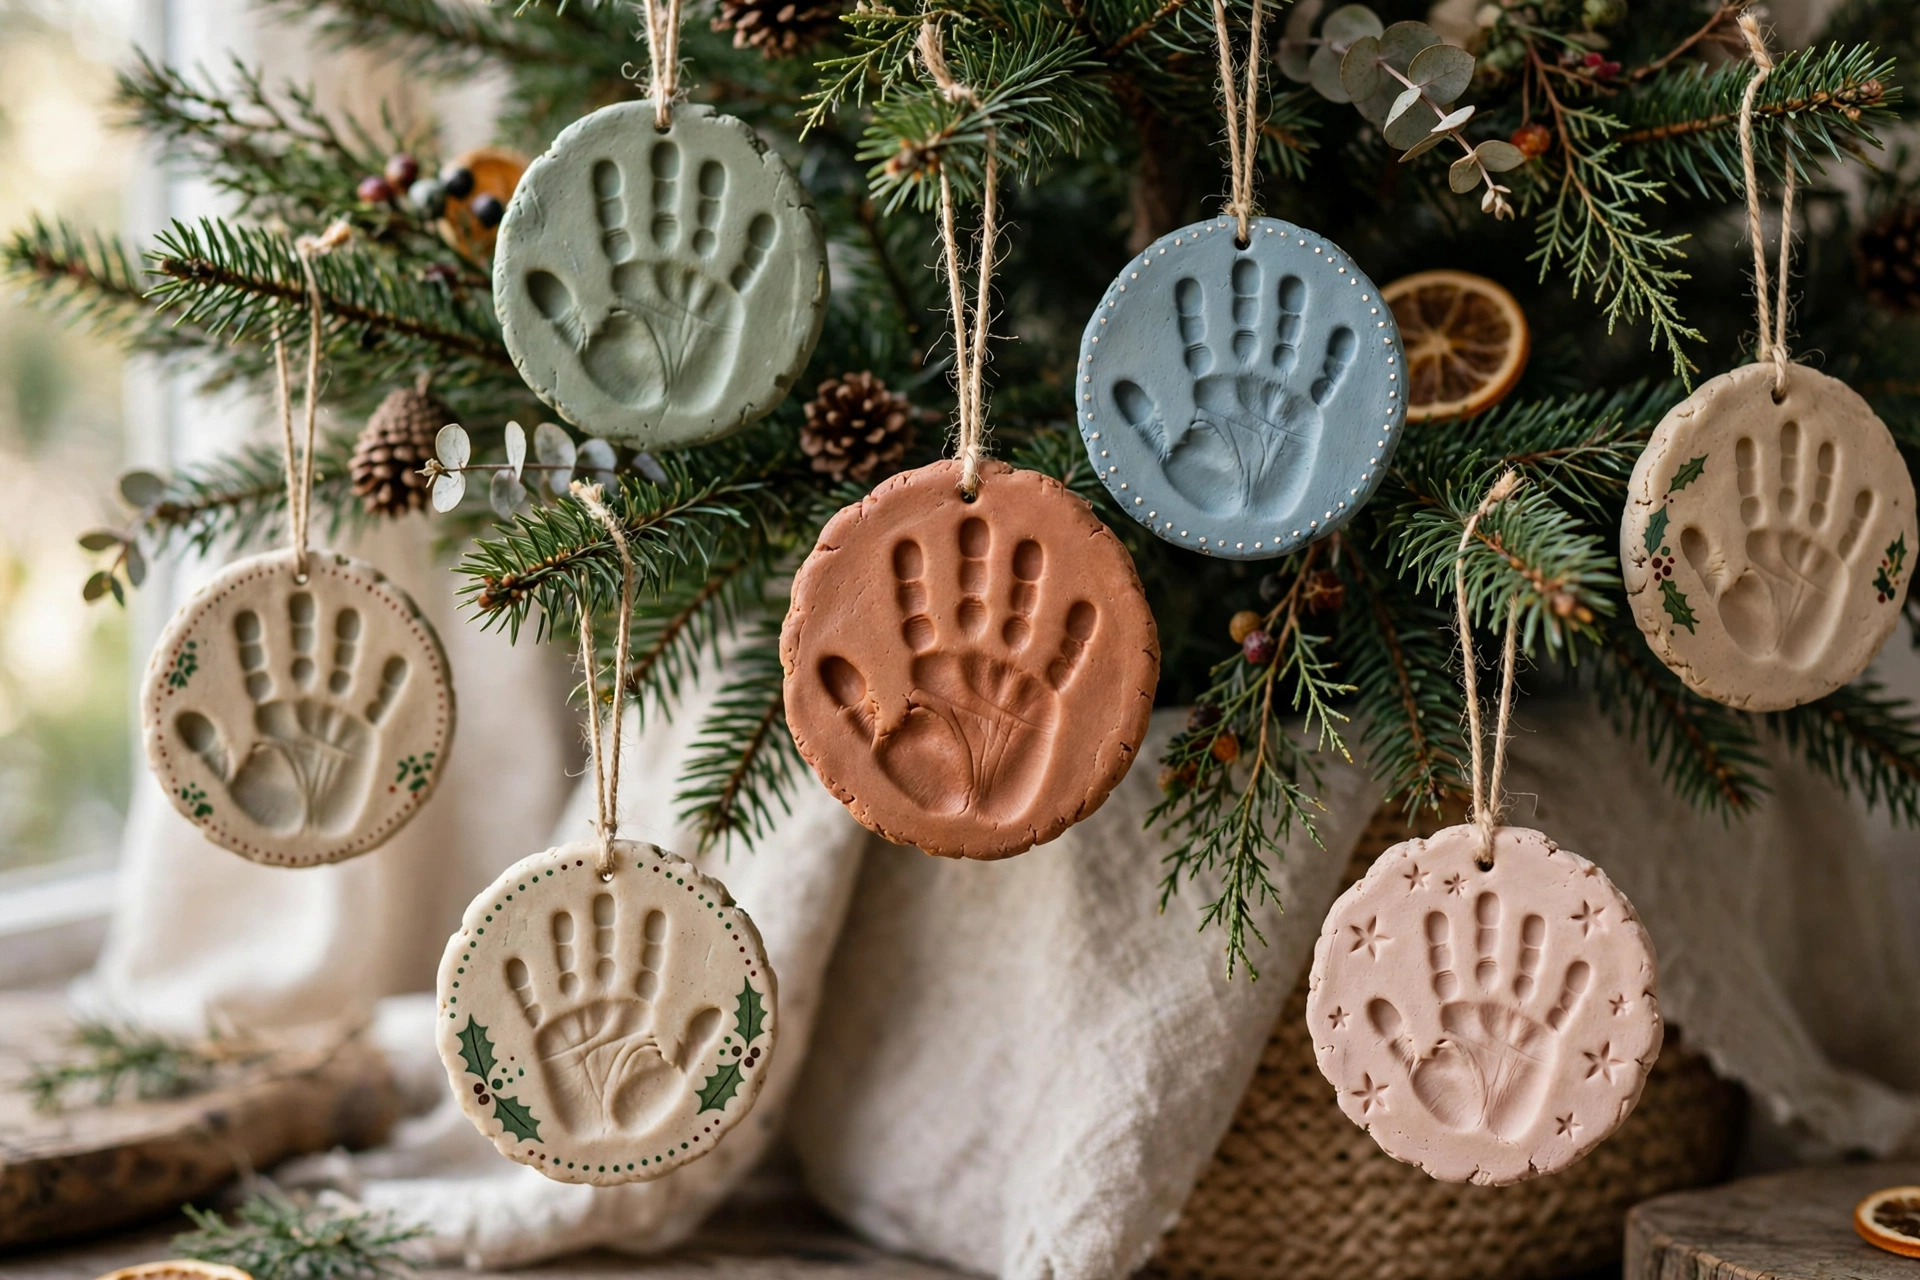
Use the salt dough from idea 5, rolled a little thicker, and press a small hand into it before baking. Once dry, paint the handprint in one color, write the name and year on the back, and seal it if you want it to survive decades of storage boxes. These are not the prettiest ornaments on the tree and nobody cares — they are the ones that get unwrapped first every December and hung at eye level. Make one per child per year while the hands are small; the collection becomes unbearable, in the best way, very quickly.
Budget: about $0.25 each — the same salt dough, paint and twine.
13. Knit Tiny Yarn Hat Ornaments
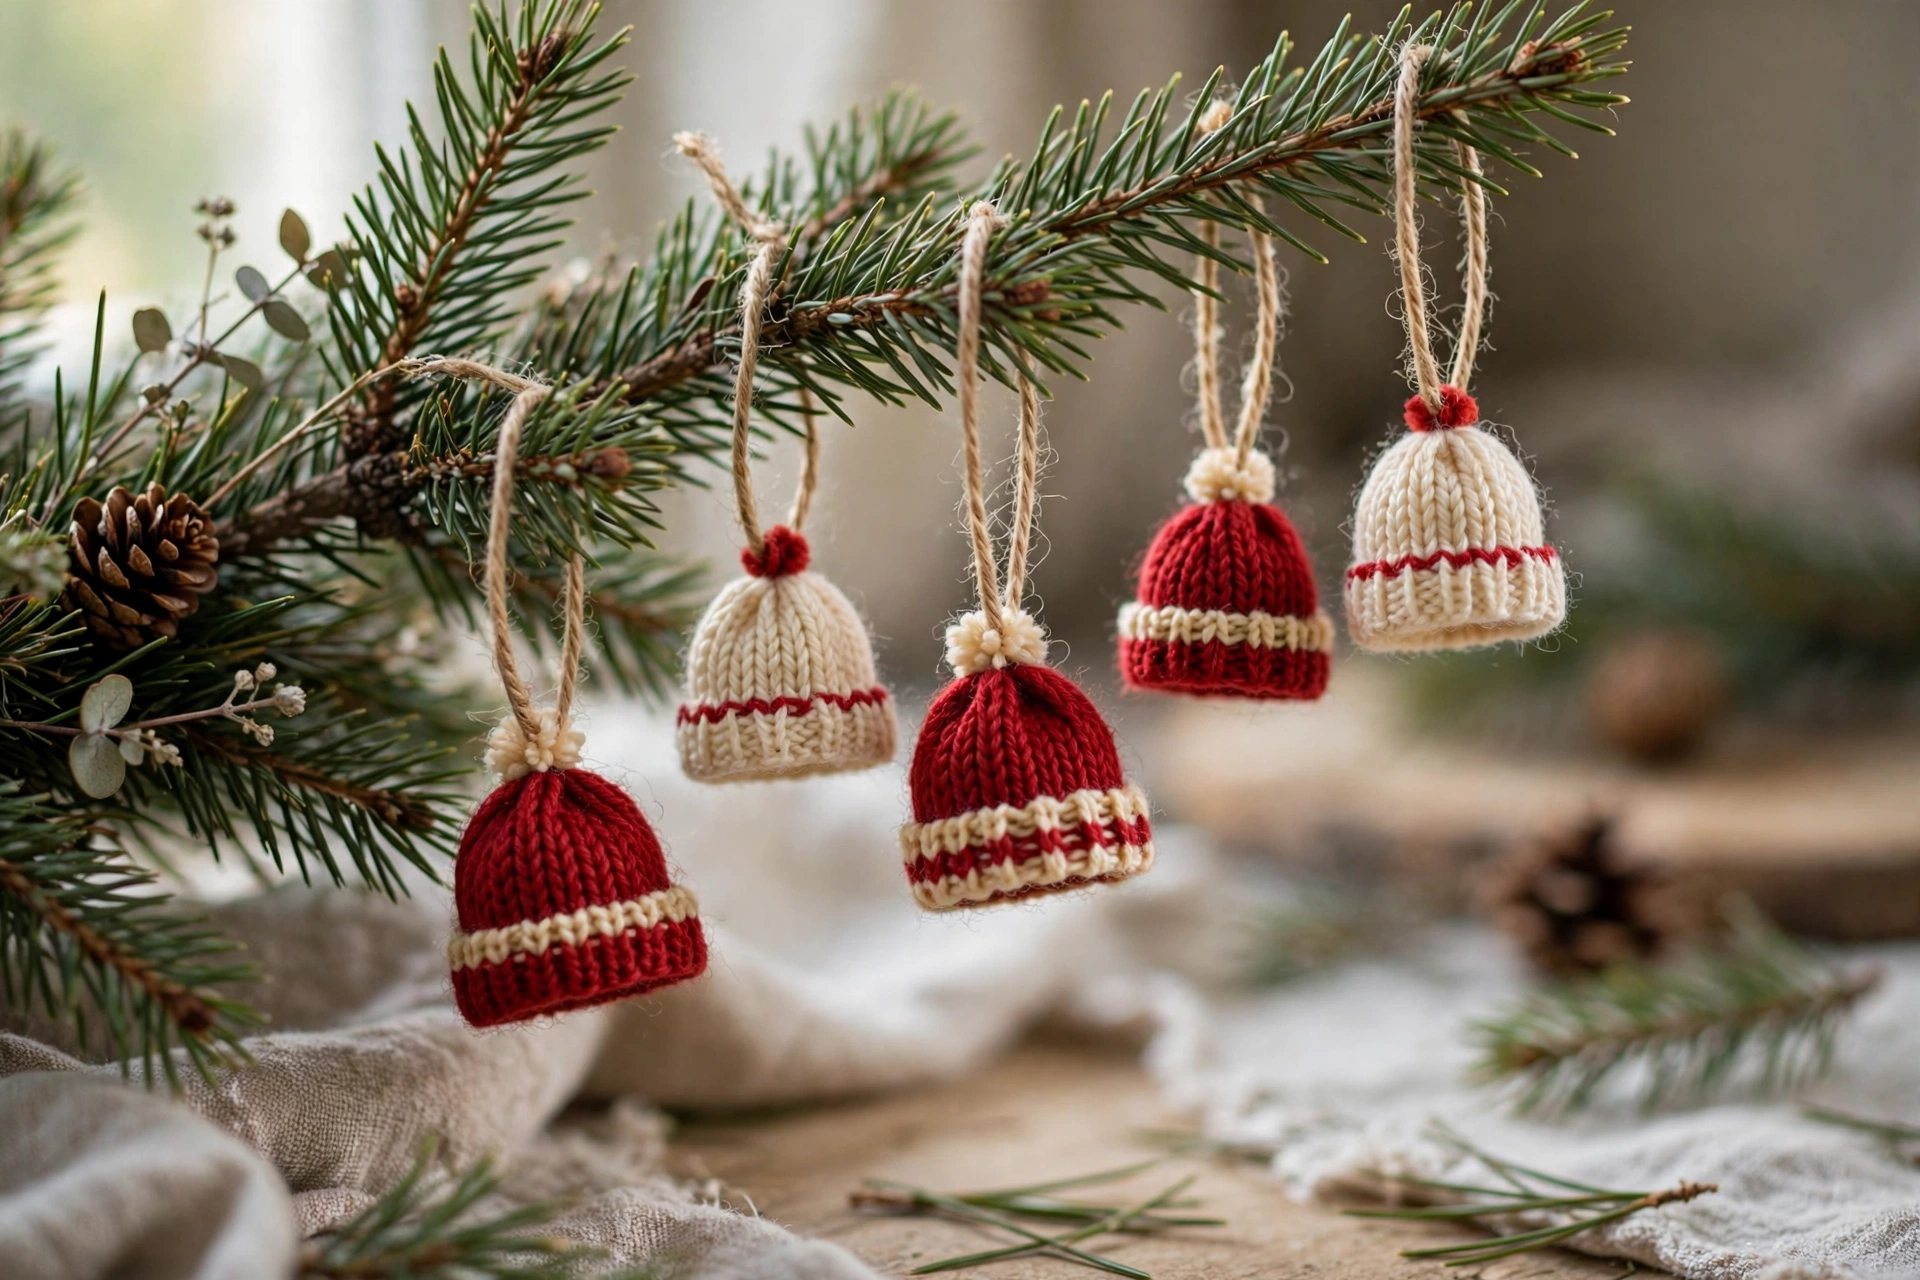
The little yarn hat is the ornament everyone asks about. Wrap yarn around a cardboard ring or a toilet-roll tube slice, loop and knot each strand around it, gather the top, trim a pom-pom, and the hat is finished — no knitting needles involved despite the name. Red and cream are classic, but a set in your tree’s exact palette looks genuinely store-bought. They take about fifteen minutes each once your hands learn the rhythm, weigh nothing, and are completely unbreakable, which makes them perfect for the bottom branches within toddler and cat reach.
Budget: about $0.50 each — yarn scraps and a cardboard ring.
14. String Wood Bead and Star Ornaments
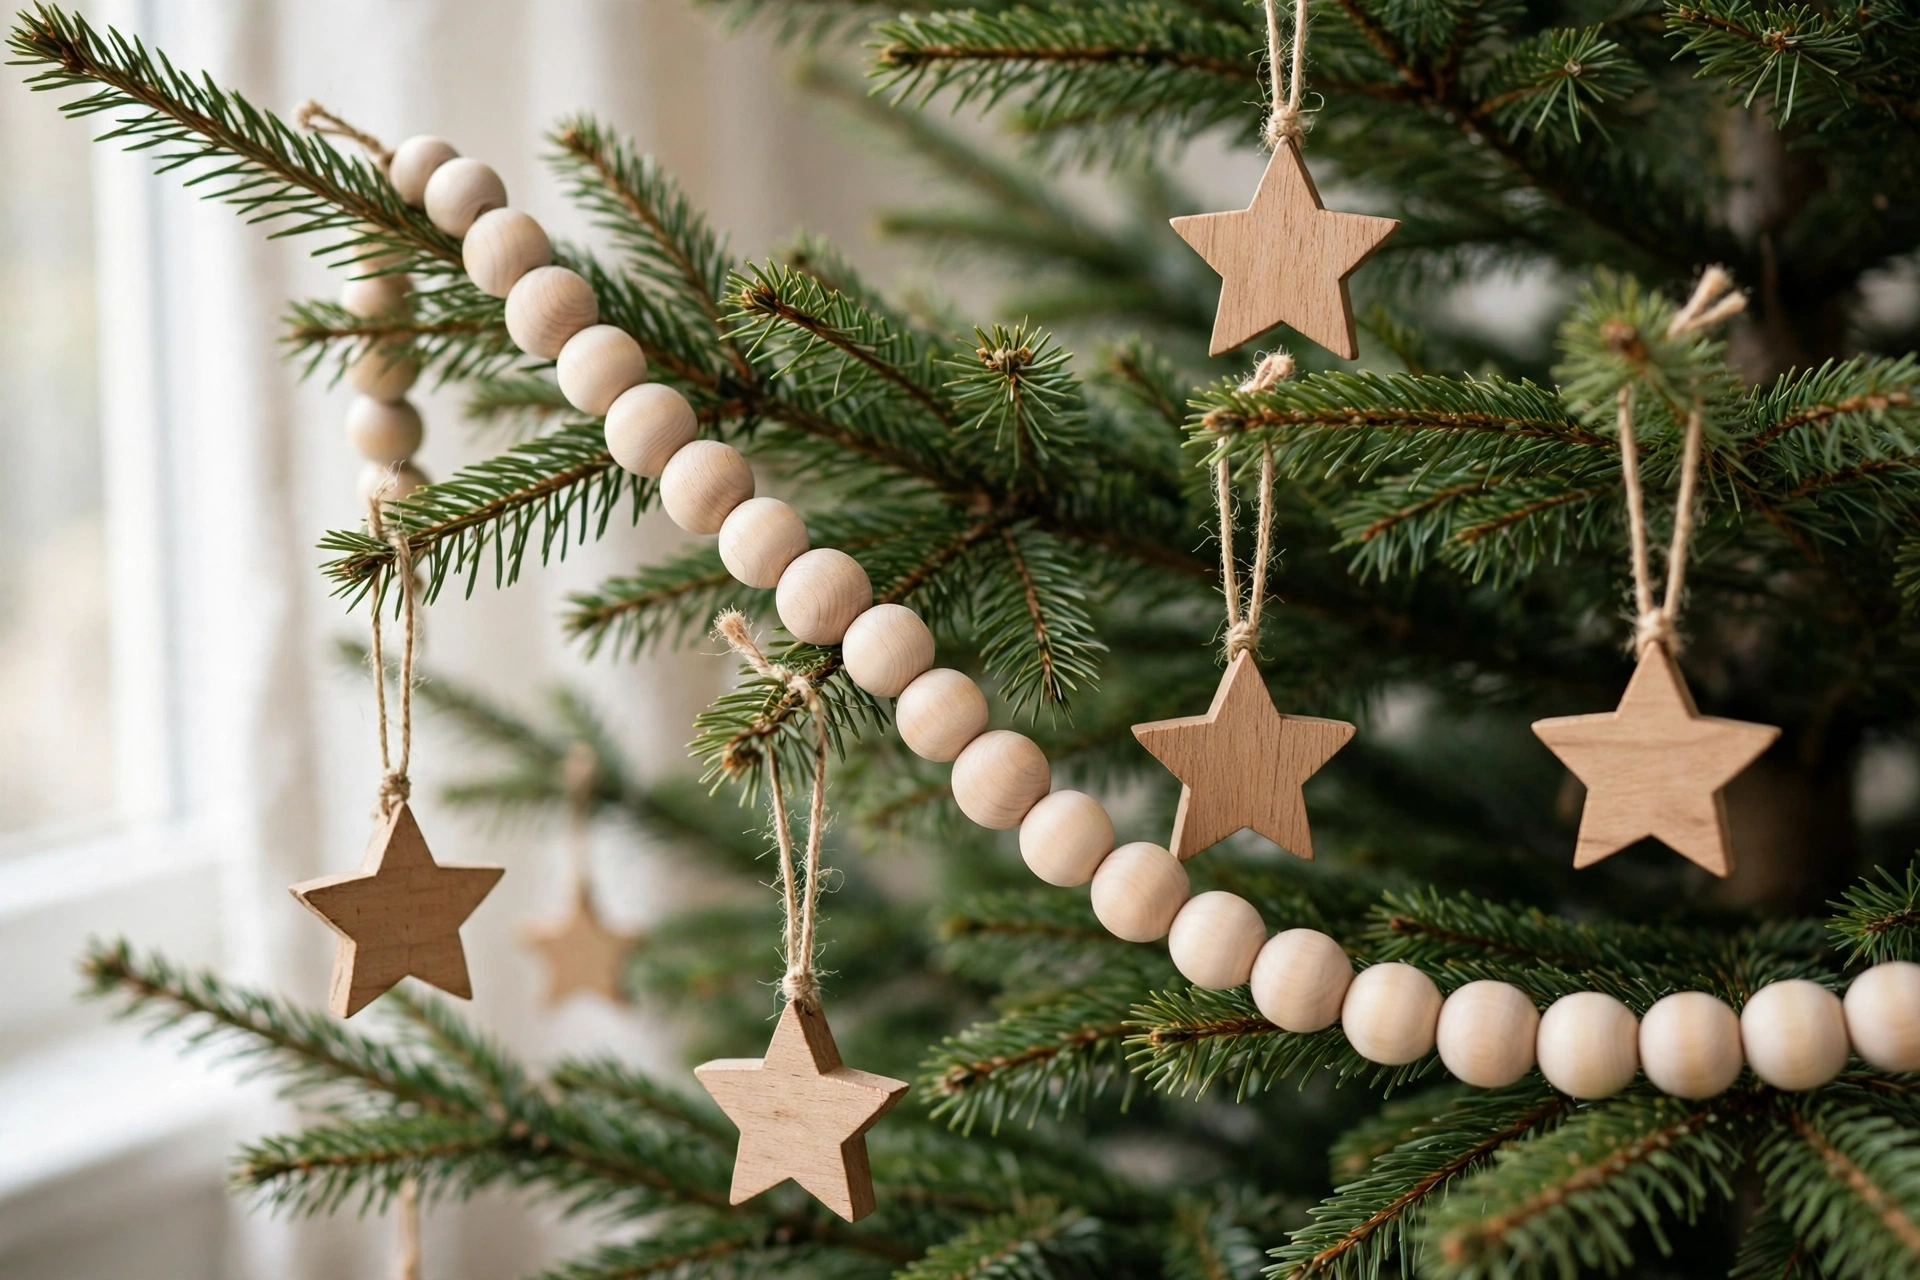
Natural wood beads thread onto wire or stiff twine into stars, snowflakes and simple circles that look like they came from a Scandinavian design shop. Keep the wood raw — no paint, no glitter — because the pale matte finish is the entire aesthetic. A small wooden star at the center of a bead circle is the most convincing version. These store flat, never break, and pair perfectly with the paper stars from idea 6 and the white salt dough from idea 5 for a calm, pale tree that photographs beautifully in daylight.
Budget: about $0.75 each — a bag of mixed wood beads, wire and twine.
15. Cover Baubles With Old Sweater Knit
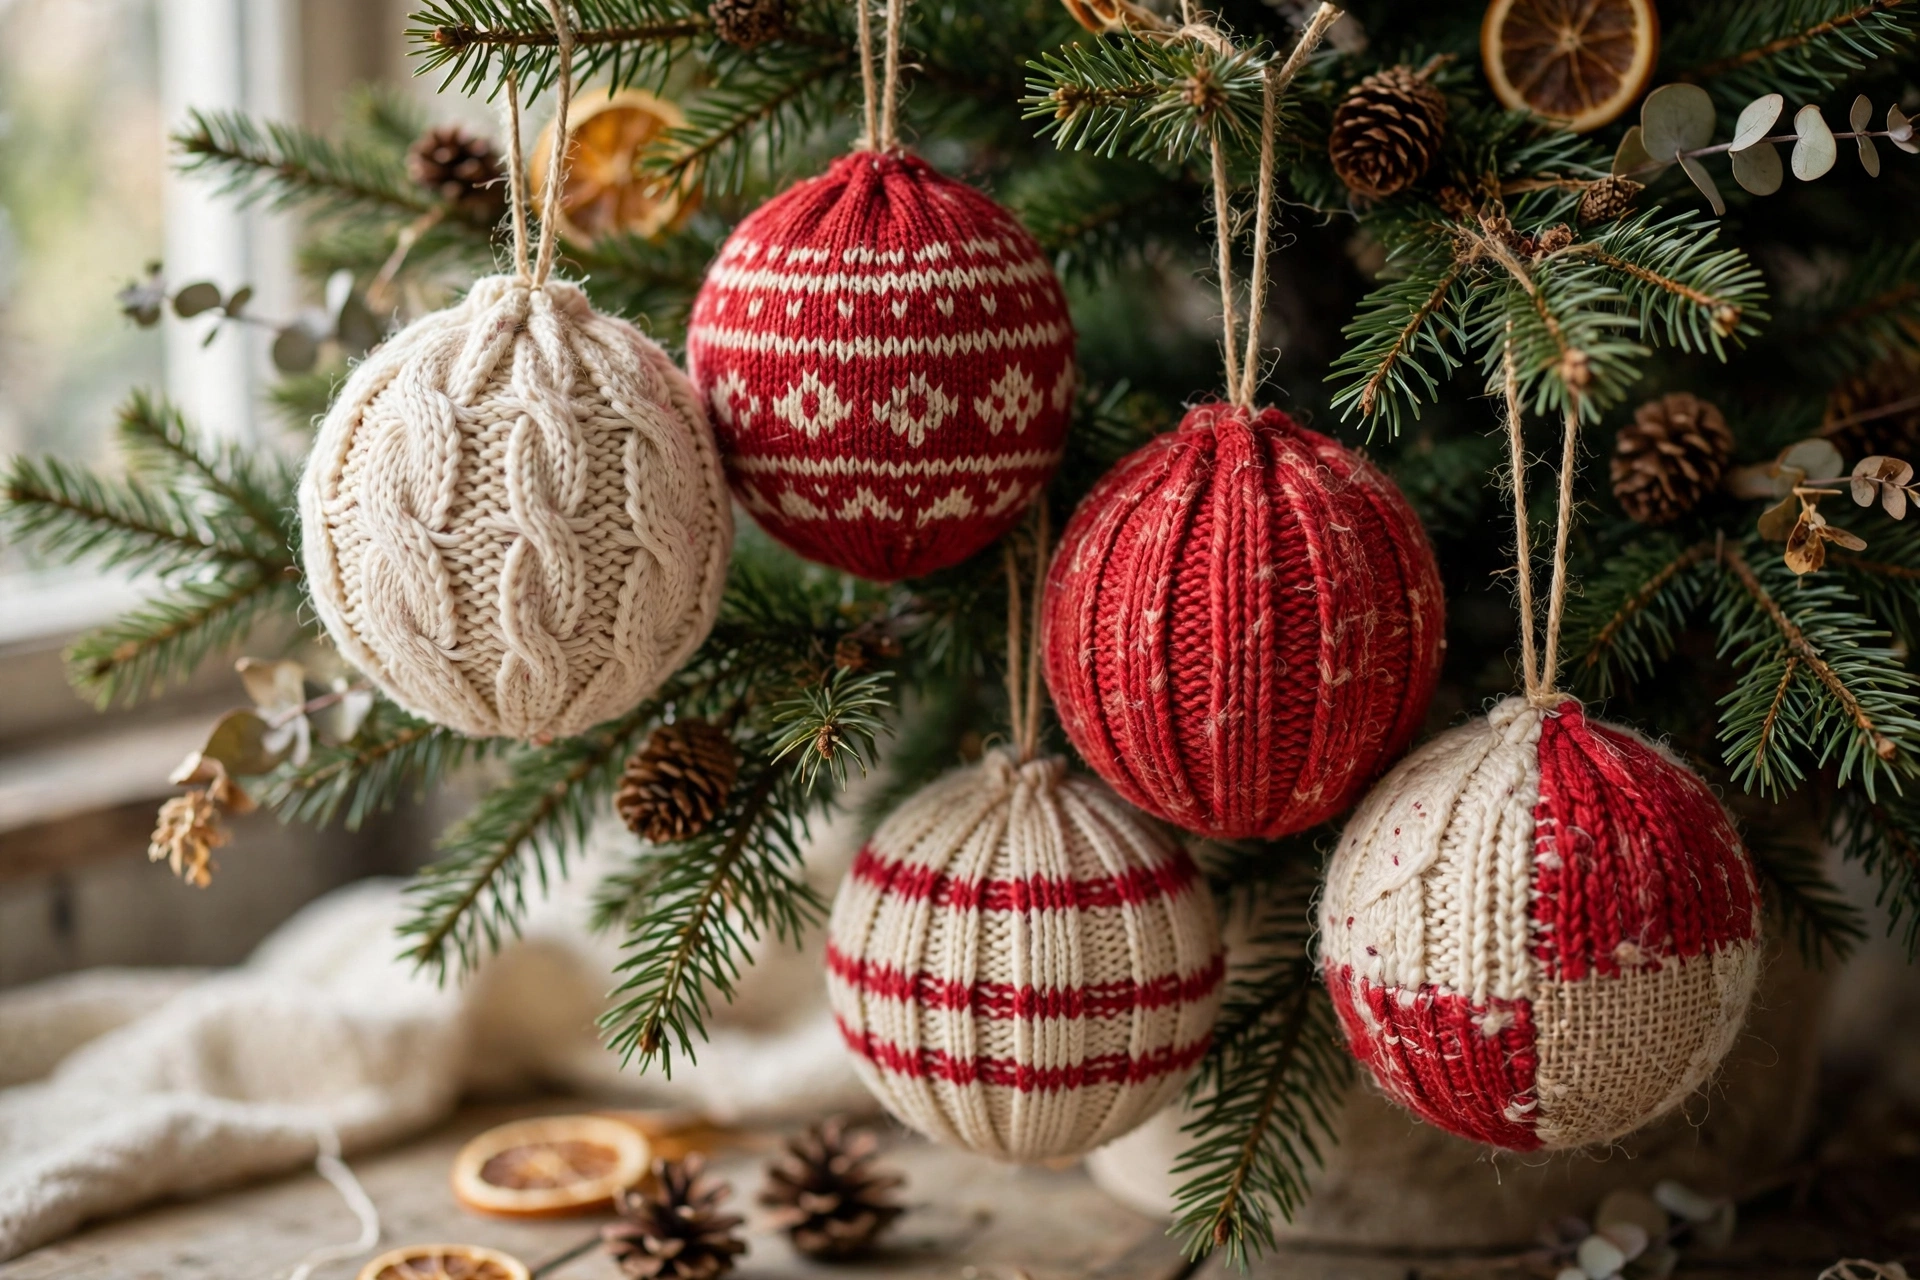
A worn-out sweater with good knit left in the sleeves is an ornament waiting to happen. Cut a circle of knit, wrap it around a foam or old bauble base, gather it at the top, and tie it off with twine and a tiny sprig. The texture does all the work — cable knit especially reads as pure winter. Cream and red knits together cover most palettes, and one sweater yields a dozen ornaments, which makes this the best set-maker in the list for a big tree. Donate nothing with a hole until you have checked whether it is actually next year’s ornament set.
Budget: about $0.50 each — one thrifted or worn-out sweater and foam balls.
16. Put It All Together — DIY Christmas Ornaments as One Collection
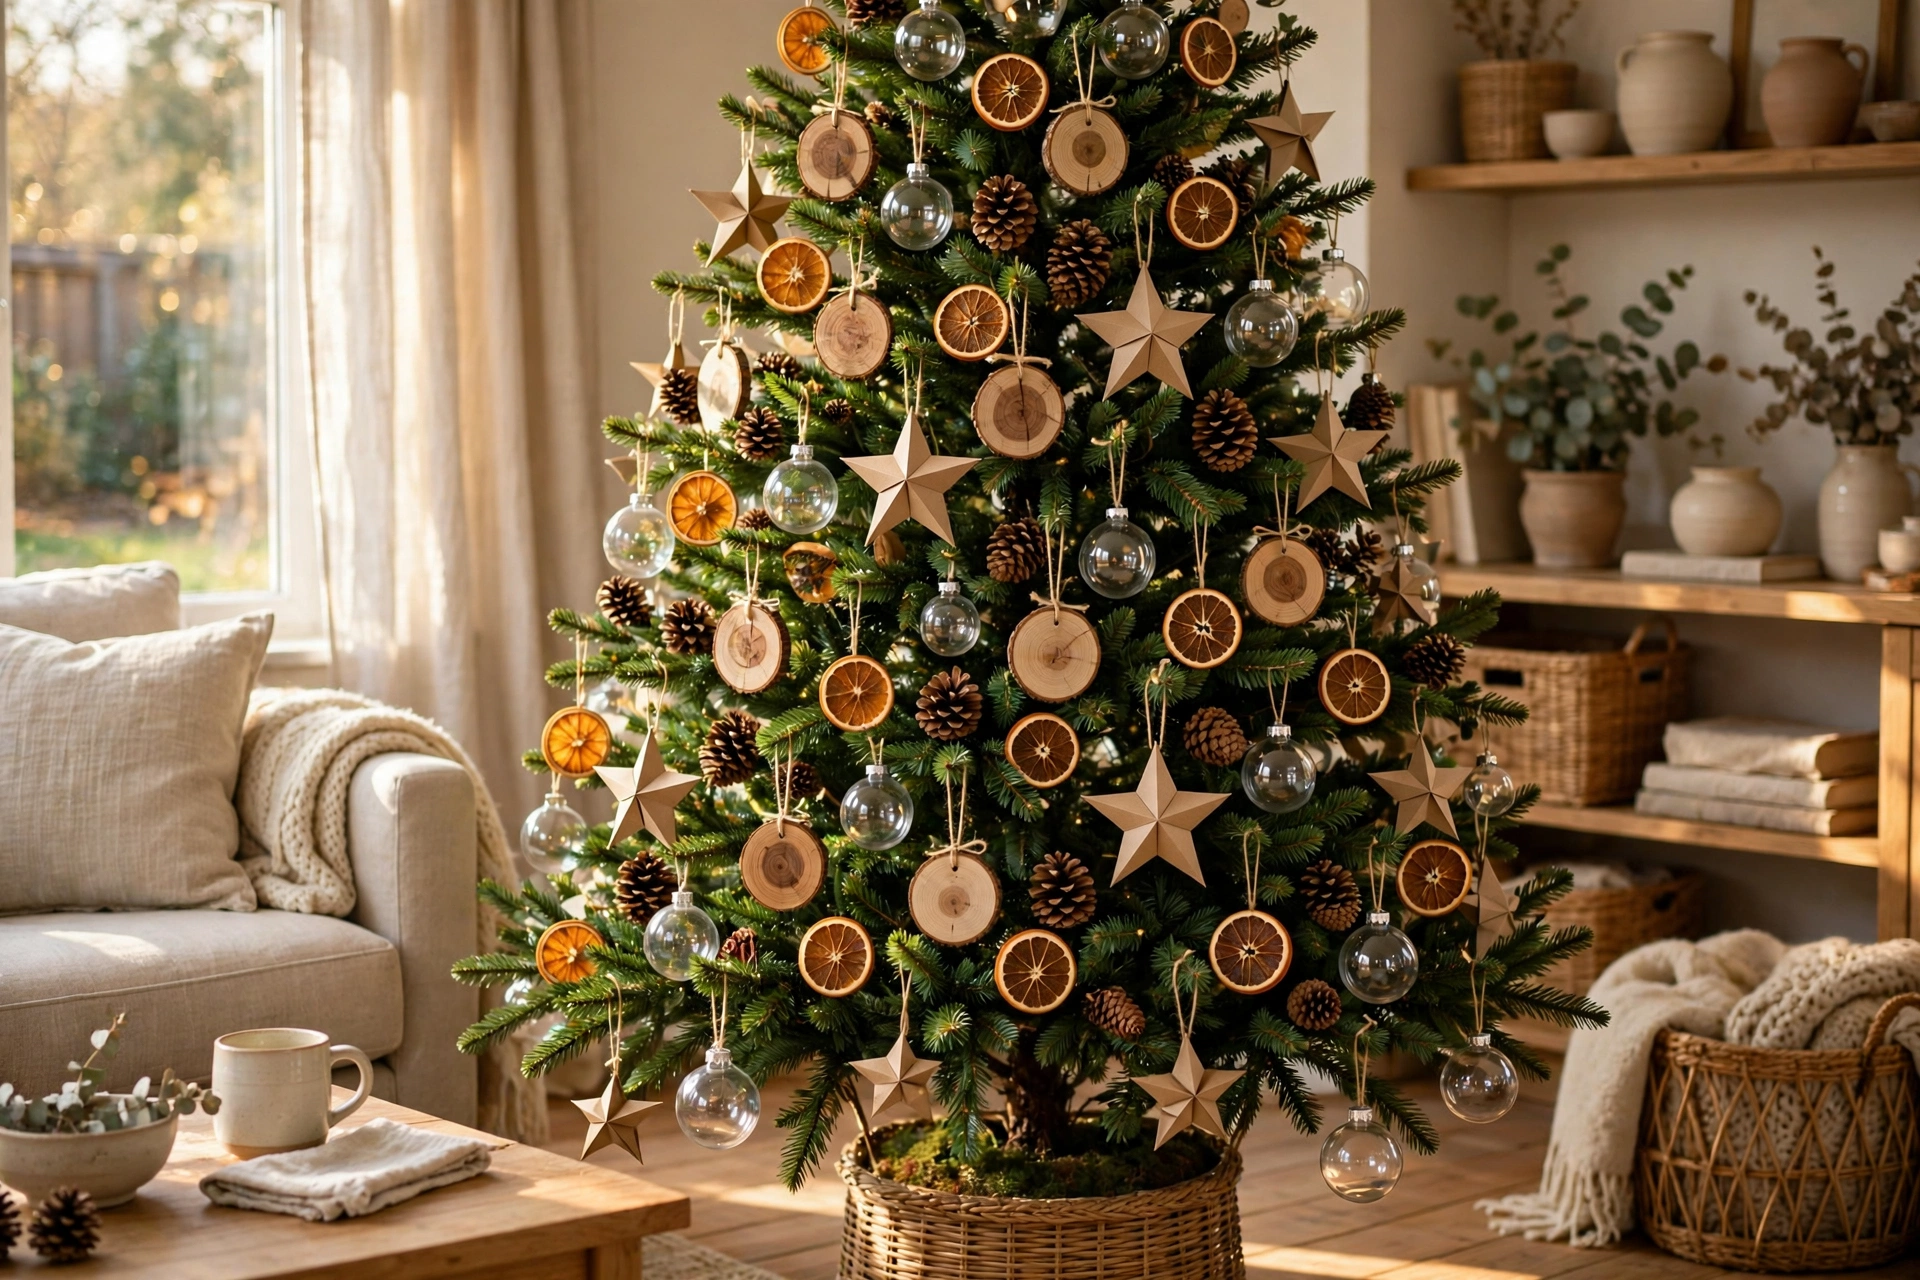
A tree of handmade ornaments looks store-bought when it obeys one palette and one rule of repetition: every design appears at least six times, spread evenly, largest ornaments low and smallest high. Choose four designs from this list, not sixteen — the natural set (oranges, pinecones, cinnamon, wood slices) for a warm rustic tree, or the pale set (paper stars, salt dough, wood beads, white baubles) for a Scandinavian one. Photograph the finished tree, note your four designs and quantities, and next year you can rebuild it in an afternoon or grow it by one new design at a time.
Budget: about $25–$35 total for a full tree of four designs in sets — against $100 or more for the same tree bought ready-made.
Here is the honest secret behind every beautiful handmade tree: nobody made sixteen different ornaments. They made four, in sets, in one palette, with neat hangers. That is why these diy christmas ornaments work — pick your four, set up one cozy assembly line with a movie and a mug of something warm, and by the end of the evening your tree will have a collection that guests assume came from a store, at a price no store would believe.