
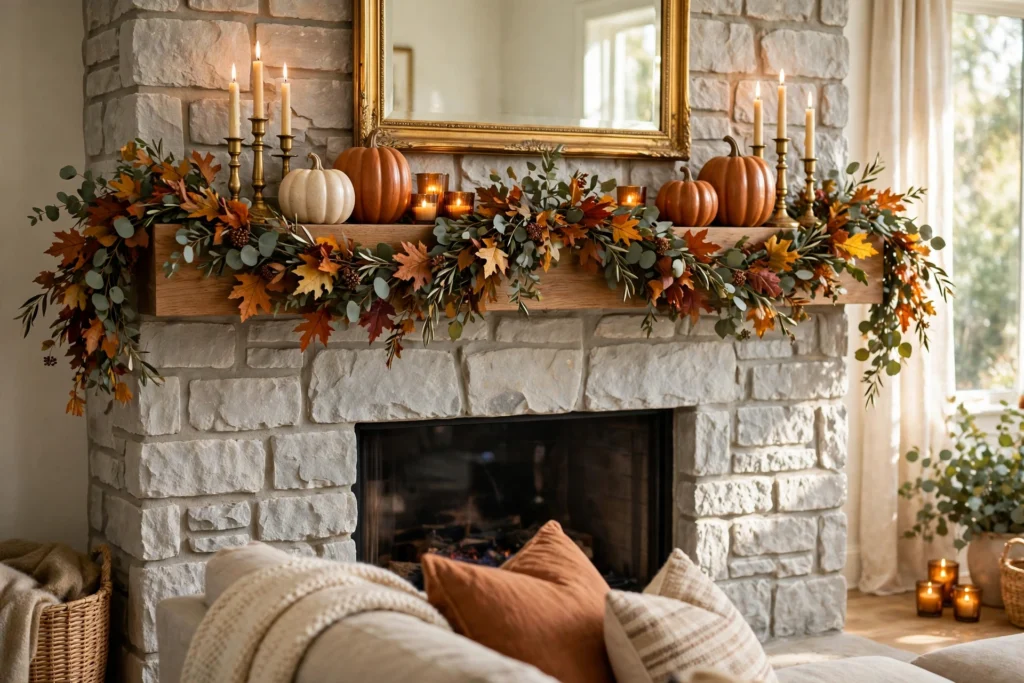
The mantel is the first thing everyone sees when they walk in for Thanksgiving and it is also one surface you decorate once and enjoy all month. The best thanksgiving mantel decor ideas do not come from a single expensive shopping trip. They come from layering: something green, something warm textured, something from nature, and enough candlelight to make the whole room feel slower and warmer.
Work with what you already own first. A mirror, a pair of candlesticks, a stack of books and one good garland can carry almost every look below. Then fill the gaps at the thrift store, the dollar store and the yard. Most of these ideas cost under fifteen dollars, several cost nothing at all, and every single one packs into a box in December. Choose a palette before you start — mine is cream, rust, sage and brass — and let that palette repeat until the mantel looks planned.
1. Layer Two Garlands as the Base for Thanksgiving Mantel Decor Ideas That Look Expensive

A single thin garland is why so many mantels look a little sad. The fix designers use is layering, and it costs one extra strand. Start with a full faux eucalyptus or greenery garland as the base and lay it flat along the mantel, letting the ends trail down the sides a few inches. Then weave a second, slimmer fall-leaf garland through it, in rust, amber and burgundy. The green makes the fall colors look richer, the leaves make the green look seasonal, and together they have twice the body of either one alone. Fluff each leaf out with your fingers and step back every few feet. That stepping back, honestly, is half the job.
Budget: about $12 — one greenery garland you likely own, plus a slim fall-leaf garland from the store.
2. Anchor Everything With a Thrifted Mirror

Every high-end mantel has a tall anchor in the middle, and a mirror is the hardest working one there is. It bounces candlelight around the room, it makes a small living room feel bigger, and an ornate gold frame reads expensive at a glance. Thrift stores price big mirrors kindly because they are heavy to move, so look for the largest one that fits your wall, clean the glass, and lean it on the mantel or hang it low, just above the shelf. If gold is not your palette, a dark wood frame does the same job in a moodier way. Once the anchor is in, every smaller thing you add suddenly looks like part of a composition instead of a row of objects.
Budget: about $15 — a large secondhand mirror from the thrift store, cleaned with glass spray you already own.
3. Cluster Ceramic Pumpkins in Odd Numbers

Pumpkins belong on a November mantel, but the plastic orange kind will fight your high-end palette. Ceramic pumpkins in cream, sage, rust and muted gold look like they came from a pottery studio, and they turn up at dollar stores, discount shops and thrift shelves every fall for a few dollars each. Group them in odd numbers — three on one side, five on the other — and mix heights by tucking a small book or wood slice under the shortest one. Odd groupings are the oldest styling trick there is because the eye cannot pair them off, so the arrangement feels natural instead of symmetrical and stiff. Leave a little breathing room between clusters.
Budget: about $10 — three to five ceramic pumpkins at $2 to $3 each, bought once and reused for years.
4. Add Brass Candlesticks in Different Heights
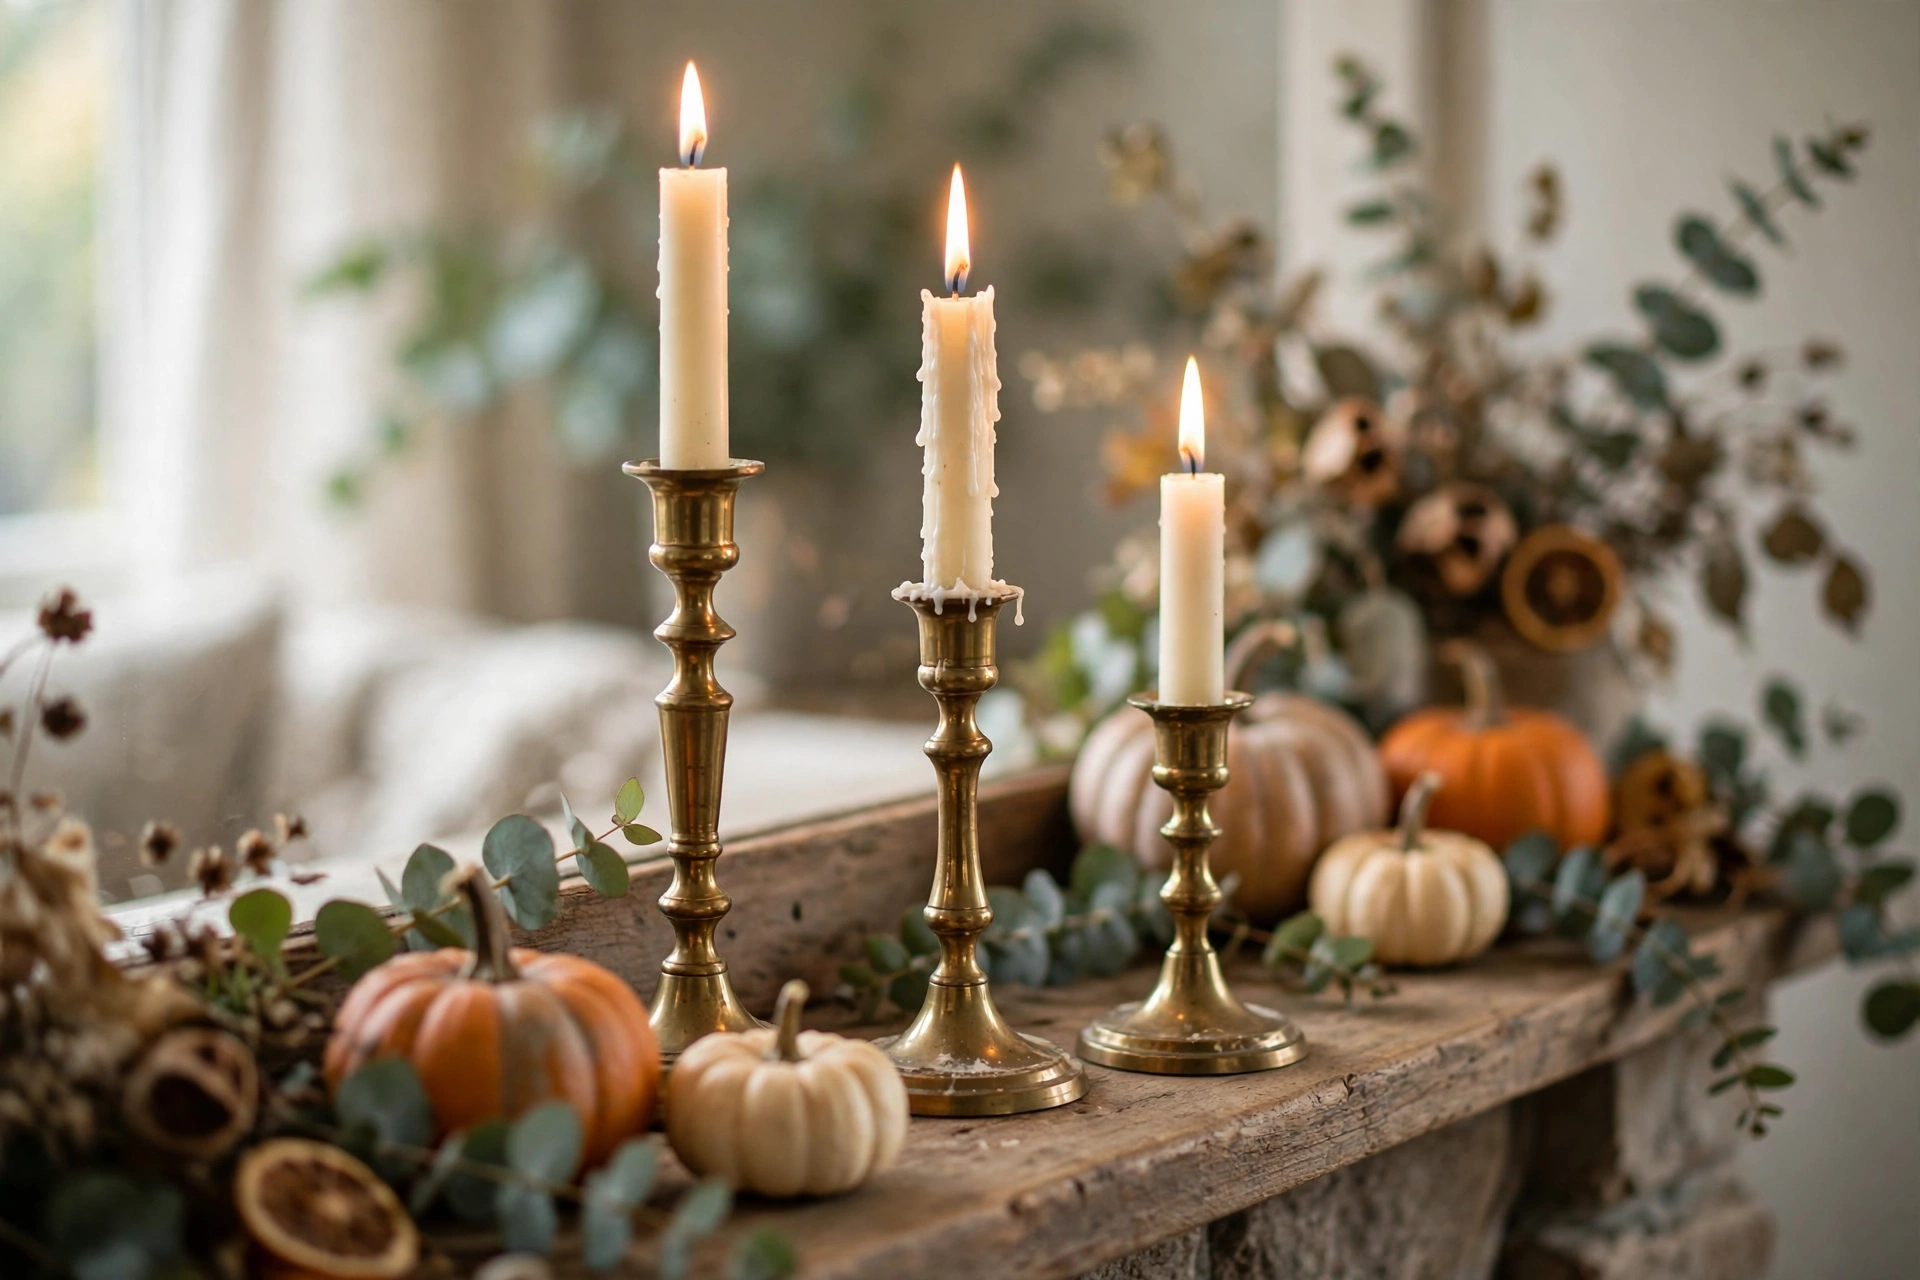
If garlands are the base, candlesticks are the jewelry. Brass brings a warm metal note that makes cream pumpkins and green leaves look intentional, and thrift stores almost always have a shelf of heavy vintage candlesticks for a dollar or three. Collect five or seven in different heights, do not polish away all the patina, and group them where the garland dips lowest so the flames rise out of the leaves. Plain ivory tapers look most expensive and burn cleanest. Vary the heights like a little skyline, keep flames a safe hand’s width from anything dry, and use battery tapers if small children or a curious cat will be anywhere near the fireplace this year.
Budget: about $12 — thrifted brass candlesticks plus a pack of ivory taper candles.
5. Fill the Gaps With Amber Glass Votive Holders

Between the big pieces, a mantel needs low, warm glow, and amber glass is made for November light. Small amber votive holders turn a plain tea light into something that looks like honey lit from inside. Tuck three, five or seven of them into the garland, in the gaps beside pumpkins and at the feet of the candlesticks, so the light steps from tall tapers to low votives like a staircase. The holders are dollar-store finds and the battery tea lights that fit them are safe around dried leaves. At dusk, this is the layer that makes guests lower their voices and settle in. It is also the cheapest layer on the whole mantel.
Budget: about $6 — amber votive holders and a pack of battery tea lights from the dollar store.
6. Stand Dried Wheat Sheaves in a Stoneware Crock

Thanksgiving is a harvest holiday, and wheat says harvest more honestly than almost anything else you can put in a vase. A bundle of dried wheat, tied once with twine and stood upright in a heavy stoneware crock or thrifted jug, adds the height and texture a mantel needs at one end. It balances the mirror without competing with it, and its soft gold color bridges the cream pumpkins and brass candlesticks beautifully. Buy one bundle and split it between two smaller vessels if your mantel is long. Handle it gently, keep it dry, and it will come back out of the box next fall looking exactly the same, which cannot be said for fresh flowers.
Budget: about $8 — one bundle of dried wheat plus a thrifted crock or jug.
7. Stack Warm-Toned Vintage Books as Risers
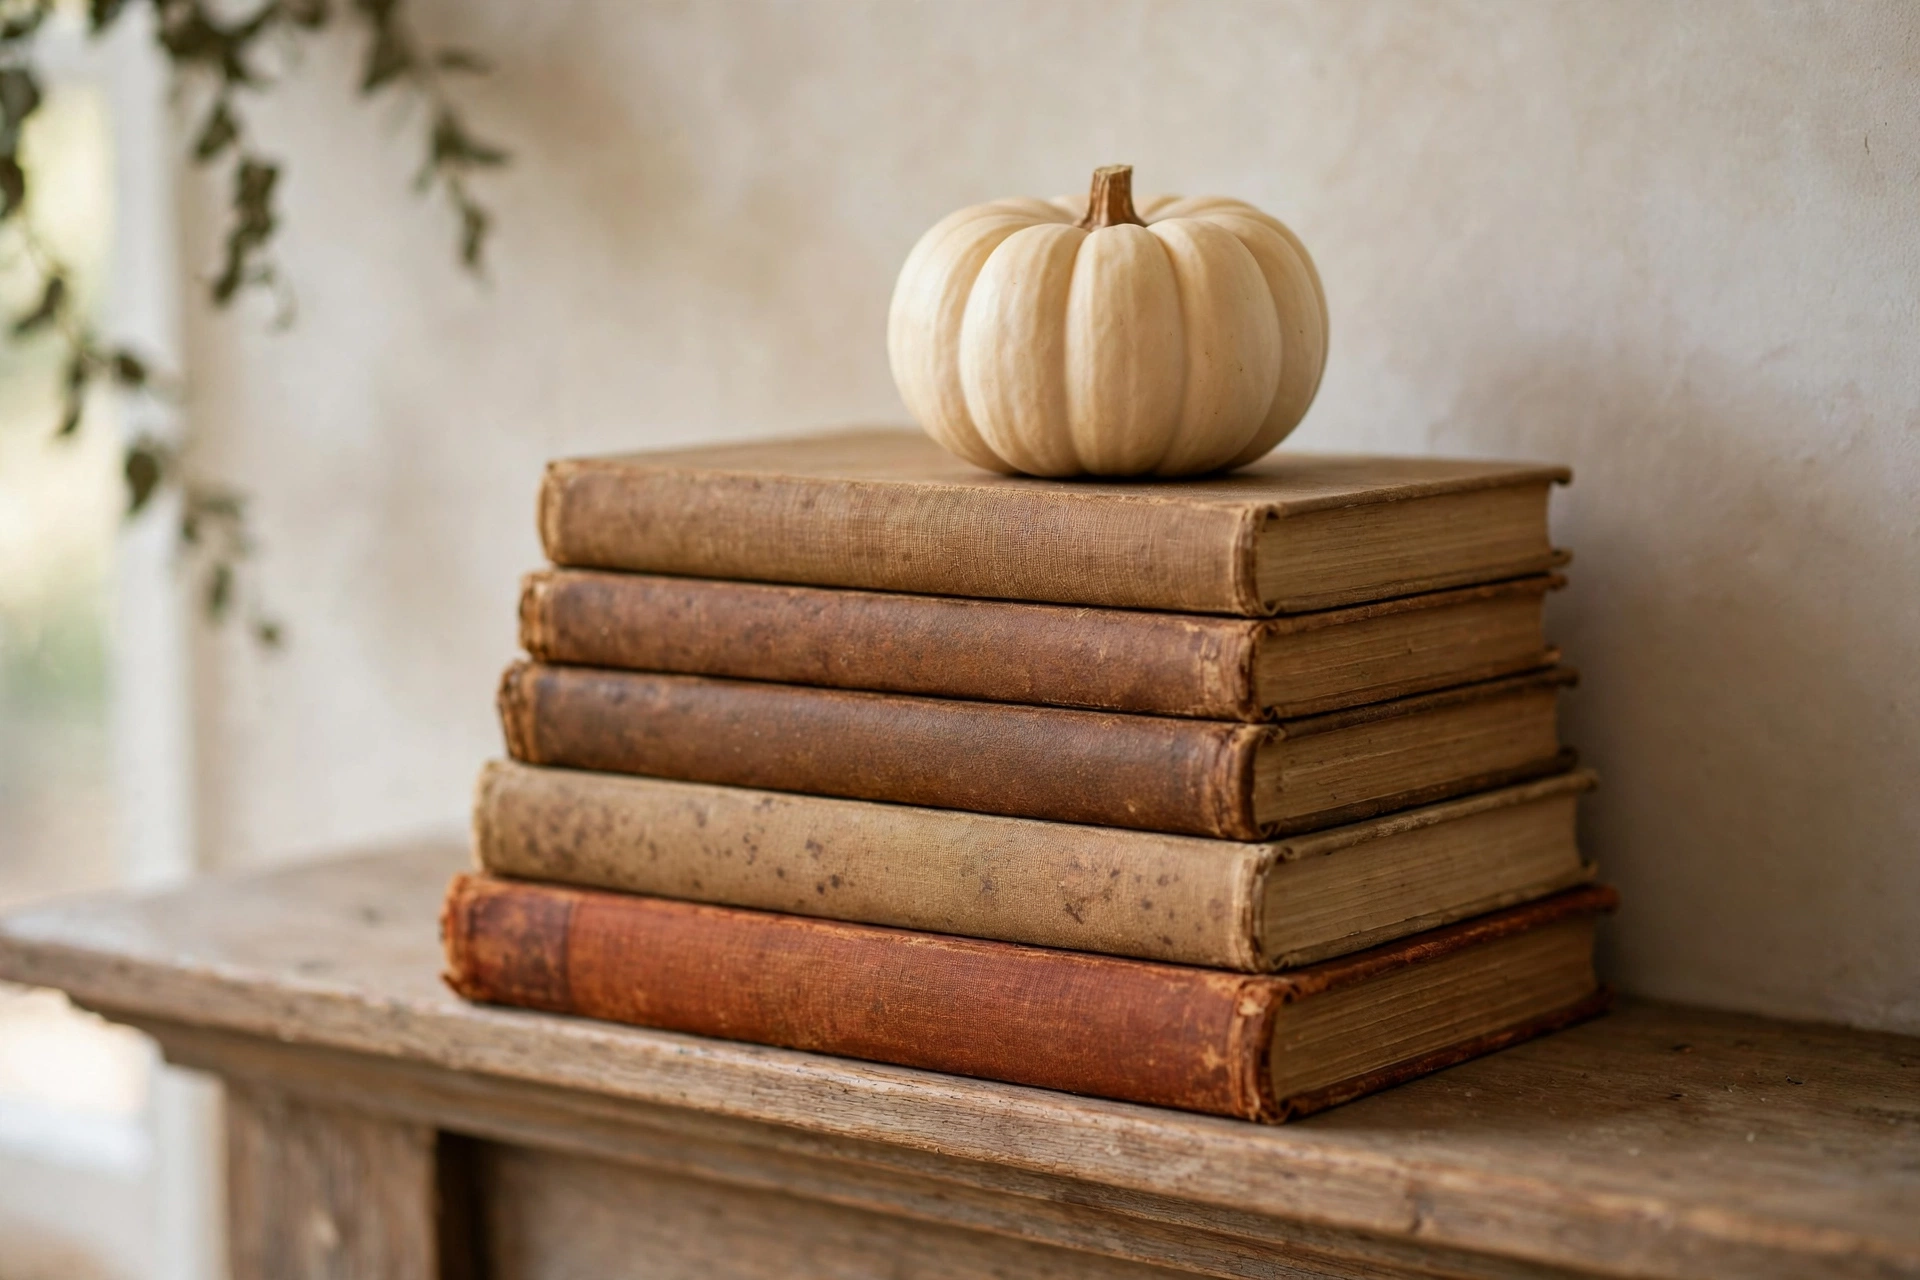
Stylists never place everything directly on the mantel shelf, because a flat line is a boring line. A short stack of two or three vintage hardcover books in rust, tan or deep brown does two jobs at once: it adds warm color without buying decor, and it lifts a pumpkin, candle or small frame to a better height. Thrift stores sell old books by the armful for a dollar each; choose cloth covers, turn the spines with the least lettering outward, and remove any dusty jackets. Use one stack on each side, at different heights, and your mantel gains the layered, collected feeling that makes people ask which designer helped. Nobody has to know it was the library sale shelf.
Budget: about $4 — two or three old hardcover books from the thrift store.
8. Drape a Wooden Bead Garland Across the Front
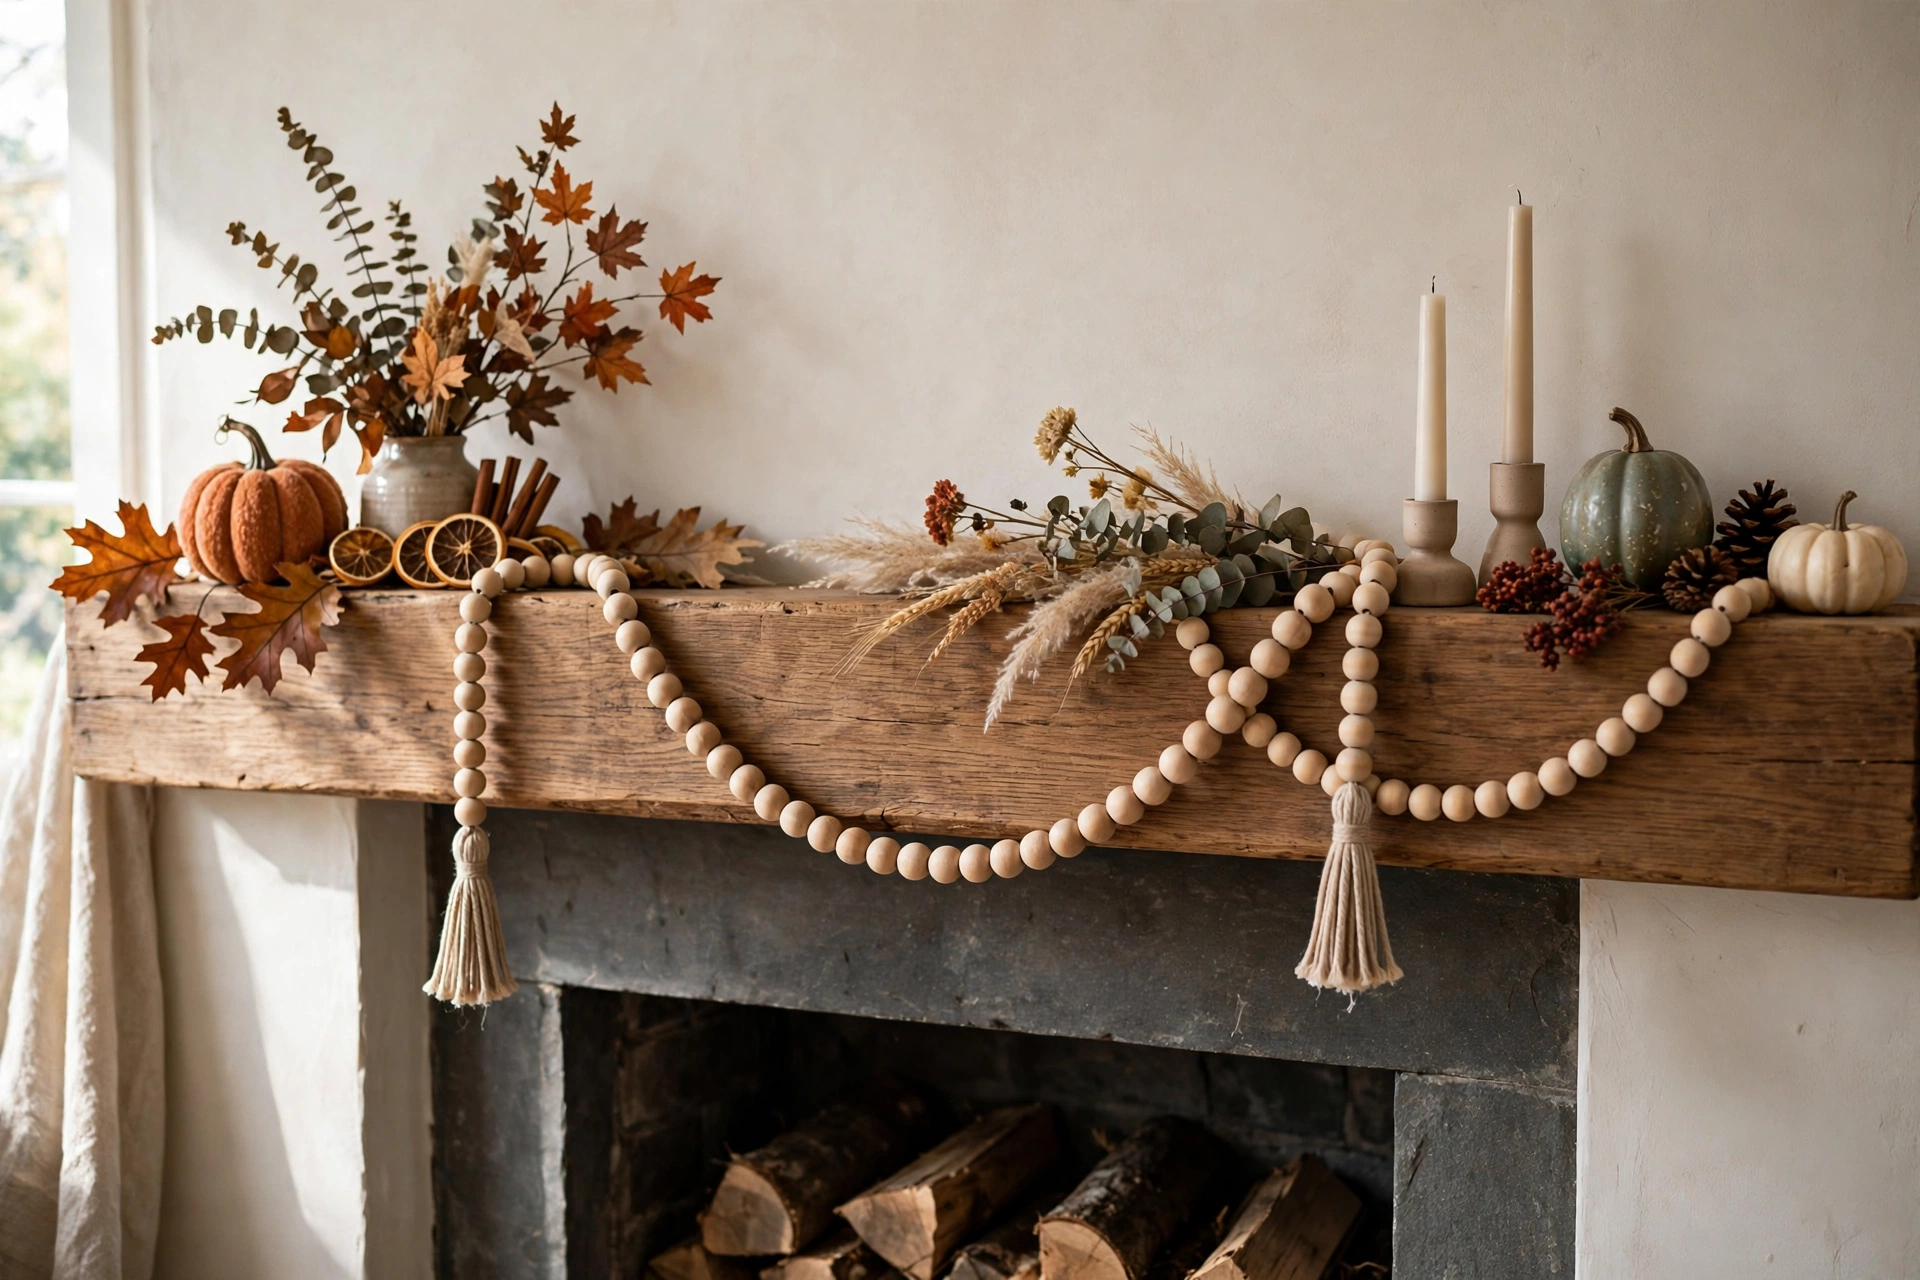
The front edge of a mantel is easy to forget, and that is exactly why draping something there looks so polished. A natural wood bead garland, looped in one or two soft swags along the front and finished with simple tassels, adds movement and a handmade note that contrasts nicely with smooth ceramics and shiny brass. You can buy a strand for a few dollars or string one yourself from a bag of craft beads on jute twine while a show plays in the background. Pin or hook it at the corners so the swag hangs evenly, and let one tassel fall a little lower than the other.
Budget: about $7 — a ready-made wood bead garland, or craft beads and twine to make your own.
9. Flank the Ends With Lanterns

A mantel needs strong endings, the way a sentence needs a period. Lanterns give you that punctuation: one black, bronze or wood lantern at each end of the mantel shelf, drop in a pillar candle — battery-powered if the lantern sits near garland — and you get height, structure and glow in a single object. The two lanterns frame everything between them, so even a simple center arrangement looks finished. Discount and dollar stores carry surprisingly good lanterns each fall, and the same pair will move to your porch in spring and your Christmas mantel in December. Choose a finish that echoes something else in the room, like your curtain rod or picture frames, so they feel chosen rather than added.
Budget: about $14 — two simple lanterns plus battery pillar candles.
10. Bring in Woven Texture With Rattan Pumpkins

Too many smooth surfaces make a mantel look like a shop display. Woven texture breaks that up, and rattan or wicker pumpkins are the way to add it in November. Their natural tan color sits happily between cream ceramics and green garland, and their ribs catch the light in a way flat objects cannot. Use two or three, tucked against a book stack or leaning into the garland, rather than lining them up in a row. If you cannot find pumpkin shapes, a small woven basket turned into an arrangement, or a rattan tray leaning behind the pumpkins, gives the same warm, handmade effect. Texture is the layer people feel without noticing, and it is usually what they mean when they say a room feels cozy.
Budget: about $9 — two or three woven pumpkins from a discount or craft store.
11. Scatter Pinecones and Acorns as Free Filler
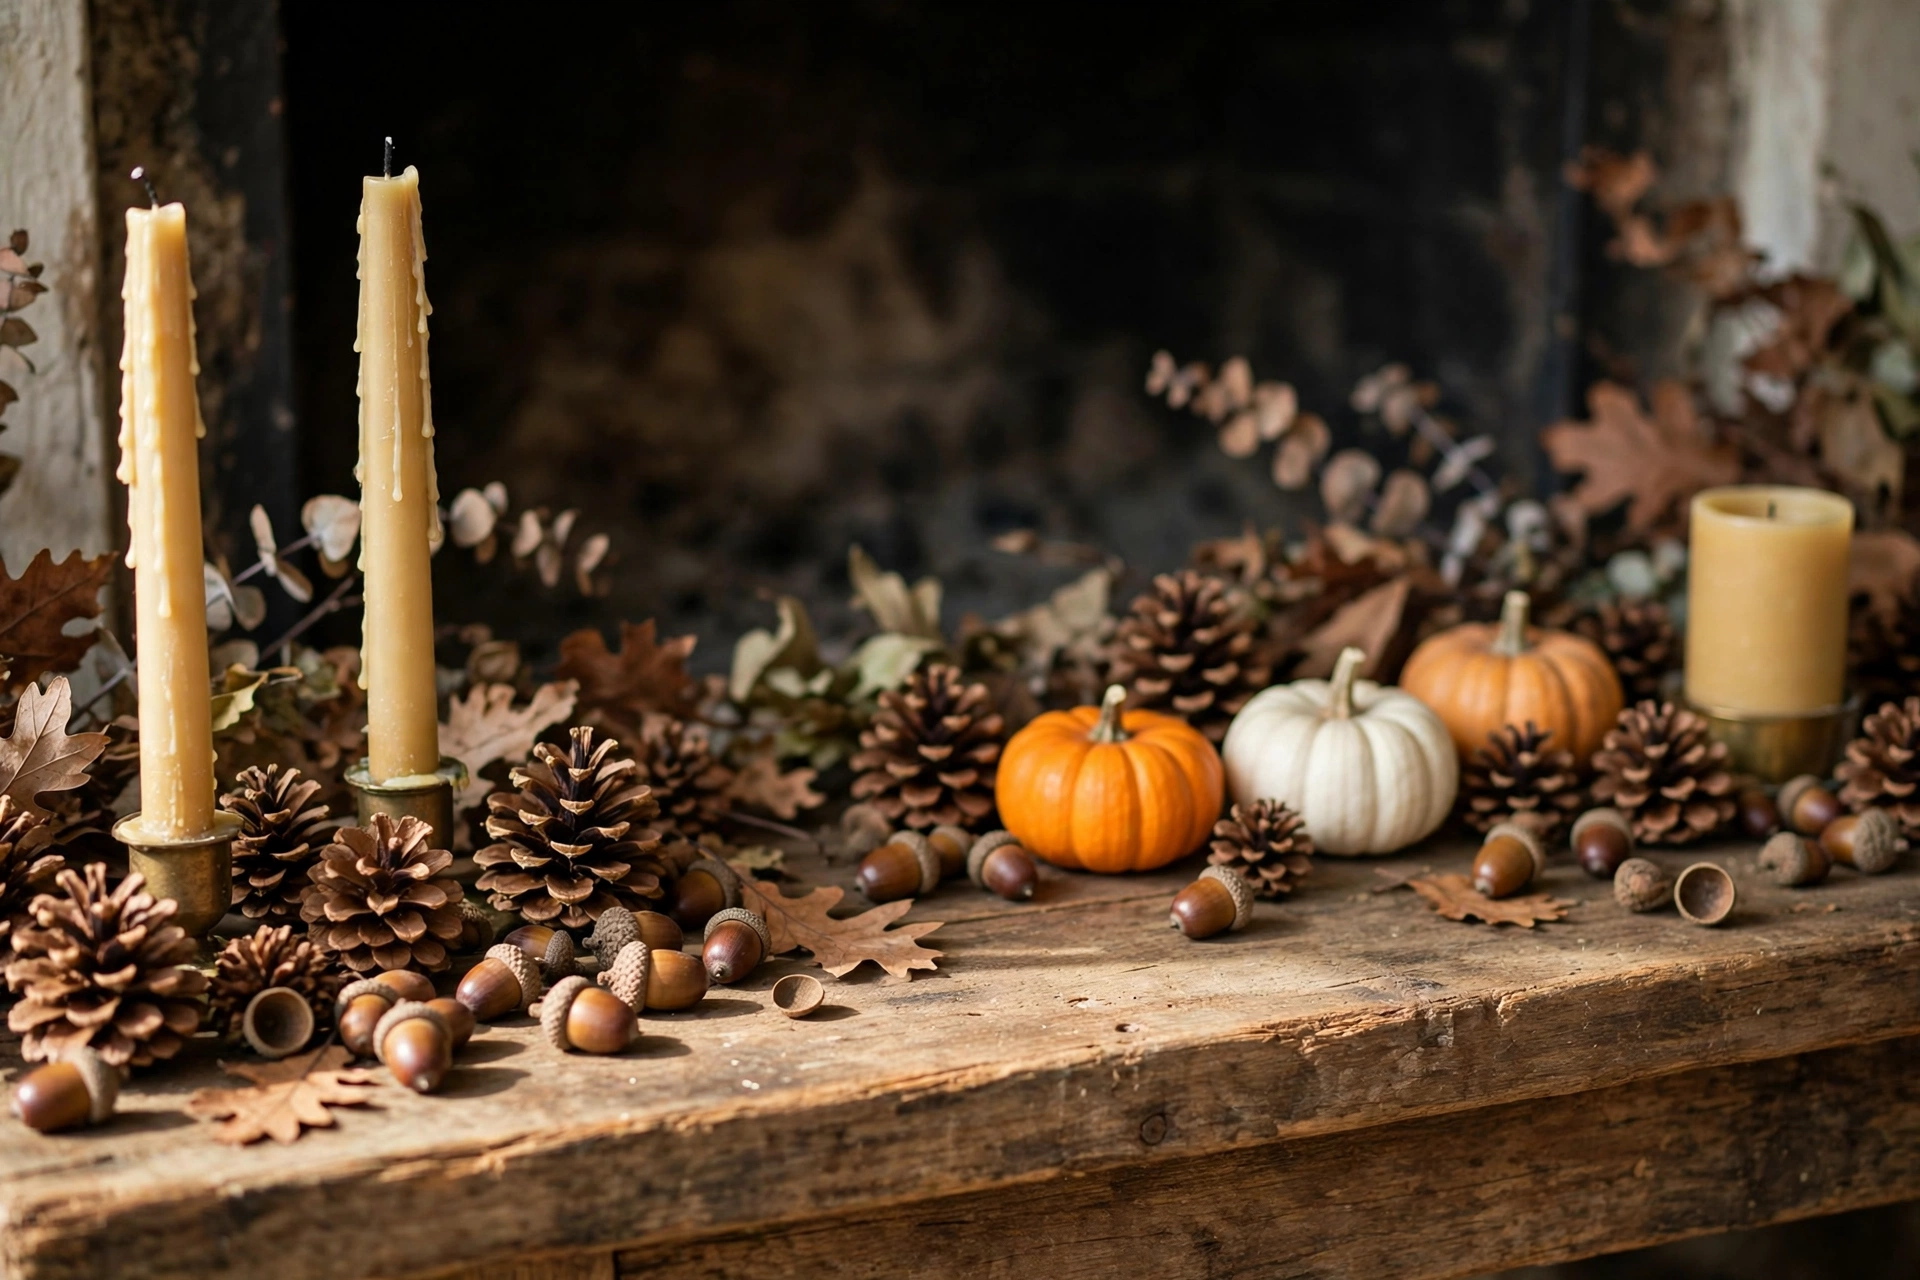
Every arrangement has small awkward gaps, and paying for filler is a waste when the yard provides it free. Pinecones and acorns are classic November filler: scatter a loose handful along the garland, tuck cones beside candle bases, and let a few acorns collect at the feet of the pumpkins as if they had just fallen there. Keep the scatter uneven — a little cluster here, a single cone there — because nature never spaces things evenly and your eye knows the difference. Rinse and dry anything you gather, or warm the cones briefly on a low oven setting to make sure no tiny tenants move in. This is also the perfect job to give to children, who take filler placement very seriously.
Budget: about $0 — pinecones and acorns gathered free, plus a little time to clean them.
12. Line Up Small Brass Frames for a Gratitude Moment
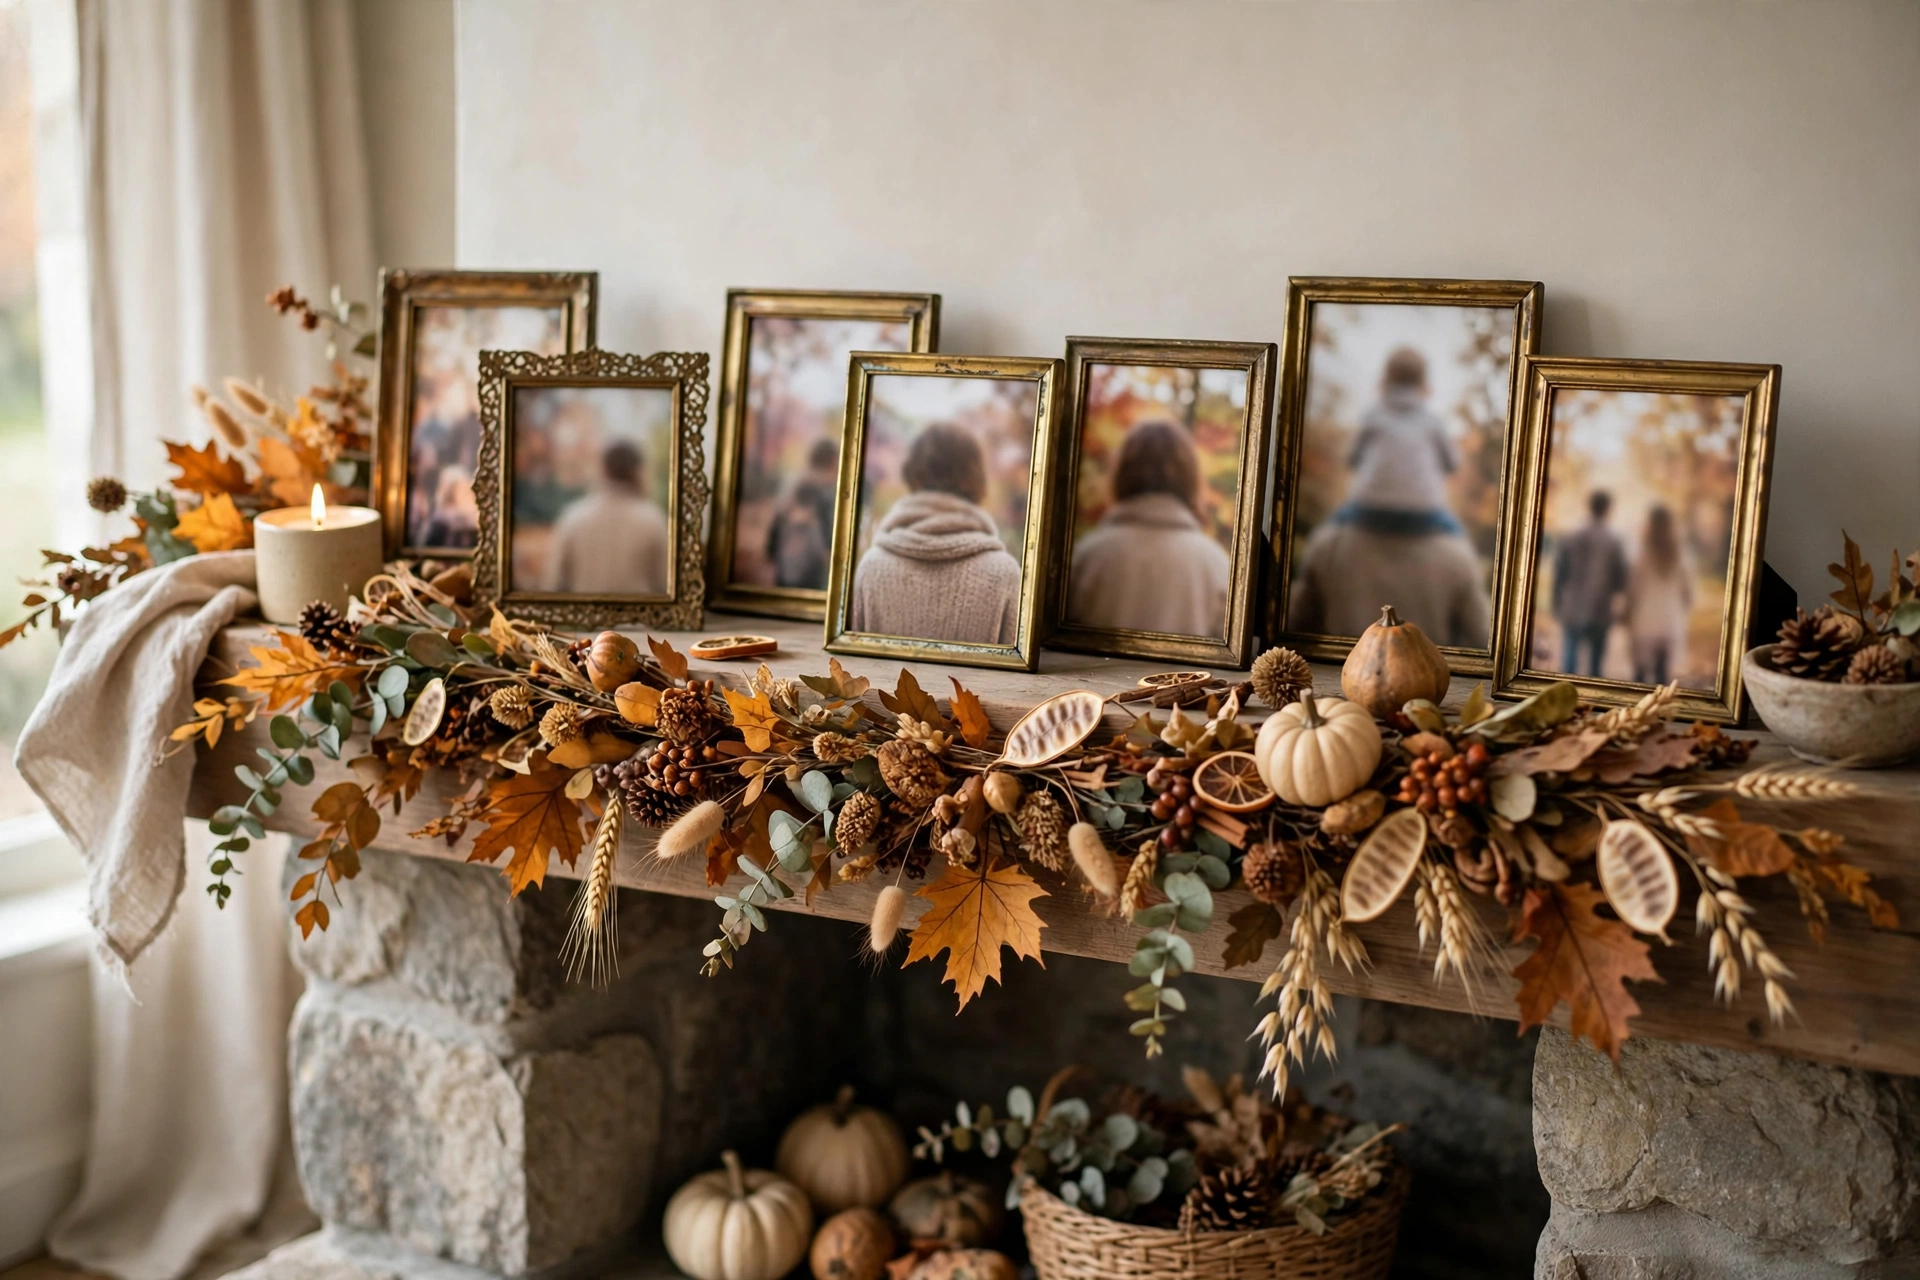
Thanksgiving is about people, so give people a place on the mantel. Small mismatched brass or gold frames — the thrift store sells them by the box — holding favorite family photos turn decoration into something personal, and guests will stop to look instead of just glancing past. Keep the frames small, lean them into the garland at a slight angle, and mix in one or two landscape prints to catch the light. Matching frame finishes matter more than matching sizes; the shared brass ties them to the candlesticks and lanterns a few feet away. It is a gentle, lovely way to include family members who cannot be at the table this year.
Budget: about $6 — small secondhand brass frames; printing photos at home or at a pharmacy.
13. Layer It All Together, Then Edit Once

Now the full formula, in order. Mirror in the center first. Garland laid and fluffed along the shelf. Wheat at one end, lanterns closing both ends. Pumpkins in odd clusters, books lifting the shortest pieces, candlesticks stepping up through the leaves, votives filling the gaps, beads draped along the front, pinecones scattered last, and your little brass frames leaned in where they catch the light. Then the step that separates a styled mantel from a crowded shelf: take one thing away. Every arrangement improves when you remove a single piece and let the rest breathe. Light the candles at dusk, look with honest eyes, and remove one pumpkin. That last small edit is where it stops looking decorated and starts looking like a home at its best.
Budget: about $45 total if you buy several pieces new-to-you — far less if you start with a mirror, books and candlesticks you already own.
Add the layers up and the honest secret is simple: high-end is not a store, it is a sequence. Green first, anchor in the middle, warm metal, natural texture, and more candlelight than you first think you need. These thanksgiving mantel decor ideas work because each layer is cheap on its own and generous together, and almost everything on the shelf tonight will serve again at Christmas with the pumpkins swapped for greenery and red berries. Start with the garland and mirror, add one layer a week through November if the budget is tight, and by the day itself your mantel will look like the room everyone gathers in — because it will be.