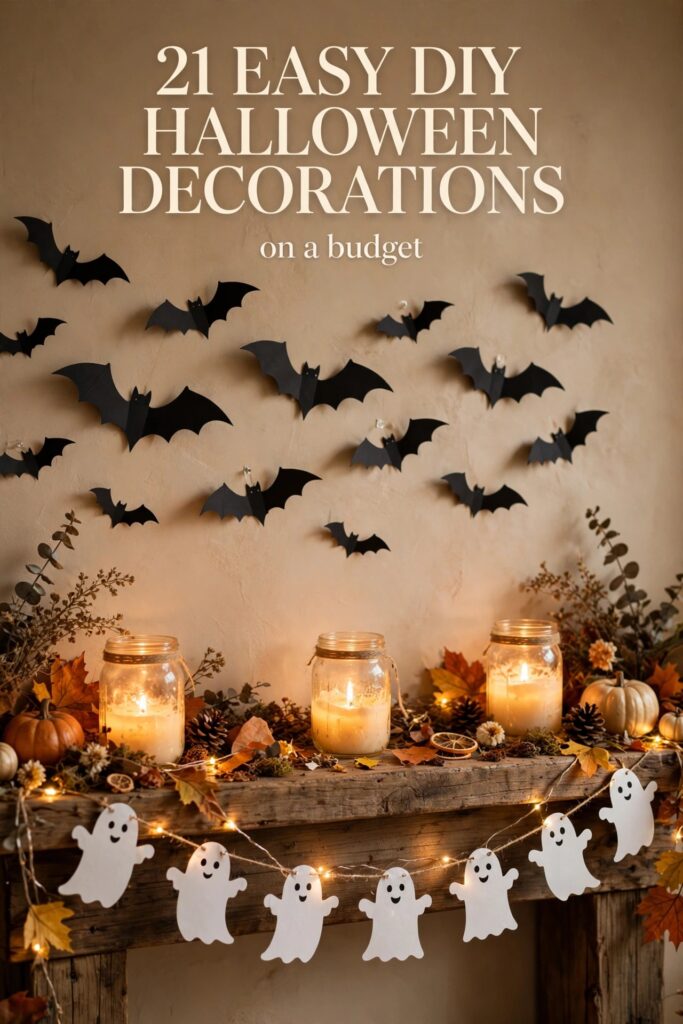
You don’t need a big budget — or a hot glue gun meltdown — to make your home look amazing this Halloween. These DIY Halloween decorations prove that some of the spookiest, most-pinned ideas on the internet are made from paper, mason jars, and fairy lights. Total cost? Often under $10.
I rounded up 21 easy DIY Halloween decorations you can actually finish in a weekend, grouped into three crowd favorites: dramatic paper bats, cute paper ghosts, and glowing mason jar lanterns. Every idea is beginner-friendly, kid-approved, and cheap.
Table of Contents
DIY Halloween Decorations: Paper Bats
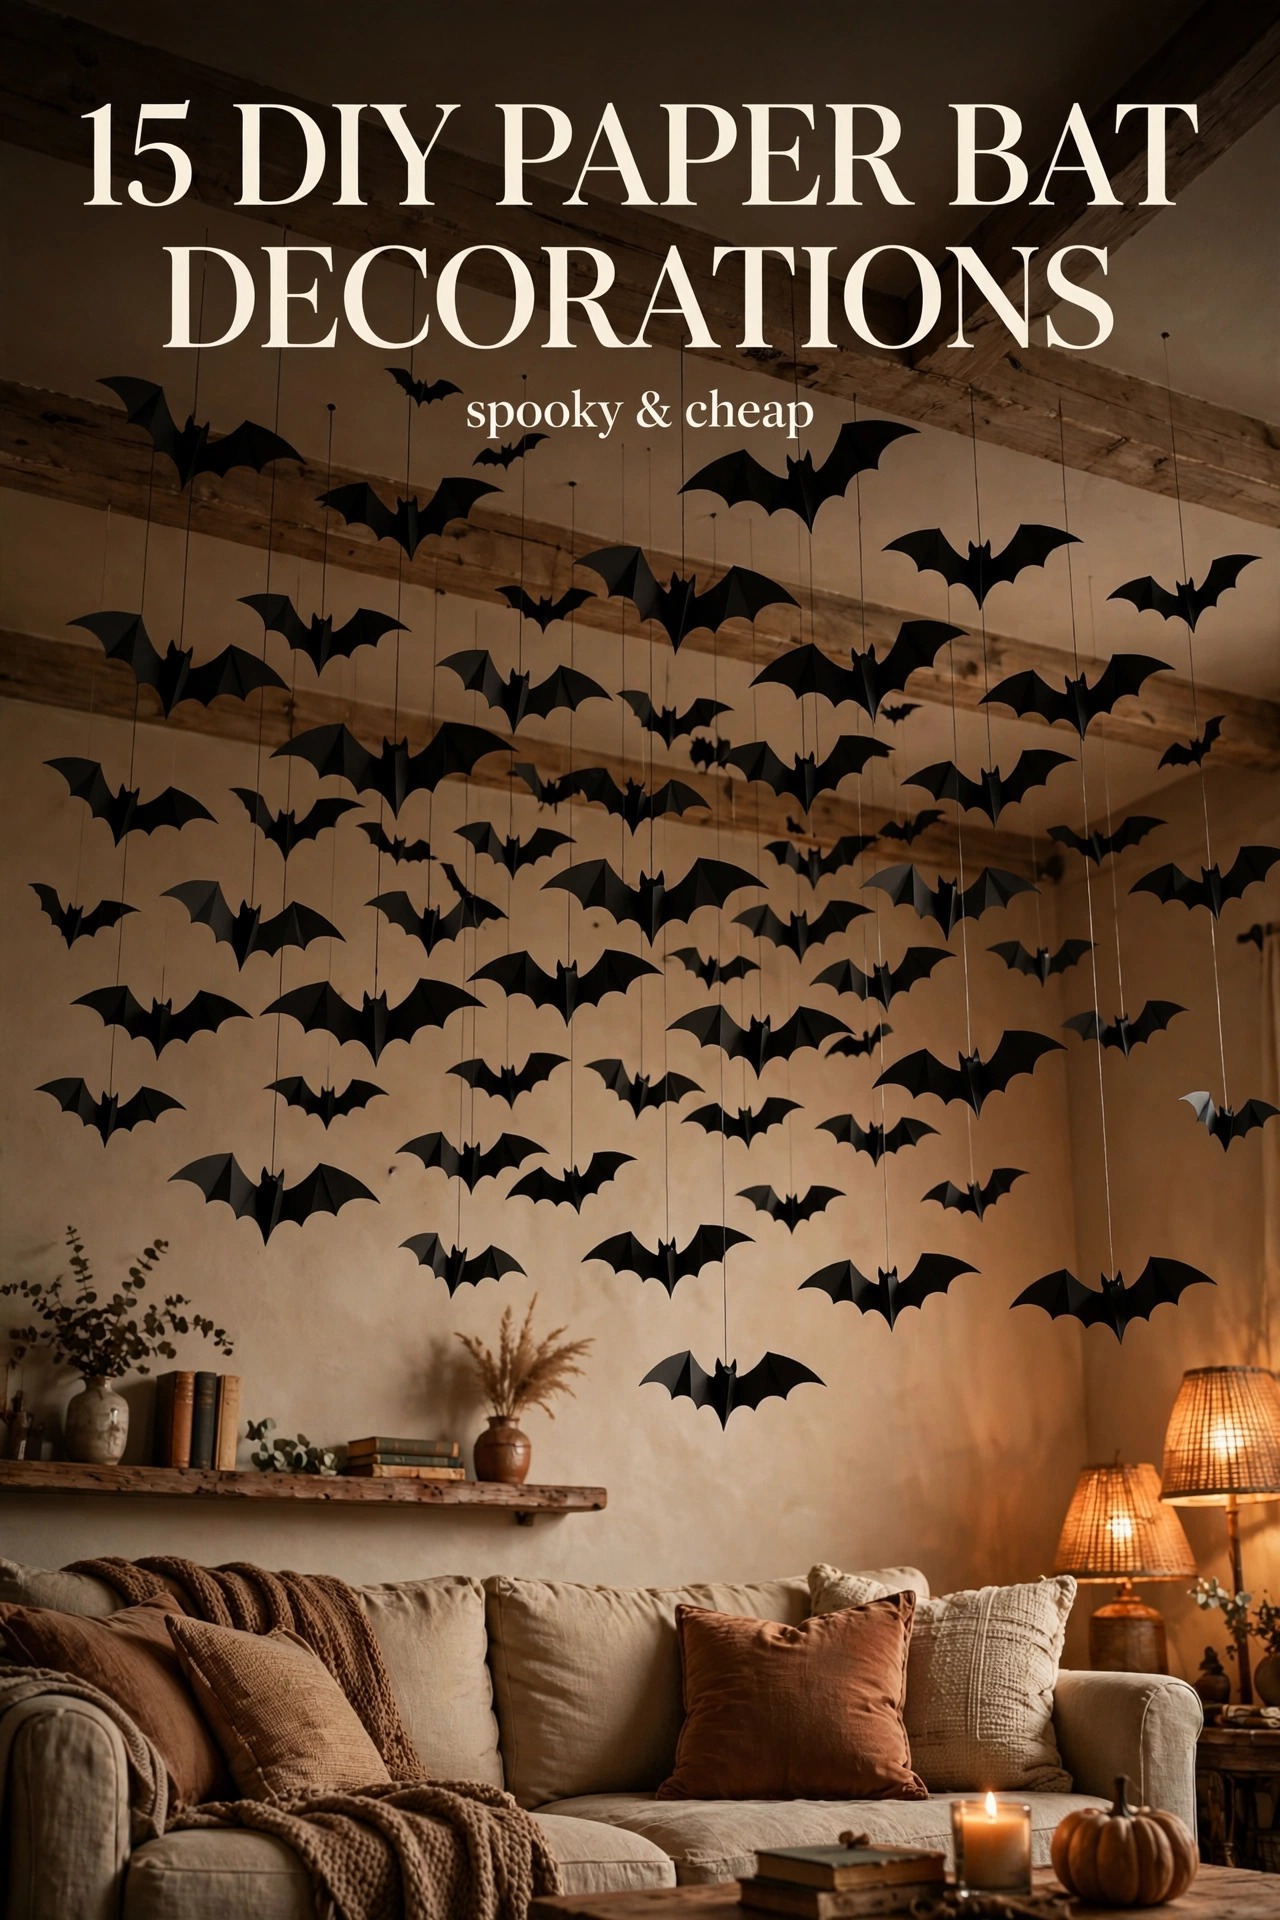
If there’s one Halloween craft that broke Pinterest this year, it’s the paper bat — the king of DIY Halloween decorations. Fold a sheet of black cardstock, cut along one line, unfold — and you have a bat. Make fifty and your ceiling looks like a scene from a haunted mansion.
1. Classic Black Cardstock Bats on the Wall
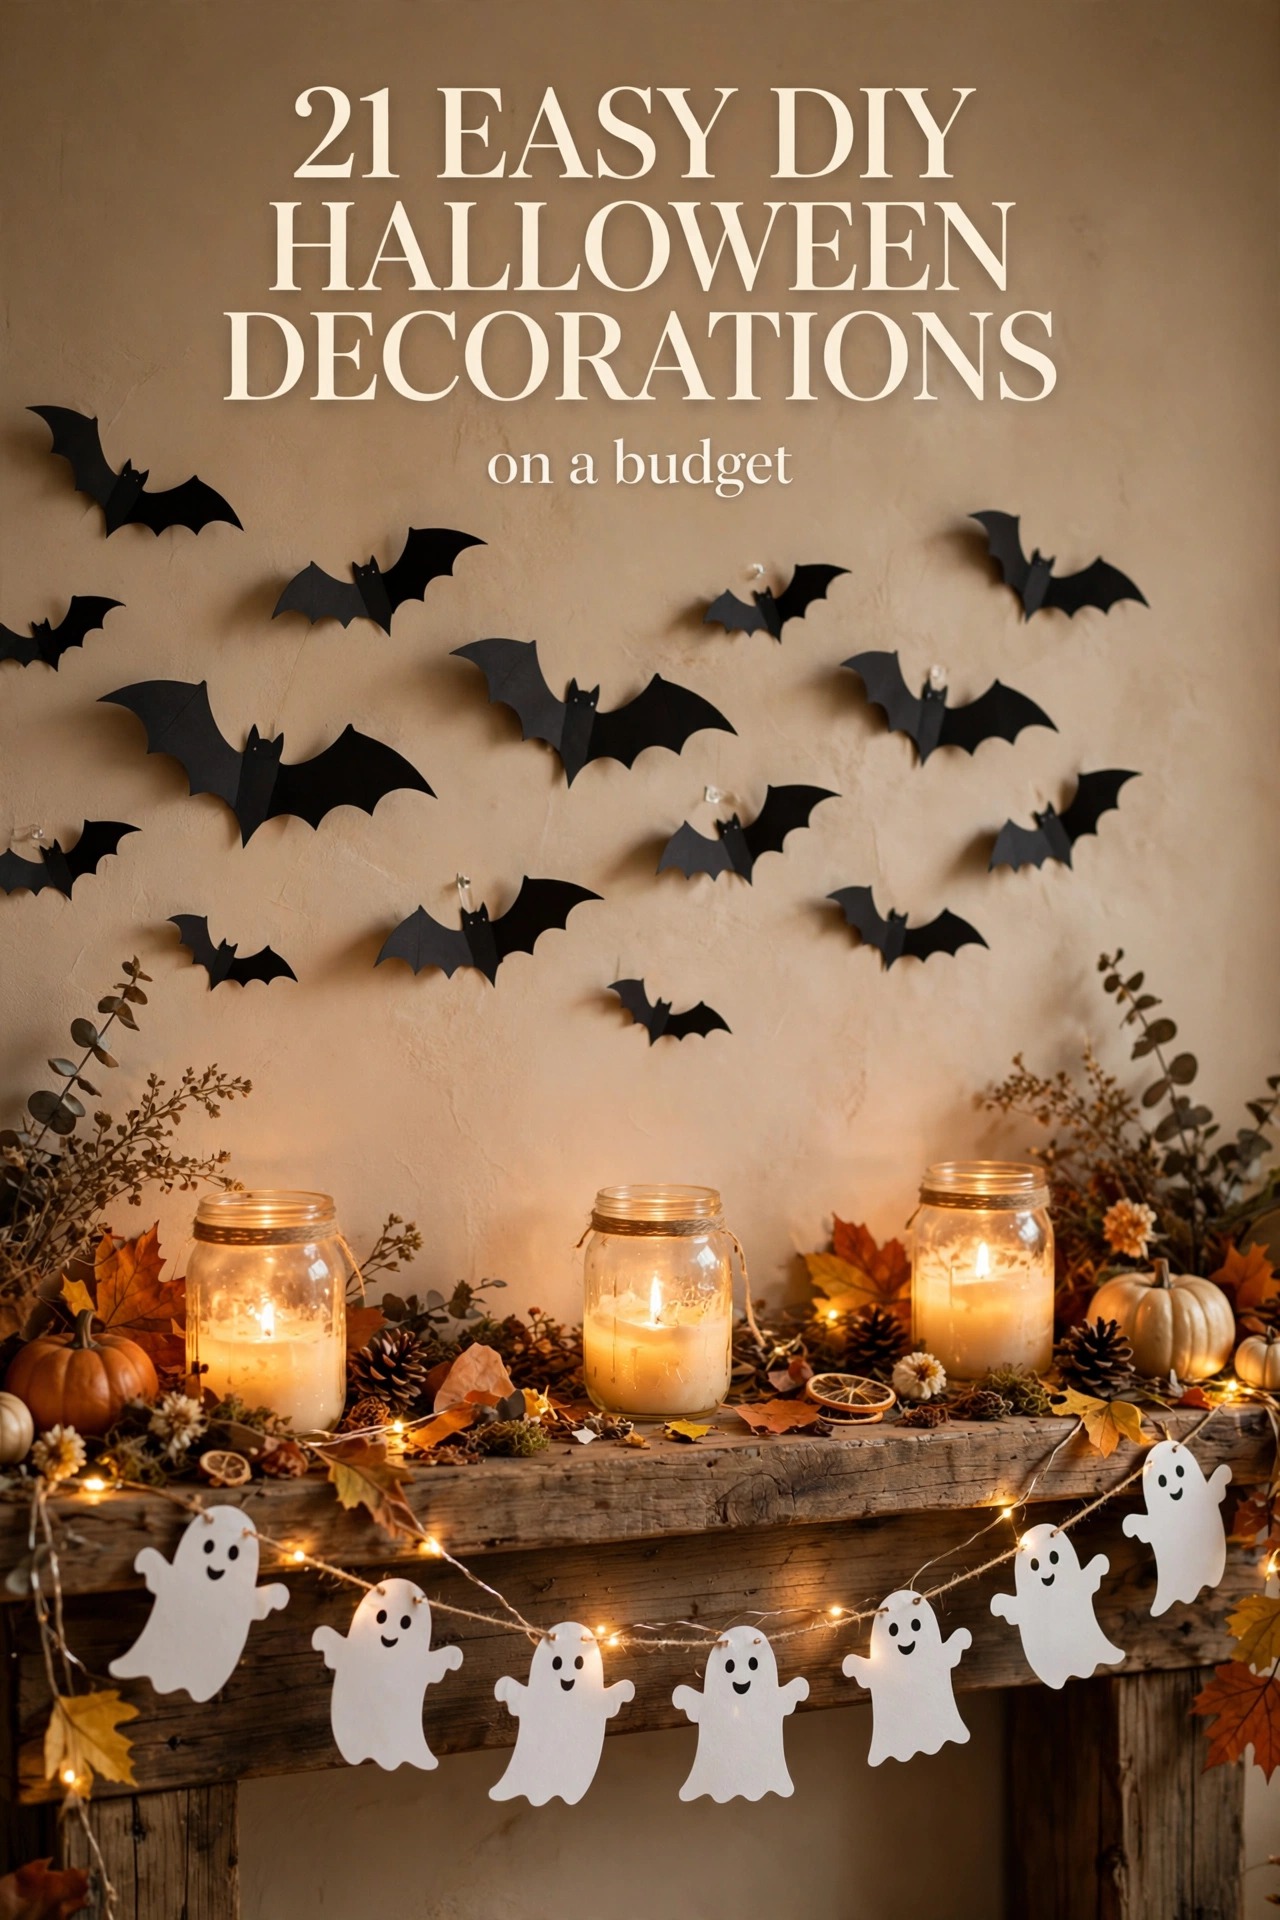
The original viral hit. Fold black cardstock in half, draw half a bat along the fold, cut it out, and stick the bats to your wall with removable adhesive dots. Cluster them in a sweeping curve above your mantel or staircase for maximum drama. A pack of cardstock costs a few dollars and makes dozens of bats.
2. Hanging Bat Ceiling Swarm
Take the same paper bats and hang them from the ceiling on clear fishing line at different heights. When the air moves, they sway gently — it looks like a whole colony just moved in. This is the single highest-impact Halloween decoration you can make for under $5.
3. 3D Folded Bats
Fold each bat’s wings slightly forward along the body so they pop off the wall in 3D. It takes two extra seconds per bat and makes them look twice as realistic, with real shadows dancing behind them in lamplight.
4. Bat Mason Jar Lanterns
Cut small bat silhouettes from black adhesive vinyl or cardstock and stick them around a mason jar. Drop in an LED tea light and the bats glow against the glass. Line three of them on a windowsill and your house looks haunted from the street.
5. Bat Garland for the Mantel
String a dozen small bats along twine with mini clothespins or glue dots. Drape it across the mantel, a doorway, or the front porch railing. Add a few paper leaves and you’ve got a fall-to-Halloween garland that took twenty minutes.
6. Glitter Bats for Glam Halloween
Not into spooky-dark? Brush your cardstock bats with glue, dust them with gold or copper glitter, and shake off the excess. Glitter bats on a white wall look chic, not creepy — perfect if your style is more “elegant Halloween” than haunted house.
7. One Giant Statement Bat
Scale the template up and cut a single enormous bat — two feet across — from a black poster board. Hang it over the front door or in the center of a gallery wall. One oversized piece reads as intentional decor, not craft time.
Easy DIY Halloween Decorations: Paper Ghosts
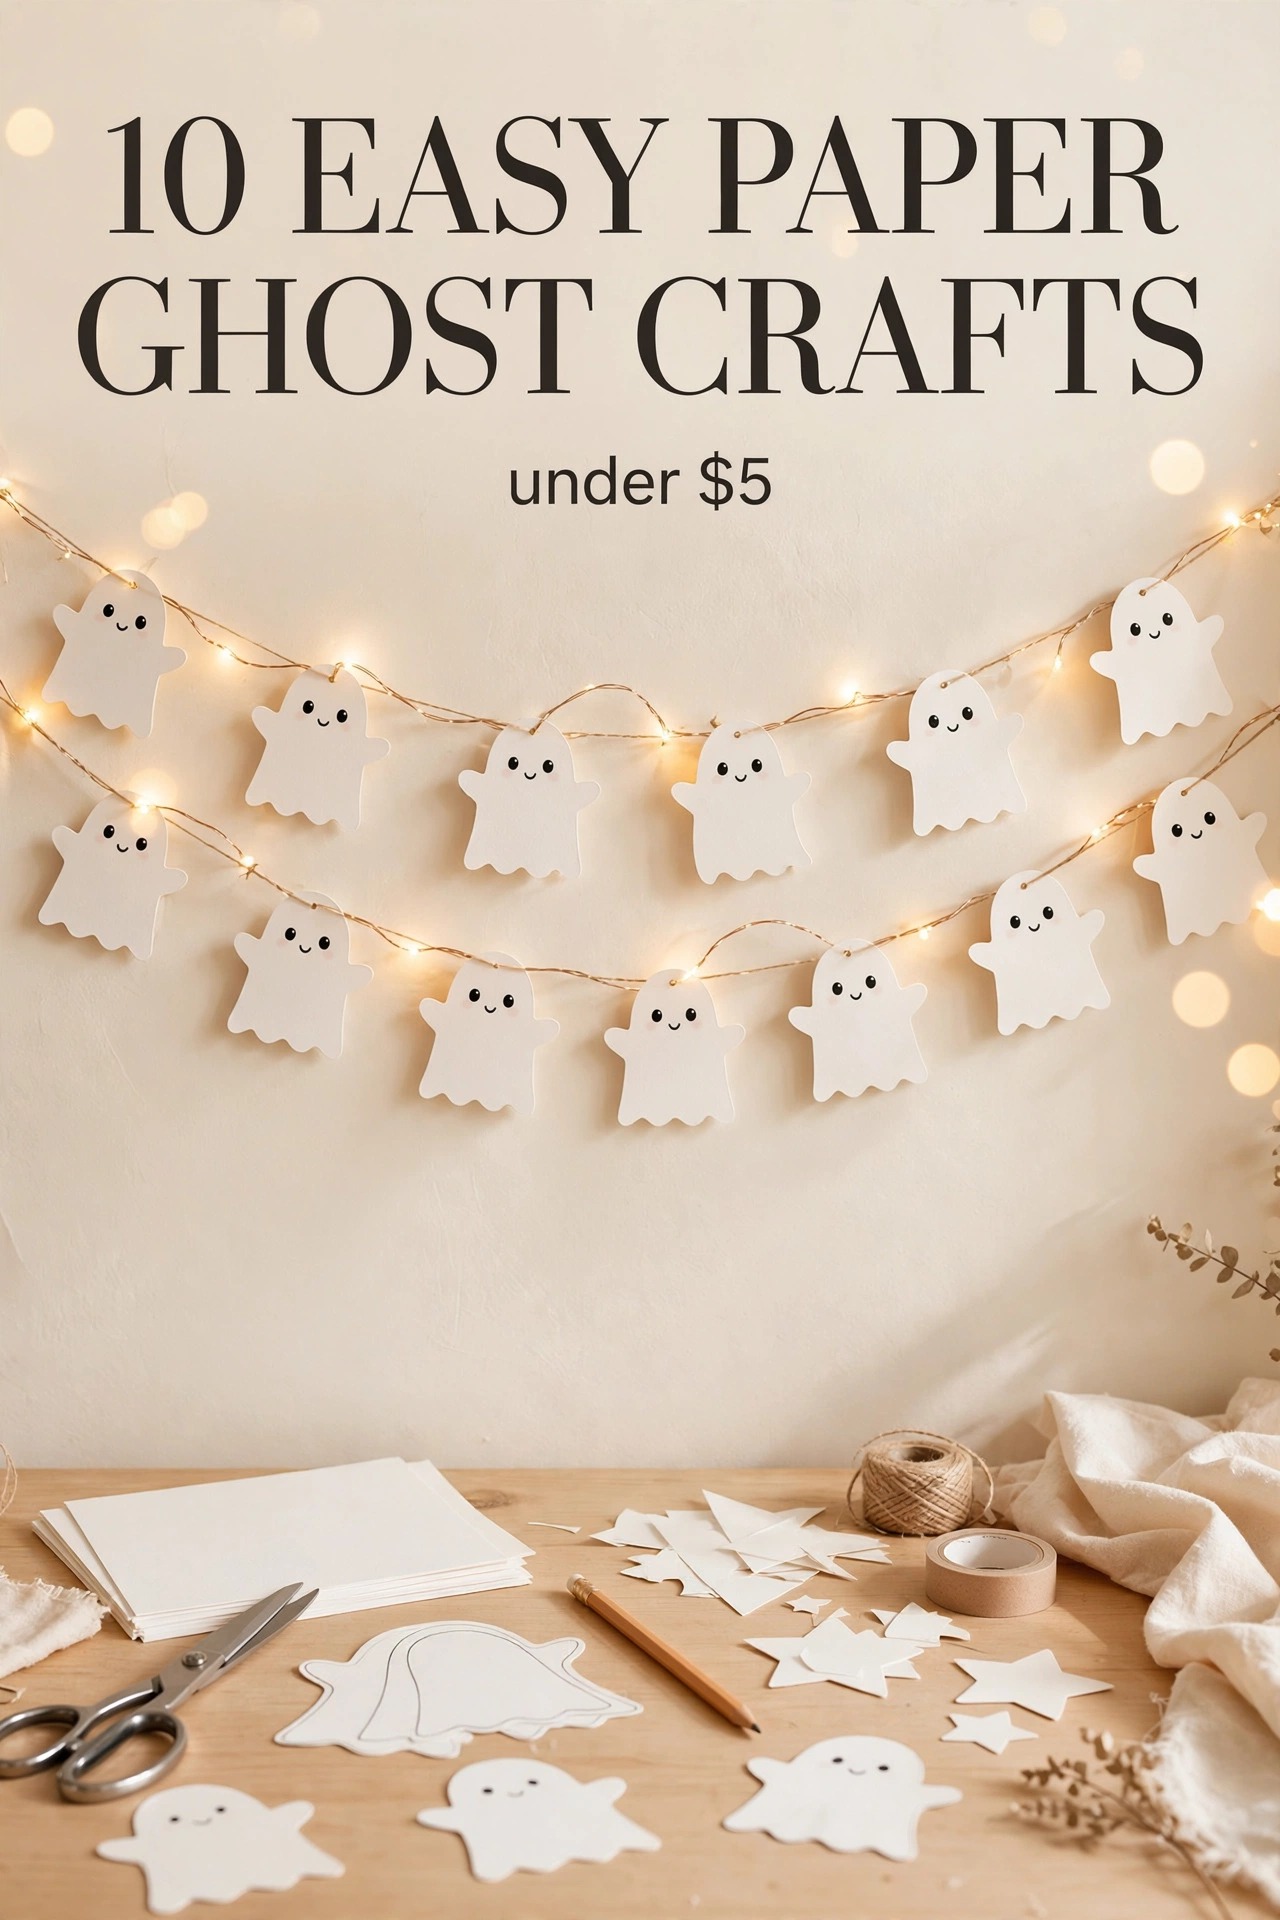
Ghosts are the friendliest Halloween icon, and these DIY Halloween decorations are the easiest craft in this whole list. White printer paper, scissors, ten minutes — done. Kids love making these, and a whole garland of them costs basically nothing.
8. Cut-Out Paper Ghost Garland
Fold white paper in half, draw half a ghost, add two eyes and a mouth, cut along the line, and unfold. Make them in three sizes, string them on twine, and weave in a strand of warm fairy lights. This garland works on a mantel, in a window, or across a party table.
9. Cheesecloth Ghost Lanterns
Drape white cheesecloth over an empty plastic bottle, tie twine around the “neck,” add googly eyes and a black felt mouth, and tuck an LED tea light inside. They glow like real little spirits — spooky and adorable at the same time. A pack of cheesecloth makes a whole family of ghosts.
10. Floating Cheesecloth Ghosts
Stiffen cheesecloth with a mix of white glue and water, drape it over a balloon on a bottle, and let it dry overnight. Pop the balloon and you have a freestanding ghost that holds its shape. Hang several from the porch ceiling at different heights for a floating ghost effect.
11. Paper Bag Ghost Luminaries
Draw ghost faces on white paper lunch bags with a black marker, fold the tops down, and set an LED candle inside each one. Line your walkway or driveway with them on Halloween night — neighbors will ask how you did it.
12. Ghost Window Clings
Cut ghosts from white contact paper or static-cling vinyl and press them onto your windows. From outside at night, backlit by your living room lamps, they look like spirits hovering in the glass. They peel off cleanly on November 1st.
13. Tissue Paper Ghost Pom-Poms
Wrap white tissue paper around a small foam ball, tie it off at the neck with ribbon, and draw a face. Hang them from light fixtures or doorframes with fishing line. They read as cute rather than scary — great for classrooms and kids’ parties.
14. Mini Ghost Place Cards
Fold tiny ghosts from white cardstock, write each guest’s name on one, and stand them on your Halloween dinner table. It’s a five-minute craft that makes a party table feel styled and intentional.
DIY Halloween Decorations: Spooky Lights & Mason Jar Glow
Nothing says Halloween like warm candlelight flickering through spooky silhouettes — and these DIY Halloween decorations do it for pennies. Mason jars, LED candles, and fairy lights turn an ordinary shelf into a haunted vignette — and everything here is flameless and safe.
15. Bat Silhouette Mason Jar Candles
Stick bat cutouts around the outside of mason jars and fill them with LED pillar candles. The light throws giant bat shadows on the wall behind them — the shadows are honestly cooler than the jars themselves. Cluster jars in odd numbers for a styled look.
16. Ghost Face Jar Lanterns
Paint mason jars with white acrylic paint (or wrap them in white tissue with Mod Podge), draw simple ghost faces with a black paint pen, and add LED tea lights. They look like a row of glowing spirits on your porch steps.
17. Mummy Jar Lanterns
Wrap mason jars in strips of white gauze or medical bandage, glue on googly eyes, and drop in an LED candle. Mummy jars are silly-spooky, take five minutes each, and kids go crazy for them.
18. Fairy Light Ghost Garland
Weave a strand of warm-white fairy lights through your paper ghost garland from idea #8. The combination of glowing lights and floating ghosts is the prettiest Halloween decor in this entire list — photograph it, because it will get compliments.
19. Spooky Shadow Wall
Tape paper bats, ghosts, or a haunted house silhouette to the wall behind a bright lamp or LED spotlight. The lamp throws enormous shadows across the room — instant haunted house with zero decorating skill required. This is the best last-minute Halloween trick I know.
20. Painted Pumpkin Jar Lanterns
Paint the outside of mason jars orange, add jack-o’-lantern faces with a black paint pen, and light them with LED candles. All the charm of carved pumpkins, none of the rotting — these last the whole season.
21. Entryway Candle Cluster
Group five to seven jar lanterns from the ideas above — bats, ghosts, mummies — on your entryway table with some faux fall leaves and a small pumpkin. Vary the heights with stacked books underneath. It’s the “styled console” look from the home decor accounts, Halloween edition, for under $15 total.
Frequently Asked Questions
What’s the cheapest way to decorate for Halloween?
For DIY Halloween decorations on a budget, paper crafts win by a mile. Black and white cardstock, scissors, and removable adhesive dots can decorate an entire room for under $5 — paper bats and paper ghosts are the two highest-impact, lowest-cost Halloween decorations you can make.
Are these Halloween crafts safe for kids?
Yes — every one of these DIY Halloween decorations uses LED candles instead of real flames, and most need only paper, scissors, and glue. The cutting steps need adult supervision for small children, but kids can fold, draw faces, and hang the finished pieces.
How far in advance can I put up DIY Halloween decorations?
These DIY Halloween decorations keep perfectly indoors for the whole month of October. If you’re using them on a covered porch, keep them dry — or laminate the paper pieces so a little rain won’t ruin them.
How do I hang paper bats without damaging my walls?
Removable adhesive dots (like glue dots) or painter’s tape rolled into loops. Both hold cardstock bats securely and peel off cleanly. For ceilings, clear push pins in the tiny fold of the bat work well and leave only a pinhole.
Can I reuse these decorations next year?
Absolutely. These DIY Halloween decorations are made to be reused: store paper bats and ghosts flat between sheets of tissue paper in a box, keep the mason jars and LED candles with your other seasonal decor, and you’ll be 90% decorated before you even start next October.
Final Thoughts
The best DIY Halloween decorations aren’t the most expensive ones — they’re the ones with the most personality. A ceiling full of handmade paper bats or a mantel glowing with ghost lanterns beats a store-bought inflatable every time, and you’ll have the fun of making them too.
Start with the bats (idea #2 is my personal favorite), add a ghost garland, light a few mason jars — and enjoy the spookiest, cheapest DIY Halloween decorations your house has ever seen. Happy haunting!
Pingback: 12 Unique Front Porch Halloween Ideas: DIY Decor on a Budget
Pingback: 15 DIY Halloween Mantel Decor Ideas on a Budget - Dime & Decor
Pingback: 19 Christmas Tree Ideas 2026 (Budget-Friendly & Beautiful)